Setup an R project
Ensure that you have downloaded and installed R.
Ensure that the R Language for IntelliJ plugin is installed and enabled.
Whatever you do with your R scripts in PyCharm, you do it in the context of a project. So, to start coding in R, you need to create an R project and setup a working environment.
Do one of the following:
Go to File | New Project
On the Welcome screen, click Create New Project
The New Project dialog opens.
In the New Project window, select the R Project type from the list of the available project types. Specify the project location in the location field. The project name will be automatically derived from the folder name in the specified path.
You should also create a project interpreter that allows you to work with the specific set of R packages. Expand the Project interpreter area, click
next to the Base interpreter field and select Add. Alternatively, you can expand the list of the available interpreters and select the Add command there. In the file system, select the R executable file. A sample path to the R executable can be
/usr on macOS or C:/local /bin /R \Program Files on Windows.\R \R-3.6.1 \bin \R.exe 
Click Create to complete the task.
note
If PyCharm displays a popup prompting to install a required package, click the Install link to confirm the action.
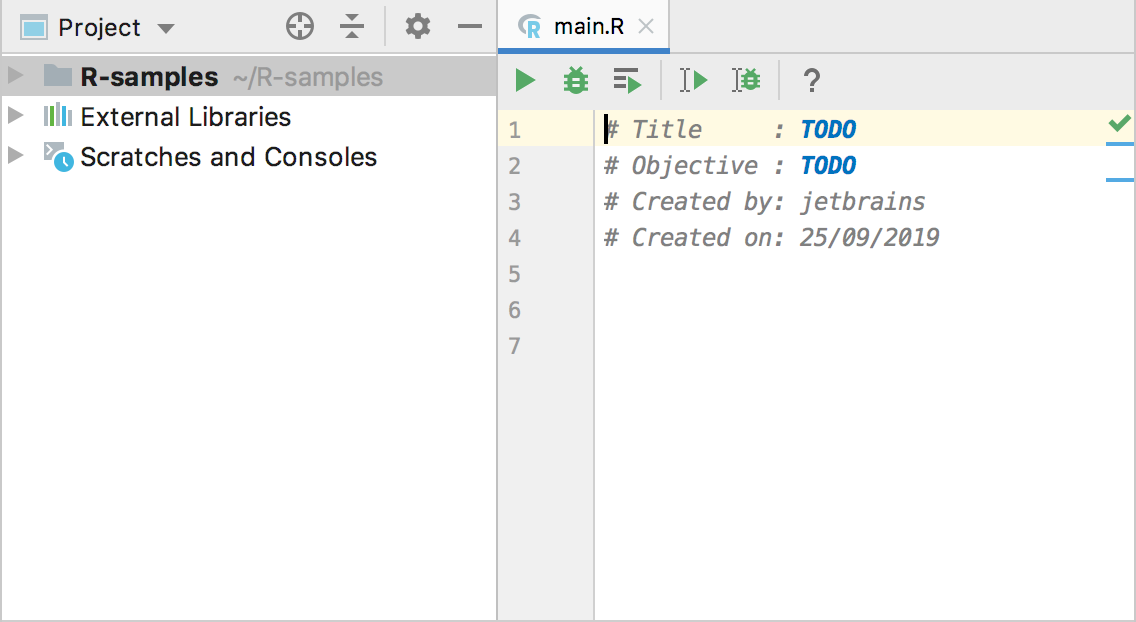
Once you've created a new R project, PyCharm generates the main.R file with some project-related information based on the R file template.

At this point, you are all set to start coding in R, still you might want to modify some project settings to tailor them for your needs.
To create an R interpreter for your project, click the R interpreter selector in the Status bar and select Local Interpreter.

Then specify a path to the R executable.
Alternatively, press CtrlAlt0S, go to the Settings | Project | R Settings dialog, click
, select Add, and specify a new R executable for the project interpreter.
Available only in PyCharm Professional: download to try or compare editions
To create a remote interpreter, do one of the following:
Click the R interpreter selector in the Status bar and choose On SSH from the menu.

Press CtrlAlt0S and go to the Settings | Project | R Settings. Click the
and select Add remote.
In the Add remote R interpreter specify the remote host. You can select it from the list of the available SSH configurations or click the ... button to create a new one:

Fill in the parameters and click Test connection to verify them. Click OK to proceed.
Specify the path to the R executable on the remote host and the working direcoty. Then, save the changes.

Once the remote interpreter is set, its remote status will be shown in the interpreter's name in list of the available R interpreters, and in the title of the R console.
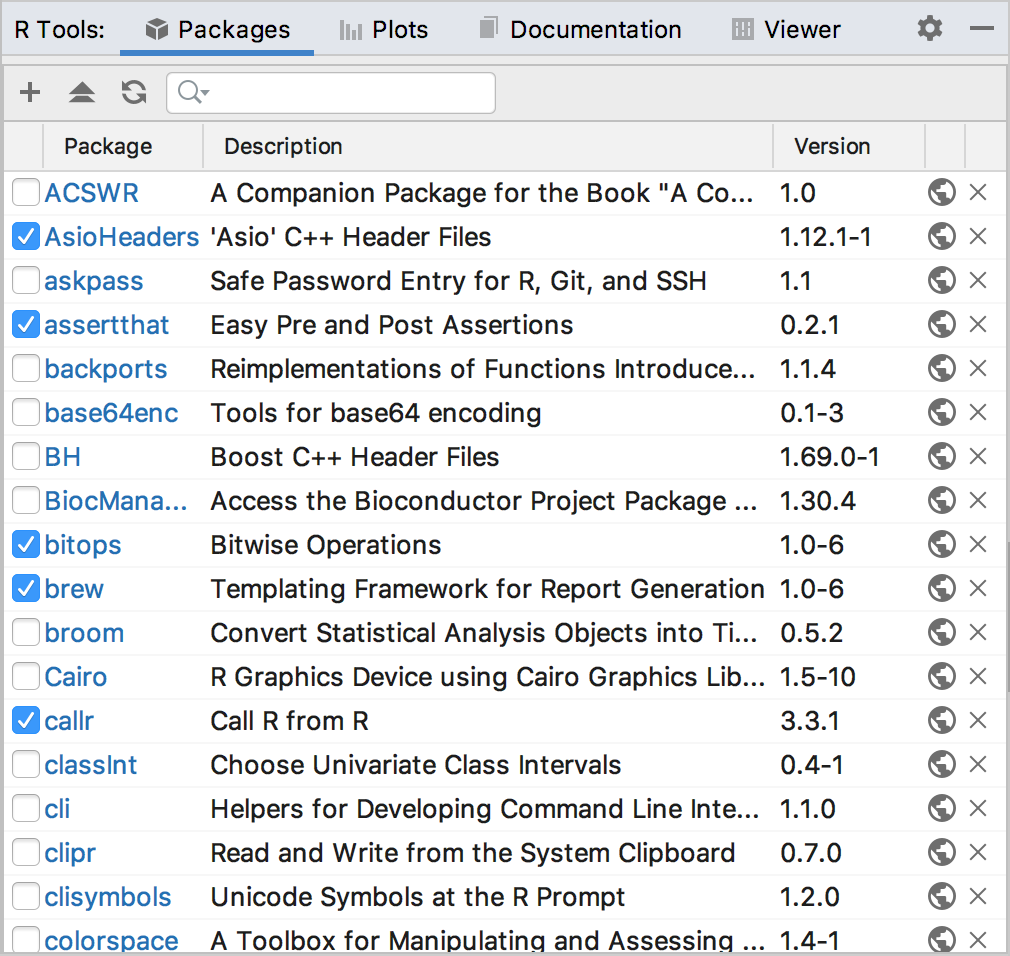
To configure R packages for the project, select the R Packages tab in the R Tools window.

Click
to add a new package. In the Available Packages dialog, type the name of the target package in the Search field, then select a package, and click Install.
If needed, you can update packages to a newer versions. Click
to preview the latest available versions of the installed packages, then click
 .
.When upgrading all packages to the available latest versions, PyCharm shows you the list of the packages to upgrade and asks to confirm the action. Click OK to proceed with the update.

Click
next to a particular package to uninstall it for the current project. Mind checkboxes in the leftmost column: they show the packages loaded into the current execution session.
At any time you can open the package source by clicking
for the target package.
To preview documentation for a particular package, click its name in the Package column. The package reference will be shown in the Documentation tab.
File templates specify default contents to be generated when creating a new file. To establish the unified style and initial code for all .R files, press CtrlAlt0S to open project Settings, go to Editor | File and Code Templates, select R Script in the list of languages, and alter the default template. In the following example, we modified the default settings and added the
${TIME}variable to include the time when the file was created.
Similarly, setup a file template for R Markdown files. For more information, refer to File templates.
By using live templates, you can insert frequently used constructions into your code, for example, loops, conditions, various declarations, or print statements. To preview the R constructs, press CtrlAlt0S to open project Settings, go to Editor | Live Templates, select R Script in the list of languages

When you work with R plugin in PyCharm, all scope of your R data is considered an R workspace.
To tune the way you want to operate with R data, press CtrlAlt0S and go to the Settings | Project | R Settings dialog.
Select Load workspace on R startup to ensure all your R content becomes available when you start PyCharm with the R plugin.
Select Save R workspace on exit if you want to save all R data generated during the current session in your workspace.
To execute your R scripts on the remote environment, create a remote configuration and set is as an R interpreter.
Thanks for your feedback!