Cannot connect to MySQL 5.1
To connect to the database, create a data source that will store your connection details. You can do this using one of the following ways:
From the main menu, navigate to File | New | Data Source and select MySQL.
In the Database tool window ( View | Tool Windows | Database) , click the New icon (
) in the toolbar. Navigate to Data Source and select MySQL.

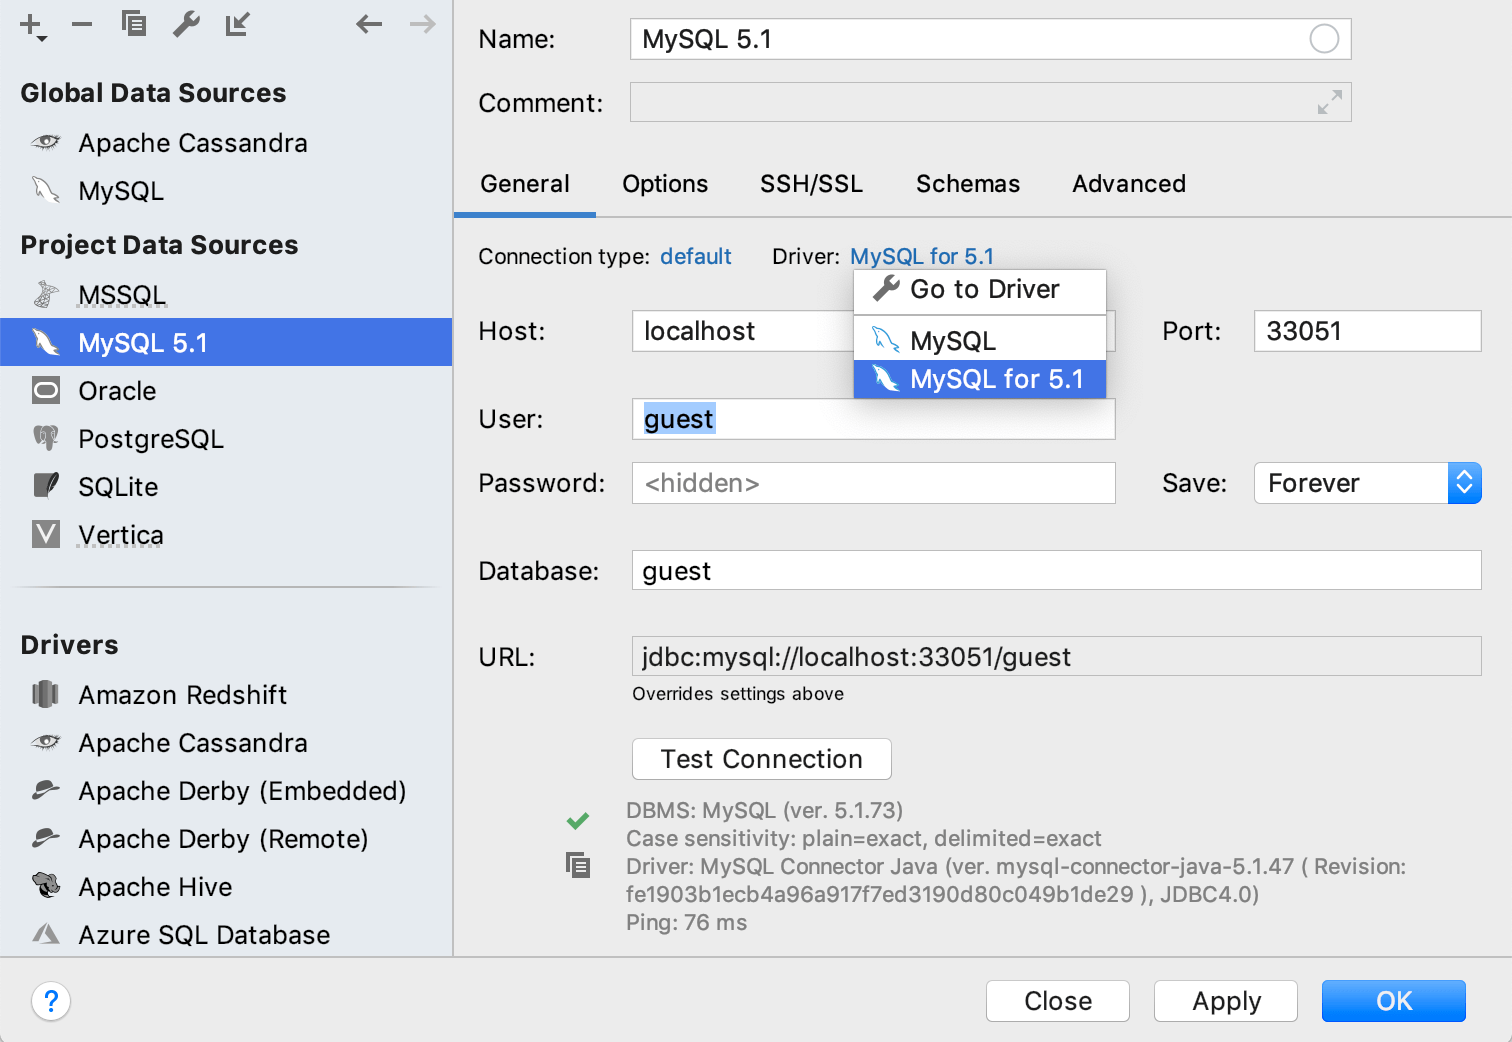
Click the Driver link and select MySQL for 5.1.
To download JDBC drivers for MySQL 5.1, click the Download link at the bottom of the dialog.
Specify the database connection details. Alternatively, paste the JDBC URL in the URL field.
To delete a password, right-click the Password field and select Set Empty.

For the reference information about connection settings (for example, Host, Port, and so on) on the General and other tabs of Data Sources and Drivers dialog (ShiftEnter), see Data source settings.
Ensure that the connection to the database can be established using the provided details. To do that, click the Test Connection link at the bottom of the connection details area.

In case of any connection issues, refer to the Cannot connect to a database page.
(Optional) By default, only the default schema is introspected and available to work with. If you also want to work with other schemas, in the Schemas tab, select them for the introspection.

Click OK to create the data source.
Find your new data source in the Database tool window (Alt01) .
To learn more about the Database tool window, see the corresponding reference topic.
tip
To see more schemas under your new data source node, click the N of M button and select the ones you need. GoLand will introspect and show them.

To learn how to work with database objects in GoLand, see Database objects.
To write and run queries, open the default query console by clicking the data source and pressing F4.
To view and edit data of a database object, open Data Editor and Viewer by double-clicking the object.

Open data source properties. You can open data source properties by using one of the following options:
In the Database tool window ( View | Tool Windows | Database) , click the Data Source Properties icon
.
Press CtrlAltShift0S.
Click the Driver link and select Go to Driver.
In the Driver Files pane, click the ver. *.*.*.* link and select 5.1.40.
Click the created MySQL data source entry.
Specify the database connection details. Alternatively, paste the JDBC URL in the URL field.
To delete a password, right-click the Password field and select Set Empty.

For the reference information about connection settings (for example, Host, Port, and so on) on the General and other tabs of Data Sources and Drivers dialog (ShiftEnter), see Data source settings.
Ensure that the connection to the database can be established using the provided details. To do that, click the Test Connection link at the bottom of the connection details area.

In case of any connection issues, refer to the Cannot connect to a database page.
(Optional) By default, only the default schema is introspected and available to work with. If you also want to work with other schemas, in the Schemas tab, select them for the introspection.

Click OK to create the data source.
Find your new data source in the Database tool window (Alt01) .
To learn more about the Database tool window, see the corresponding reference topic.
tip
To see more schemas under your new data source node, click the N of M button and select the ones you need. GoLand will introspect and show them.

To learn how to work with database objects in GoLand, see Database objects.
To write and run queries, open the default query console by clicking the data source and pressing F4.
To view and edit data of a database object, open Data Editor and Viewer by double-clicking the object.
Thanks for your feedback!