Getting started with Kotlin
This tutorial gets you up to speed with Kotlin development in JetBrains Fleet. It covers the installation, project setup, and working with code. In order to complete it, you need JetBrains Toolbox: the Download page.
Download and install JetBrains Toolbox.
For macOS, you can also download the installer that matches your processor type: Apple Silicon or Intel. Ensure you select the correct option based on your system's processor.
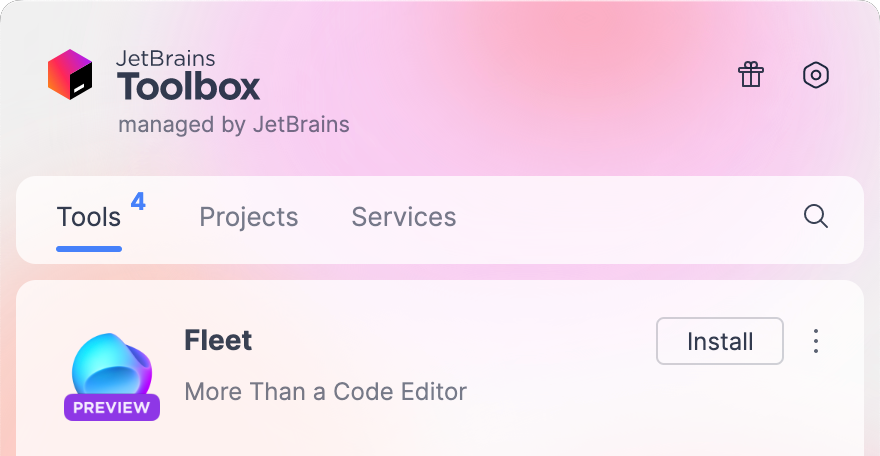
In JetBrains Toolbox, click Install near the JetBrains Fleet icon.
Workspace is the directory where your project resides. It contains the project files and settings. You can open an existing project or start a new project by opening an empty directory.
In this tutorial, we will start a new project and have it initialized by Gradle.
From the File menu, select Open Ctrl0O.
In the file browser, navigate to an empty folder where you want to store your code and click Open.
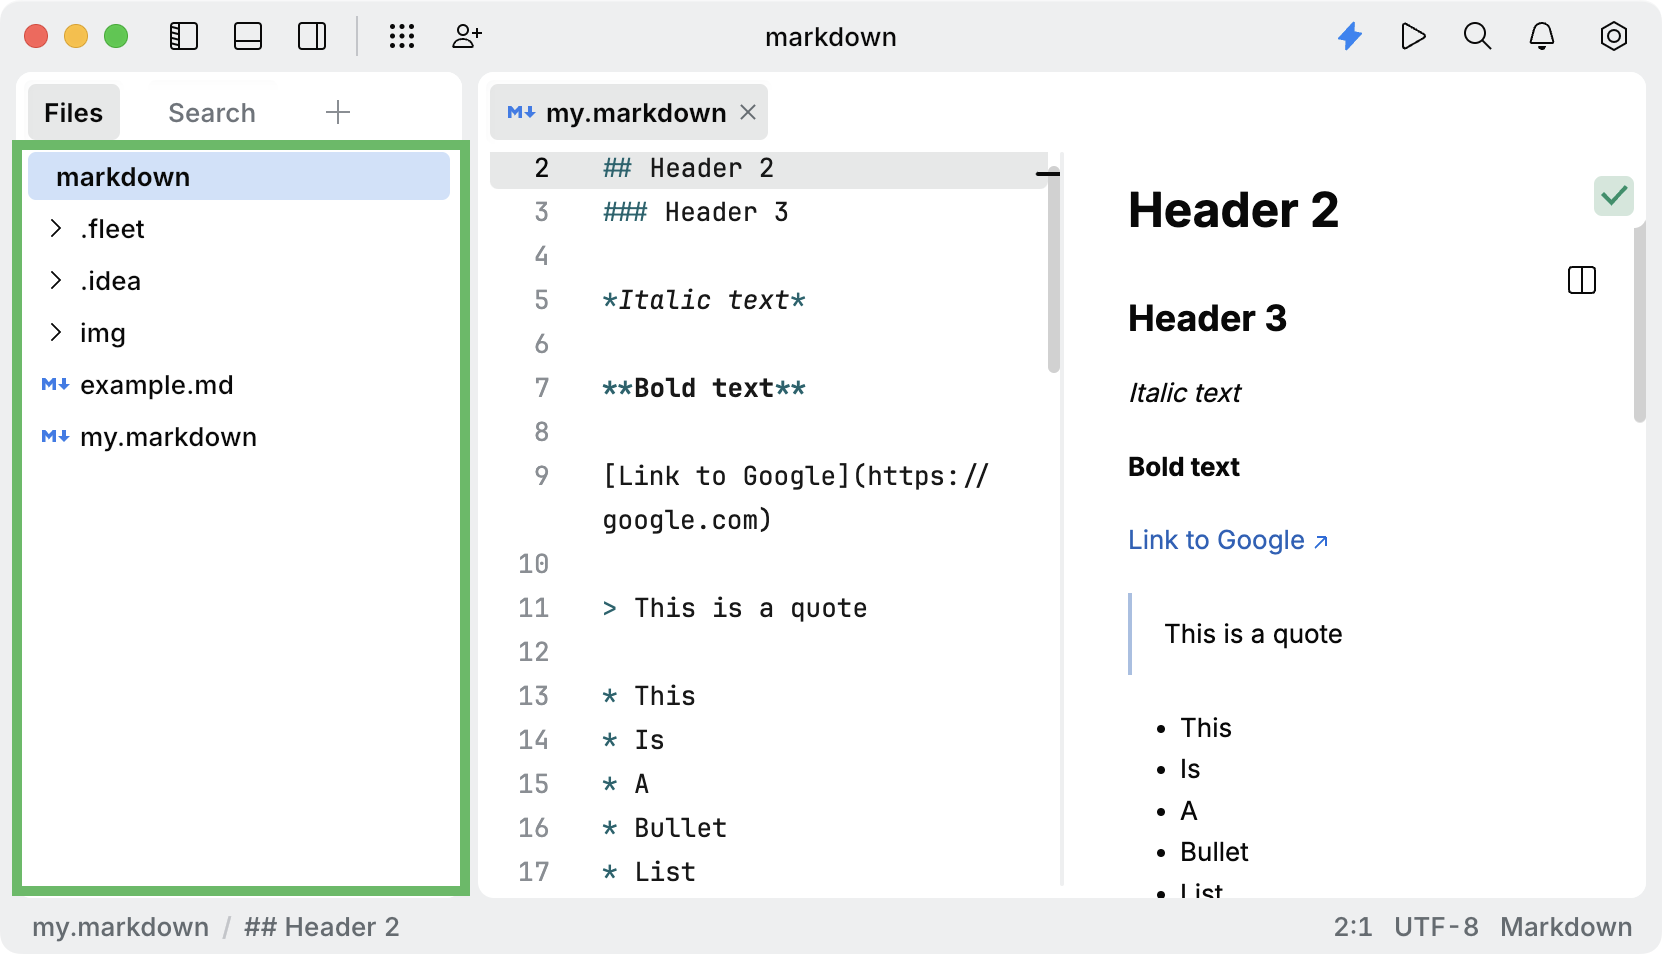
When you open a directory, it becomes the root of a workspace. You can view its contents in the Files view.
Now let's initialize the project. This will generate the boilerplate and some example code that we can use to try out Fleet in action. The steps differ depending on the build system. Use the tabs below to see the steps for a particular build system.
Make sure Gradle is installed on your computer.
Press CtrlShift0` to open a terminal and execute the
gradle initcommand.When prompted, answer:
Project type – 2 (application)
Implementation language – 4 (Kotlin)
Split functionality across subprojects – 1 (no)
Build script DSL – 2 (Kotlin)
Generate build using new APIs and behavior – no
Project name – skip
Source package – skip
By default, Fleet uses the JDK from your JAVA_HOME environment variable. Before proceeding, make sure it is configured in your environment. Otherwise, you can configure a custom JDK for your project.
Open Settings/Preferences Ctrl0,.
Select one of the available JDKs in the JDK menu. If no JDK is detected, you can add it manually by specifying the path to the required JDK.

tip
For more information about the workspace settings, refer to Workspace settings.
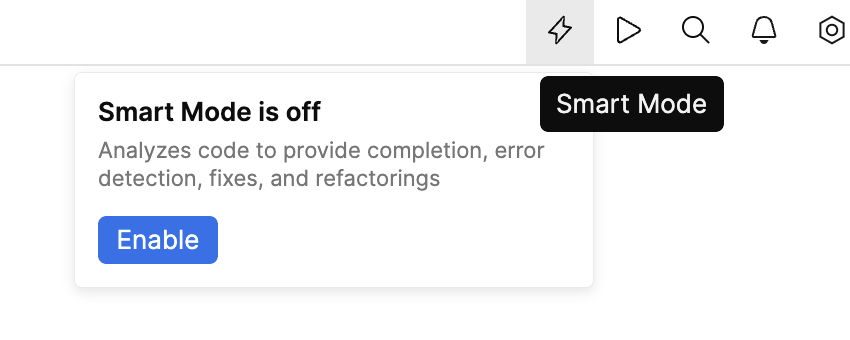
You can use JetBrains Fleet as a smart text editor, rather than a full-fledged code editor. However, if you need code intelligence features, you can enable them by turning Smart Mode on.
In the top-right corner of the window, click Smart Mode, then Enable.
After you click the Enable button, you may have to wait for some time, while the backend is being prepared.
note
If JetBrains Fleet can't detect the JDK after you enable Smart Mode, check your
JAVA_HOMEenvironment variable, or specify the JDK in the project settings.
Here's what you can do in Smart Mode. The below is not an exhaustive list of Smart Mode features, rather a couple of examples that'll help you to get the feel of how it works in Fleet.
Press AltEnter to access actions that Fleet suggests in the current context.

Place the caret at a literal or select an expression, then press AltShift0V.

A variable is extracted from the selection.
Navigate to the declaration of a symbol with Ctrl0B.
Use code interlines to navigate to usages and hierarchy members.

Skim over the errors with Ctrl0E and CtrlShift0E.
To generate a
forloop, typeiterand press Tab. Press Tab as you fill in the necessary variables.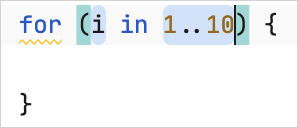
With Smart Mode enabled, you can run your project. For that, you can use a gutter icon in the editor, or you can create a run configuration that will allow you to fine-tune the way your application should be run.
Navigate to the entry point of your application and click the run icon in the gutter. Select Run.

Another way to run a program is to use a run configuration. It allows you to customize the startup: add arguments, VM options, use custom commands, and so on.
Press Ctrl0R. Run & Debug dialog opens.

Click Create Run Configurations.
In run.json, append a gradle run configuration to the array, so that the resulting JSON looks like the following:
{
    "configurations": [
        {
            "name": "run sh",
            "type": "command",
            "program": "/bin/sh"
        },
        {
            "name": "gradle run",
            "type": "gradle",
            "tasks": [
                "run"
            ]
        }
    ]
}
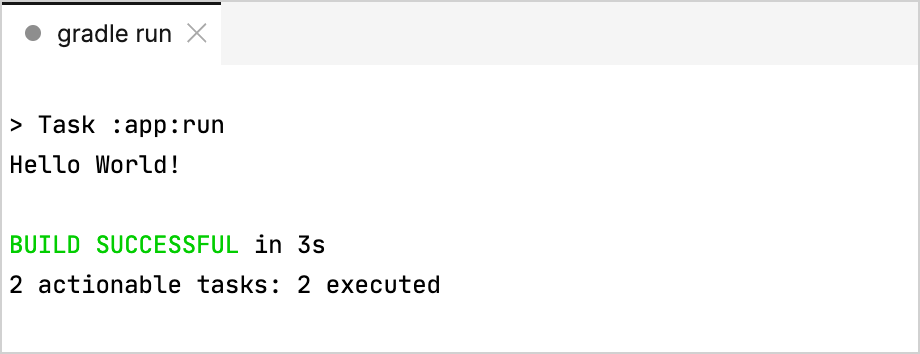
Press Ctrl0R. The Run dialog opens. Select the newly created
gradle runconfiguration.The application runs, and you can review its output in the console that opens.
Set a breakpoint by clicking at an executable line in the gutter. This will suspend the application just when this line is about to execute.

Run the application by selecting Debug from the gutter menu or in the Run dialog.

Inspect the program state in the Run and debug panel. As we are using a hello-world type of app here, we don't have a lot of state to inspect.
The buttons above the threads list let you control the program execution. You can advance it line-by-line, step in and out of methods, resume and stop the program.

Thanks for your feedback!