Plugins
Plugins extend the core functionality of JetBrains Fleet. For example, install plugins to get the following features:
Integration with version control systems and other tools.
Coding assistance support for various languages and frameworks.
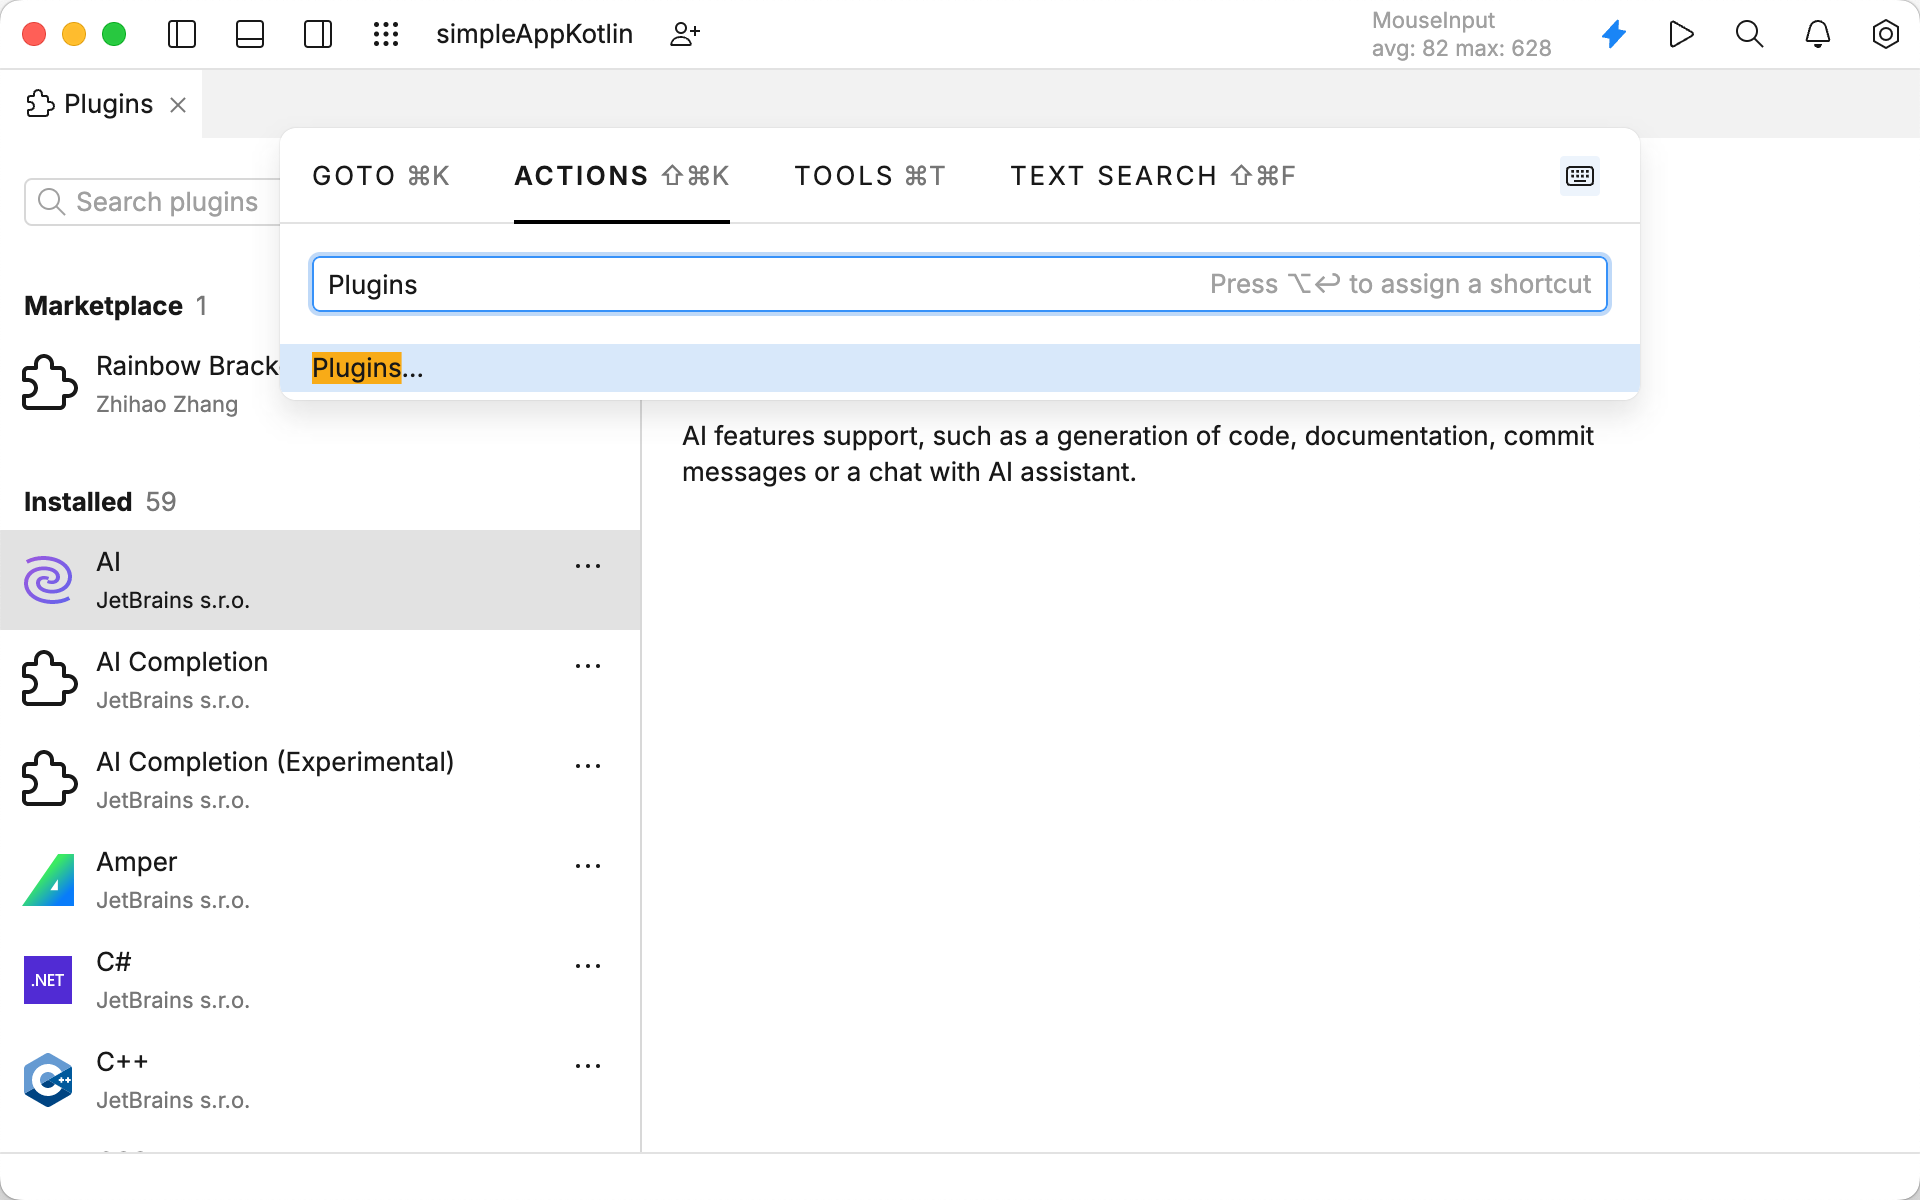
Open the search for actions. To start searching for actions, use one of the following options:
Press .
Navigate to View | Tools from the main menu and select the Actions tab.
Start typing
Plugins.Select Plugins from the list of suggestions.

By default, JetBrains Fleet includes several bundled plugins. You can remove plugins from the current workspace or mark them as required for it. Also, you can install additional plugins from the plugin repository.
Open the search for actions. To start searching for actions, use one of the following options:
Press .
Navigate to View | Tools from the main menu and select the Actions tab.
Start typing
Plugins.Select Plugins from the list of suggestions.
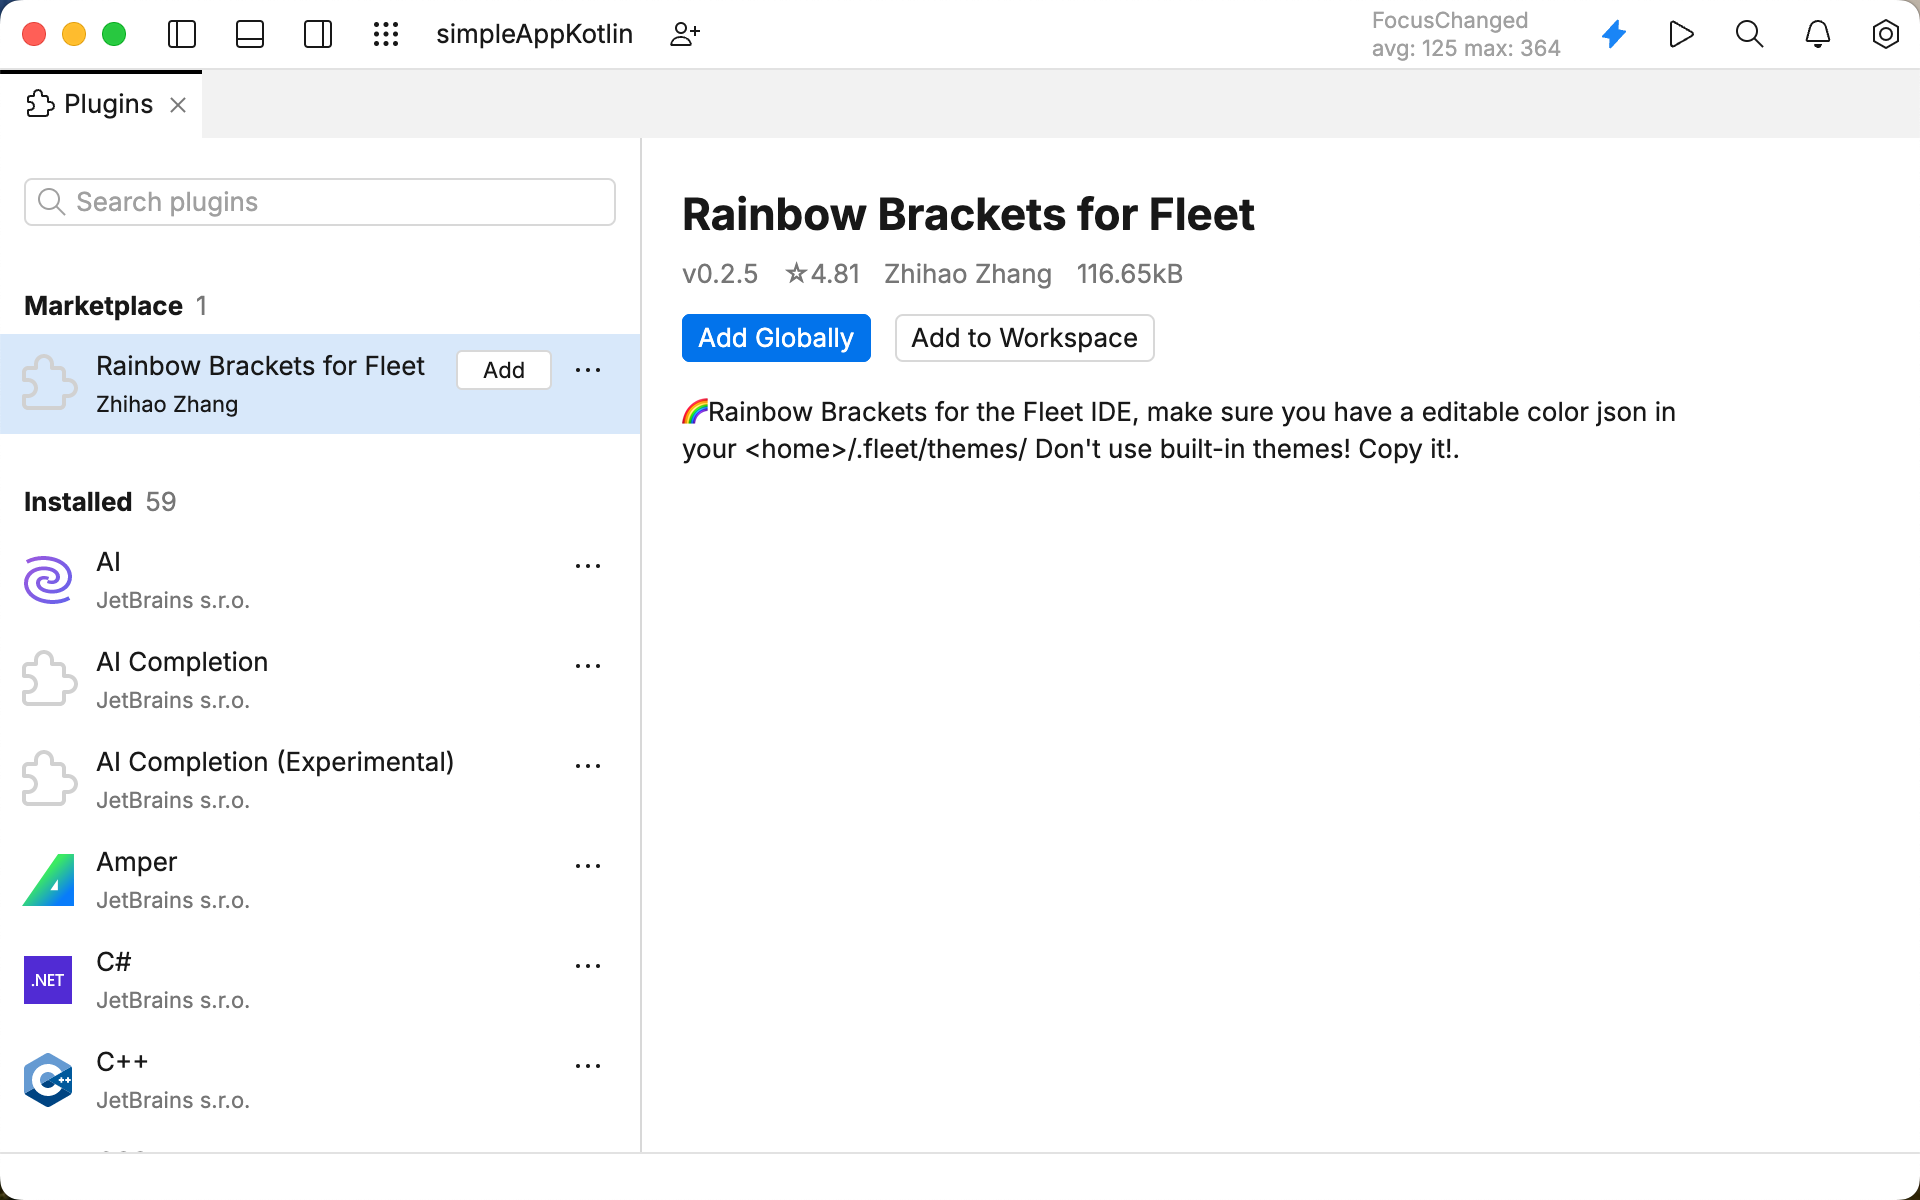
On the opened Plugins tab, type the name of the required plugin in the search field.
To install the plugin, click Add.

Open the search for actions. To start searching for actions, use one of the following options:
Press .
Navigate to View | Tools from the main menu and select the Actions tab.
Start typing
Plugins.Select Plugins from the list of suggestions.
On the opened Plugins tab, type the name of the required plugin in the search field.
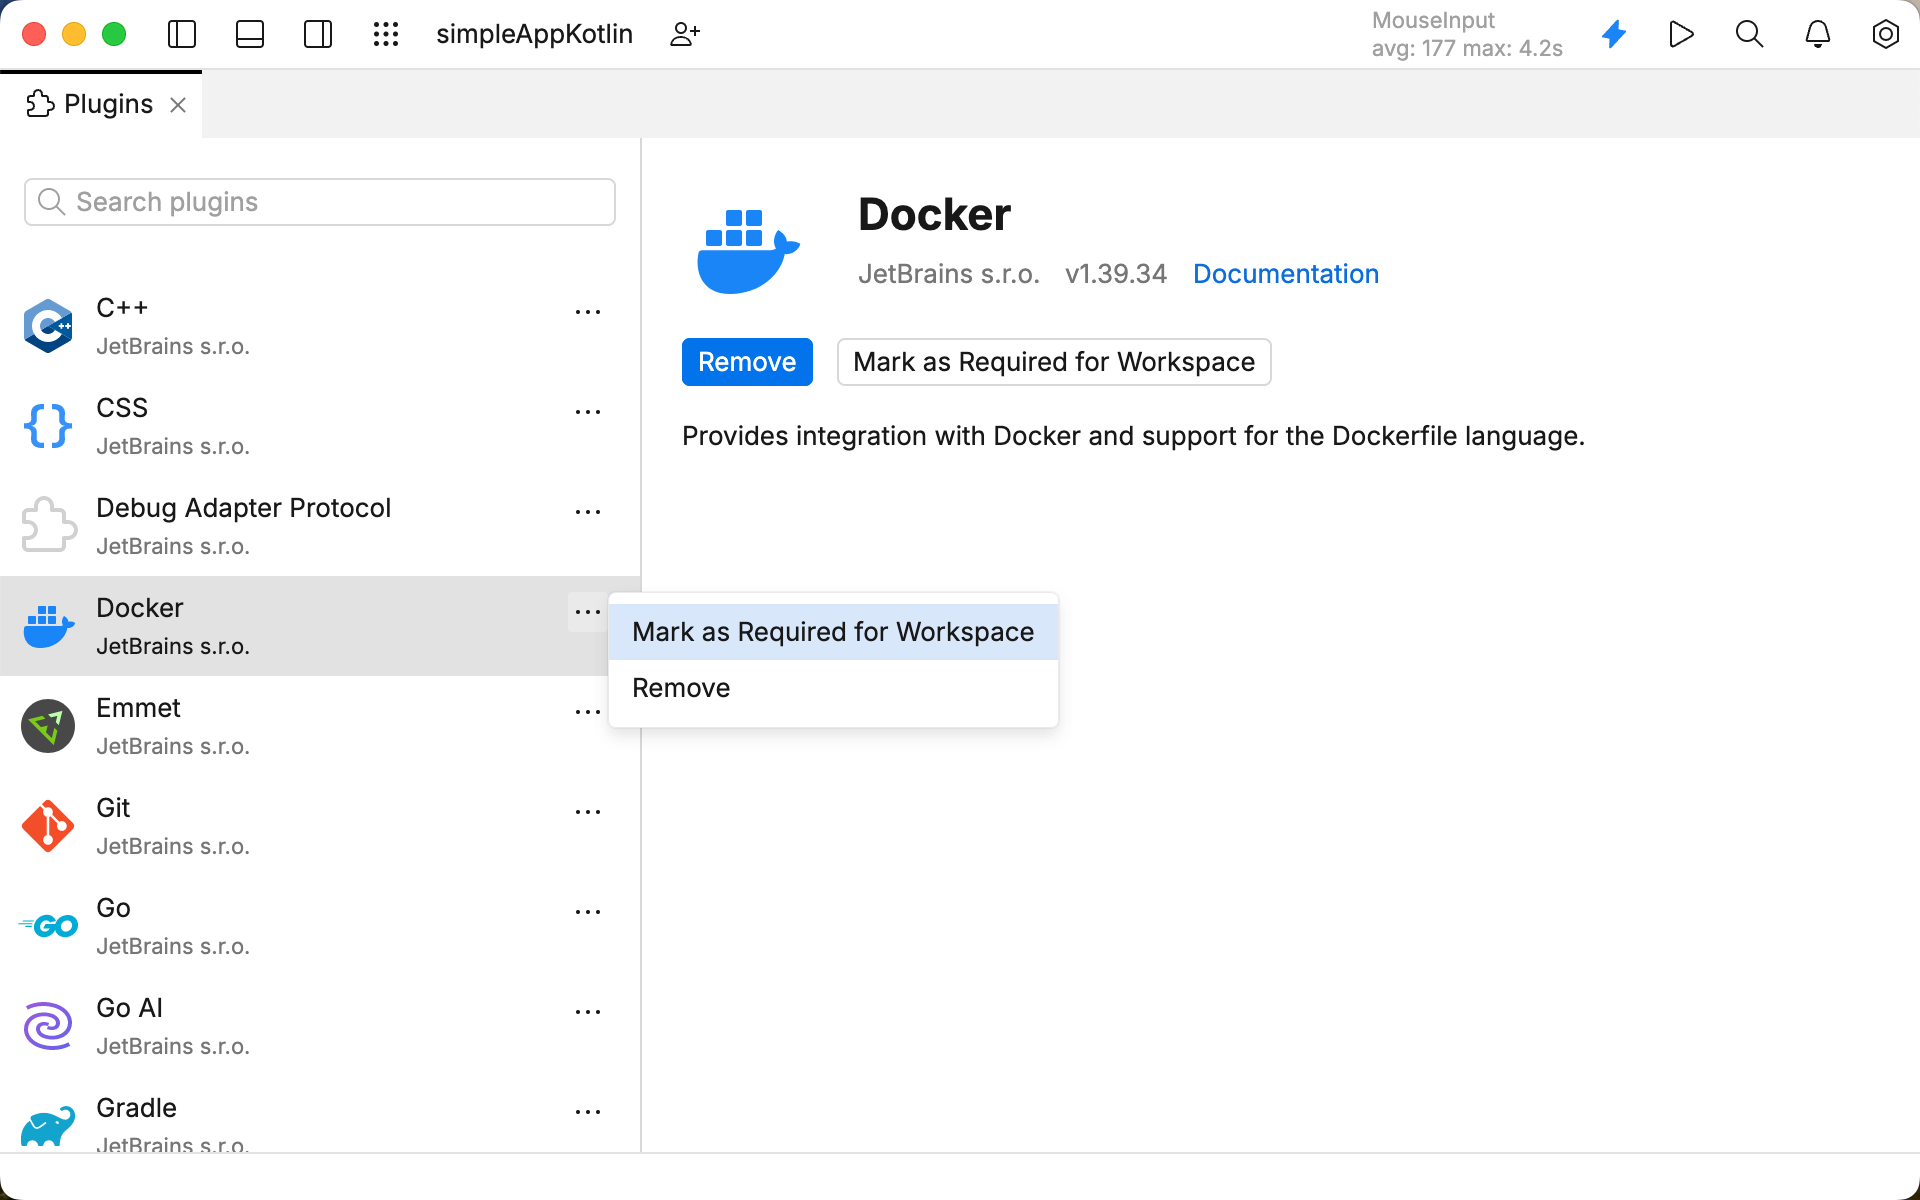
Select the plugin that you want to remove and click the Remove button on the plugin page. Alternatively, click the ellipsis icon (
) and select Remove.

A workspace may require plugins that provide support for certain technologies or frameworks. You can add such plugins to the list of required plugins for the current project, so that JetBrains Fleet will verify that the plugins are installed and enabled.
note
Make sure the required plugin is added.
Open the search for actions. To start searching for actions, use one of the following options:
Press .
Navigate to View | Tools from the main menu and select the Actions tab.
Start typing
Plugins.Select Plugins from the list of suggestions.
On the opened Plugins tab, type the name of the required plugin in the search field.
Select the plugin that you want to mark as required and click the Mark as Required for Workspace button on the plugin page. Alternatively, click the ellipsis icon (
) and select Mark as Required for Workspace.
