Getting started with Go
This tutorial gets you up to speed with Go development in JetBrains Fleet. It covers the installation, project setup, and working with code.
note
Only projects with Go modules are supported.
JetBrains Toolbox: the Download page.
Go SDK: the Downloads page at go.dev.
Download and install JetBrains Toolbox.
For macOS, you can also download the installer that matches your processor type: Apple Silicon or Intel. Ensure you select the correct option based on your system's processor.
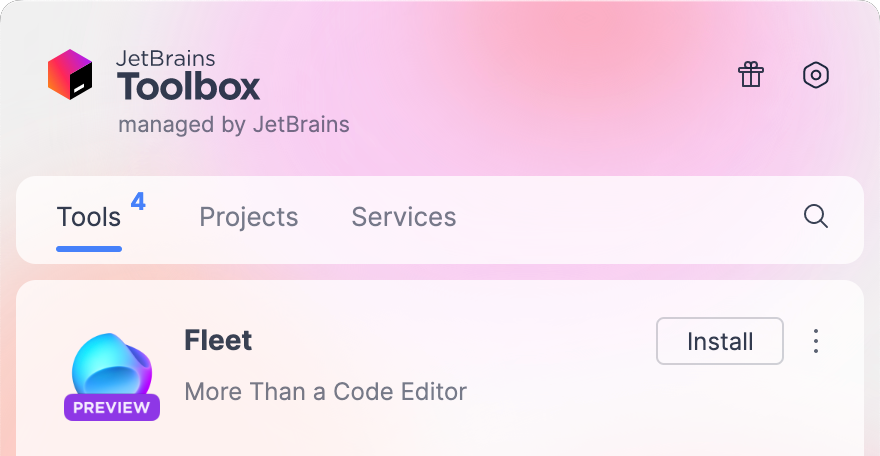
In JetBrains Toolbox, click Install near the JetBrains Fleet icon.

Workspace is the directory where your project resides. It contains the project files and settings. You can open an existing project or start a new project by opening an empty directory.
In this tutorial we will walk through project setup from scratch.
Press or select File | Open from the menu.
In the file browser, navigate to an empty folder where you want to store your code and click Open.
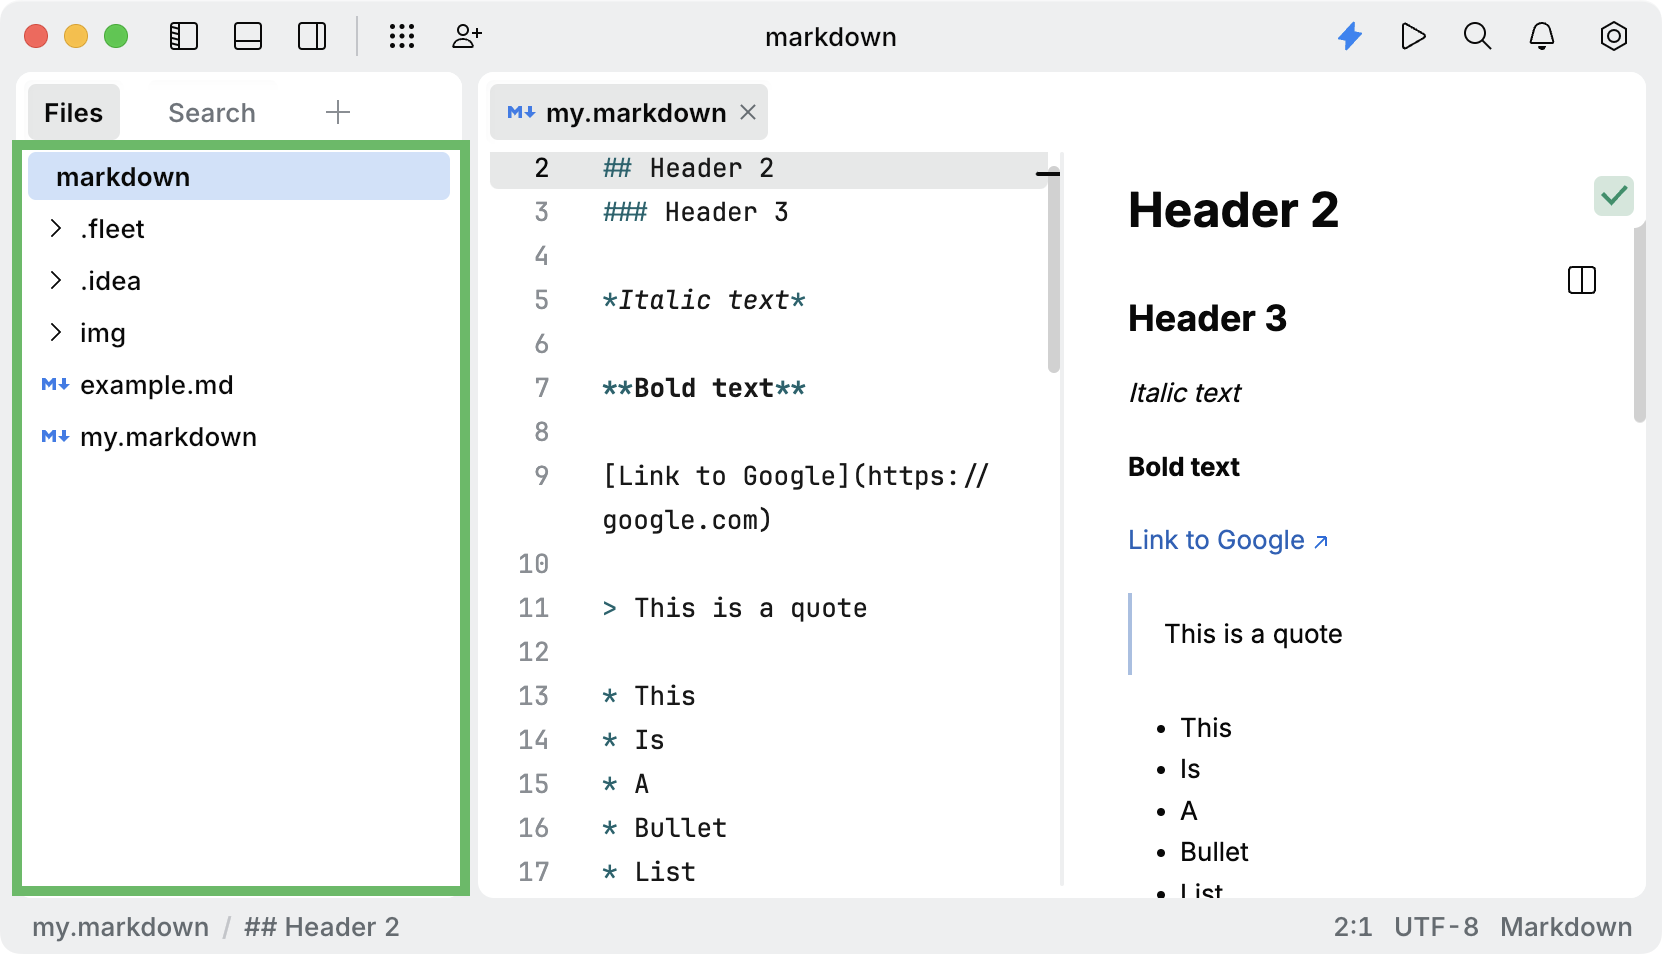
When you open a directory, it becomes the root of a workspace. You can view its contents in the Files view.

In the Files view, right-click the folder node, then select New File.
Type a new name and press . For example,
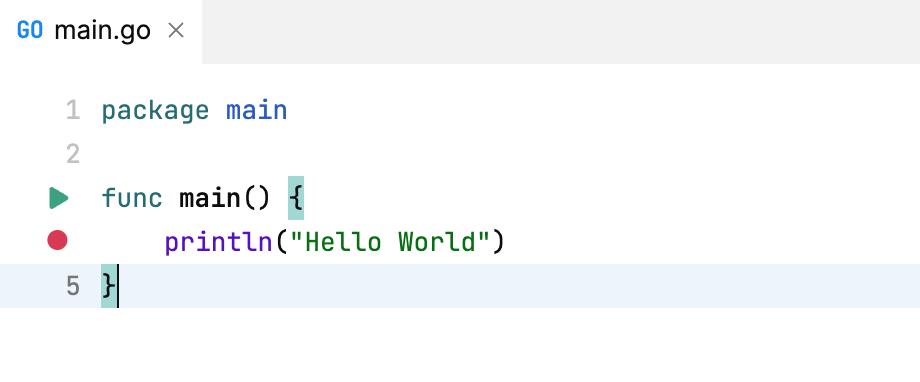
main.go.Type or paste some code. You can use the following code snippet:
package main

func main() {
	println("Hello World")
}
Alternatively, in the editor, select Simple application. The Simple application option creates a file with an empty
mainfunction in themainpackage.In the Files view, right-click the folder node, then select New File.
Type
go.modand press .Type or paste some code. You can use the following code snippet:
module myGoApp

go 1.17
Now we have to specify the project settings, such as the path to Go executable and so on.
In Smart Mode, which will be covered later, JetBrains Fleet automatically detects a virtual environment and configures a Go SDK. If the automatic SDK detection fails, you can configure GOROOT manually.
Press and switch to the tab with the project settings:

In the Toolchains | GOROOT section, click the drop-down list, and do one of the following:
Select one of the detected Go SDK
Click Add Go Root, and then specify the path to the Go SDK directory.

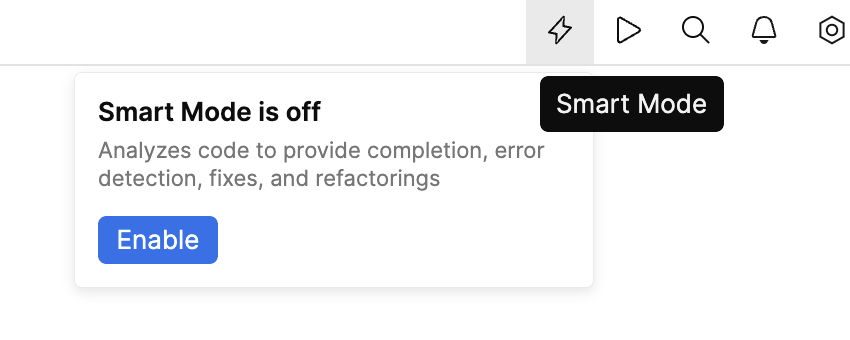
You can use JetBrains Fleet as a smart text editor, rather than a full-fledged code editor. However, if you need code intelligence features, you can enable them by turning Smart Mode on.
In the top-right corner of the window, click Smart Mode, then Enable.
After you click the Enable button, you may have to wait for some time, while the backend is being prepared.

With Smart Mode enabled, you can run your project. For that, you can use a gutter icon in the editor, or you can create a run configuration that will allow you to fine-tune the way your application should be run.
Navigate to the entry point of your application and click the run icon in the gutter. Select Run `go build <module_name>`.

Another way to run a program is to use a run configuration. It allows you to customize the startup: specify Go tool arguments and flags, environment variables, and so on.
For example, in the following example we use runParams to pass command-line parameters to our program. For more information about run configuration parameters, refer to Go run configurations.
Click the Run icon () and select Create Run Configurations in run.json.
In the run.json file that opens, define running or debugging parameters. If the file is empty, press or click the file template link.
Alternatively, paste and edit the following code:
{
  "configurations": [
    {
      "type": "go",
      "name": "findAverage",
      "goExecPath": "/usr/local/go/bin/go",
      "buildParams": [
        "$PROJECT_DIR$/main.go",
      ],
      "runParams":  ["1", "2", "3"]
    }
  ]
}
Modify the configuration properties according to your environment.
For more information about run configuration parameters, refer to Go run configurations.
Click the Run icon () and select the configuration.
Hover over the created run configuration and click Run.
Broadly, debugging is the process of detecting and correcting errors in a program. You can run the debugging from the gutter of the editor or by using run.json. For a tutorial on debugging, refer to Debugging quickstart.
Each debugging process starts with setting a breakpoint.
Click the gutter next to the line where you want to create a breakpoint.

Now we can proceed with debugging. As it was said, you can use the gutter icon or a run configuration.
Click the Run icon on the gutter.
Select Debug `go build <configuration_name>.

You can use run.json to configure the debugging process, the same approach we used in running your code.
Click the Run icon () and select Create Run Configurations in run.json.
In the run.json file that opens, define running or debugging parameters. If the file is empty, press or click the file template link.
Alternatively, paste and edit the following code:
{
  "configurations": [
    {
      "type": "go",
      "name": "findAverage",
      "goExecPath": "/usr/local/go/bin/go",
      "buildParams": [
        "$PROJECT_DIR$/main.go",
      ],
      "runParams":  ["1", "2", "3"]
    }
  ]
}
Modify the configuration properties according to your environment.
For more information about run configuration parameters, refer to Go run configurations.
Click the Run icon () and select the configuration.
Hover over the created run configuration and click Debug.