Micronaut
Micronaut is a modern Java framework for writing microservice and serverless applications. IntelliJ IDEA provides the following:
Coding assistance specific to the Micronaut API and the configuration file parameters. For example, when writing query methods, generating HTTP requests for defined endpoints, and so on.
A dedicated project creation wizard based on launch.micronaut.io.
A dedicated run configuration for Micronaut applications.
Create a new Micronaut project
Launch IntelliJ IDEA.
If the Welcome screen opens, click New Project.
Otherwise, go to in the main menu.
Select Micronaut from the left pane.
Click
to enter the URL of the service that you want to use, or leave the default one.
Specify a name and location for your project and configure project metadata: select a language, a build tool, and specify an artifact ID.
From the JDK list, select the JDK that you want to use in your project.
If the JDK is installed on your computer, but not defined in the IDE, select Add JDK and specify the path to the JDK home directory.
If you don't have the necessary JDK on your computer, select Download JDK.
If you want to build your project on a Java version different from your project JDK version, you can select it here.

Click Next.
On the next step of the wizard, from the Features list, select the necessary options and click Create.
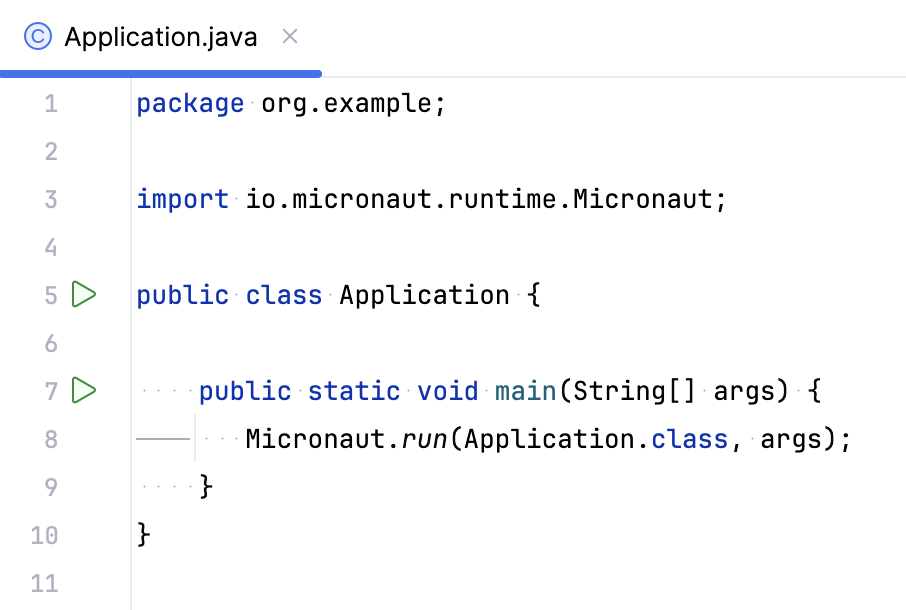
The generated project contains only the main Application class and everything necessary to run the application. IntelliJ IDEA recognizes it and adds to the gutter, which you can click to run the application.

However, an empty project is boring. Let's make the application return Hello World! in response to an HTTP GET request.
Add a Micronaut HTTP controller
Right-click the directory with the main class (be default, it is src/main/java/com/example) and select .
Type the name of the class
HelloControllerand press Enter.Copy the following code into the created file:
package com.example; import io.micronaut.http.MediaType; import io.micronaut.http.annotation.Controller; import io.micronaut.http.annotation.Get; import io.micronaut.http.annotation.Produces; @Controller("/hello") public class HelloController { @Get(produces = MediaType.TEXT_PLAIN) public String sayHello() { return "Hello World!"; } }The
@Controllerannotation defines the class as an HTTP controller mapped to the/helloendpoint.The
@Getannotation maps all HTTP GET requests for this endpoint to thesayHello()method and sets theContent-Typeof the response totext/plain.The
sayHello()method returns the stringHello World!.
IntelliJ IDEA recognizes the HTTP controller and marks it with in the gutter. You can also click
to generate an HTTP request for the endpoint and open it in a separate HTTP client editor tab. IntelliJ IDEA provides other gutter icons, for example:
Navigate to event listeners
Navigate to event publisher
Navigate to the autowired dependencies
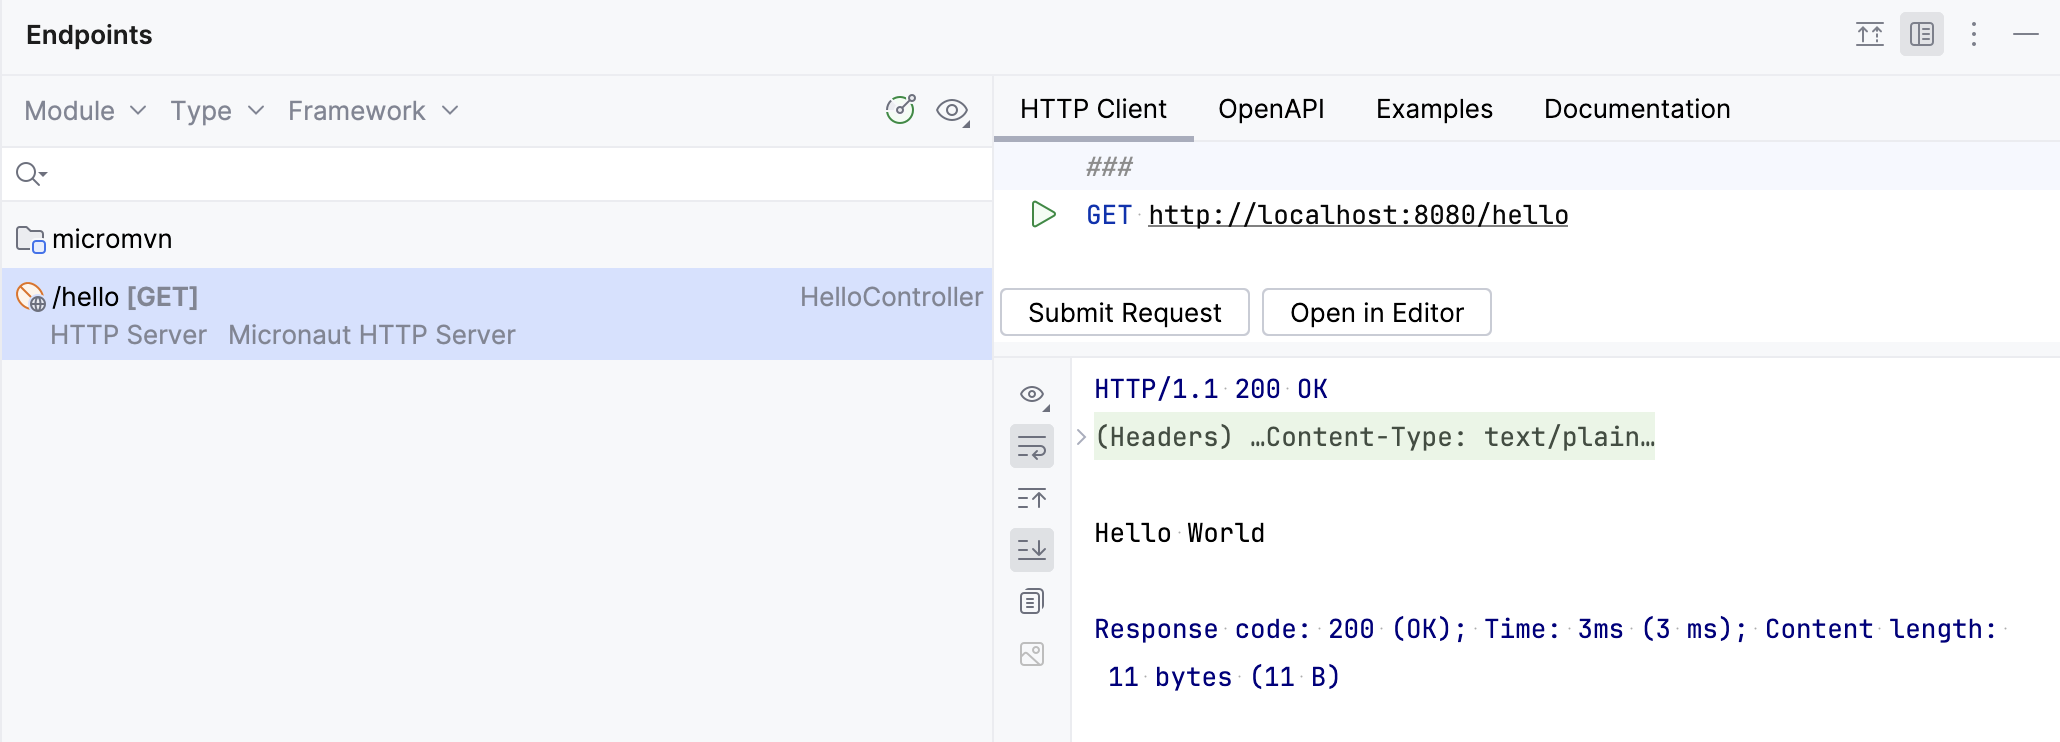
To see all the endpoints defined in your application, open the Endpoints tool window. For example, here is the /hello endpoint:

Run the Micronaut application
IntelliJ IDEA creates a Micronaut run configuration that executes the necessary Maven goal or Gradle task.
Select the Micronaut run configuration in the main toolbar and click
or press Shift+F10.
Alternatively, you can press Alt+Shift+F10 and select the necessary run configuration.
If successful, you should see the output log in the Run tool window.

By default, the application starts on http://localhost:8080. Open this address in a web browser, and you will see the standard error response because the application root doesn't handle GET requests:
However, the application has an HTTP controller that responds to GET requests. If you open the http://localhost:8080/hello endpoint, the application will respond with Hello World!.
Quickly create connection to a database
Using the Database Tools and SQL plugin, IntelliJ IDEA lets you create and manage connections to databases.
In a Micronaut project, you can instantly create it from your application properties file.
Open an application.properties or application.yml file. If it contains datasource-related properties (for example,
mongodb.uriorredis.host) , the datasource iconwill be displayed in the gutter.
Click
. This will open the data source creation form with some of the parameters (such as URL, username, or database name) populated based on data from your configuration file.
If the data source is already configured, the datasource icon
is displayed instead. Click it to open the datasource in the Database tool window.

Below is the list of databases for which this action is available:
Amazon Redshift
Apache Cassandra
Apache Derby
Couchbase
H2
HSQLDB
IBM Db2
MariaDB
Microsoft SQL Server
MongoDB
MySQL
Oracle Database
PostgreSQL
Redis
SQLite
Sybase
For more details on data source parameters, refer to Data sources.