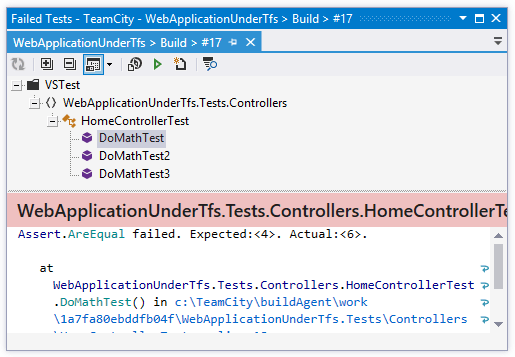
Failed Tests window
This window allows analyzing unit tests that failed on your TeamCity server. You can view failed tests for a specific build by clicking the Open Failed Tests ![]() button in the My Changes window or by using the Open in IDE context command on a failed test in your TeamCity server web UI.
button in the My Changes window or by using the Open in IDE context command on a failed test in your TeamCity server web UI.
note
This functionality is only available if JetBrains ReSharper is installed in the current Visual Studio version.

Control | Name | Description |
|---|---|---|
| Refresh | Updates the window content to reflect the test status on your TeamCity server. This button is only relevant when the build is running. |
| Expand All/Collapse All | Expands/collapses all nodes in the current tab. |
| Show Output Ctrl+P | This selector allows you to open the Output and the Coverage panes and place them to the bottom or to the right of the window. The Output pane lets you analyze test results and navigate from a failed test's output to the code lines that originated the assertion or exception, all with a single click. |
| Navigate to Source Code | Allows you to jump to the source code of the selected test. You can also do so by double-clicking a test in the window. |
| Run Selected Tests | Runs selected tests with ReSharper unit test runner. To select multiple texts, use the Ctrl key. |
| Create New Session with Selected Tests | Creates a new unit test session for the selected tests. |
| Show stack trace in a new window | Opens stack trace of the selected test in the ReSharper's stack trace explorer. |
When failed unit tests open in the window, they are displayed in new tabs, which show up on the left. The previously open tabs move to the right if the width of the window allows, otherwise they unload themselves saving memory - but you can always restore them by clicking the arrow that appears to the right of the tabs and clicking the required tab:

To prevent a tab from unloading, click the pin icon ![]() next to the tab title.
next to the tab title.