Building and running
RustRover provides many ways to build and run Rust code. All of them rely on Cargo commands. However, they address different needs and may be useful in different situations.
Build/run using the Cargo tool window. The Cargo tool window displays a list of all project members and targets:
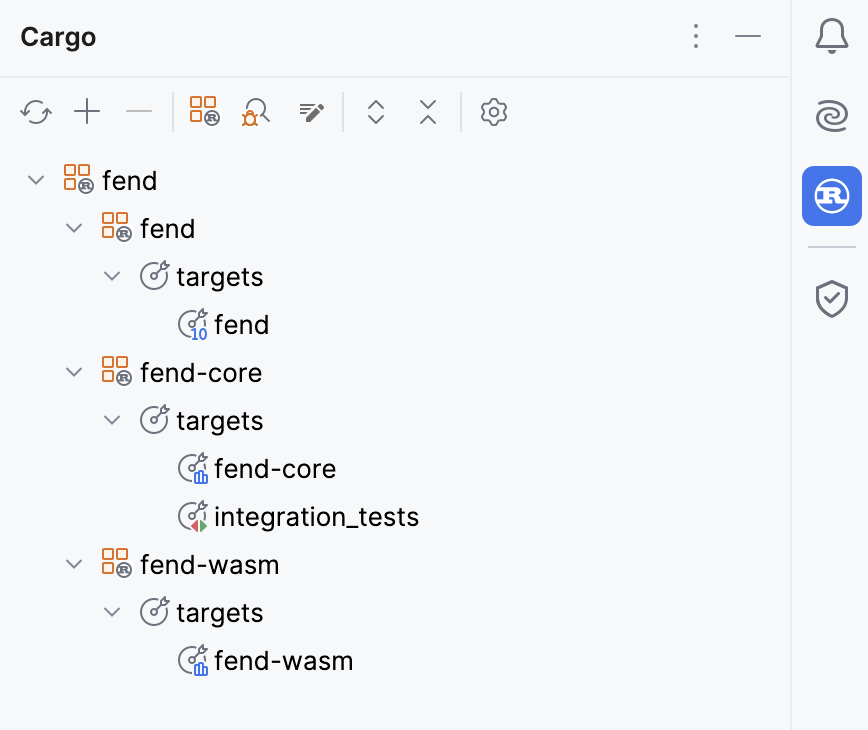
You can run any target with a double click – RustRover will execute the appropriate Cargo command depending on the target type.
Build/run using context actions. To run/build a function or test from the editor, use the icon on the gutter opposite its name:

You can also build/run files and packages from Project view: simply right-click the item and select the necessary action.
Use a custom run/debug configuration. If you'd like to run a certain Cargo command with specific settings and parameters over and over again, we recommend creating a run/debug configuration and running it from the main toolbar:

Use one of the following options to build a target or the entire project:
Open the Run Anything dialog (press twice) and enter the
cargo buildcommand.tip
If you want to build a specific target rather than the whole project, add appropriate options:
--bin(for a binary target),--lib(for a library target),--test(for tests), and so on. You can add other options too. Learn more about the Cargo build command from the Cargo Book.
To build the entire project in just two clicks, select Build | Build Project from the main menu.
If you want to build using a specific configuration, select it in the switcher and click
or press :

Once you trigger a build, RustRover will open the Build tool window (Build Output tab) displaying the build process and its results:
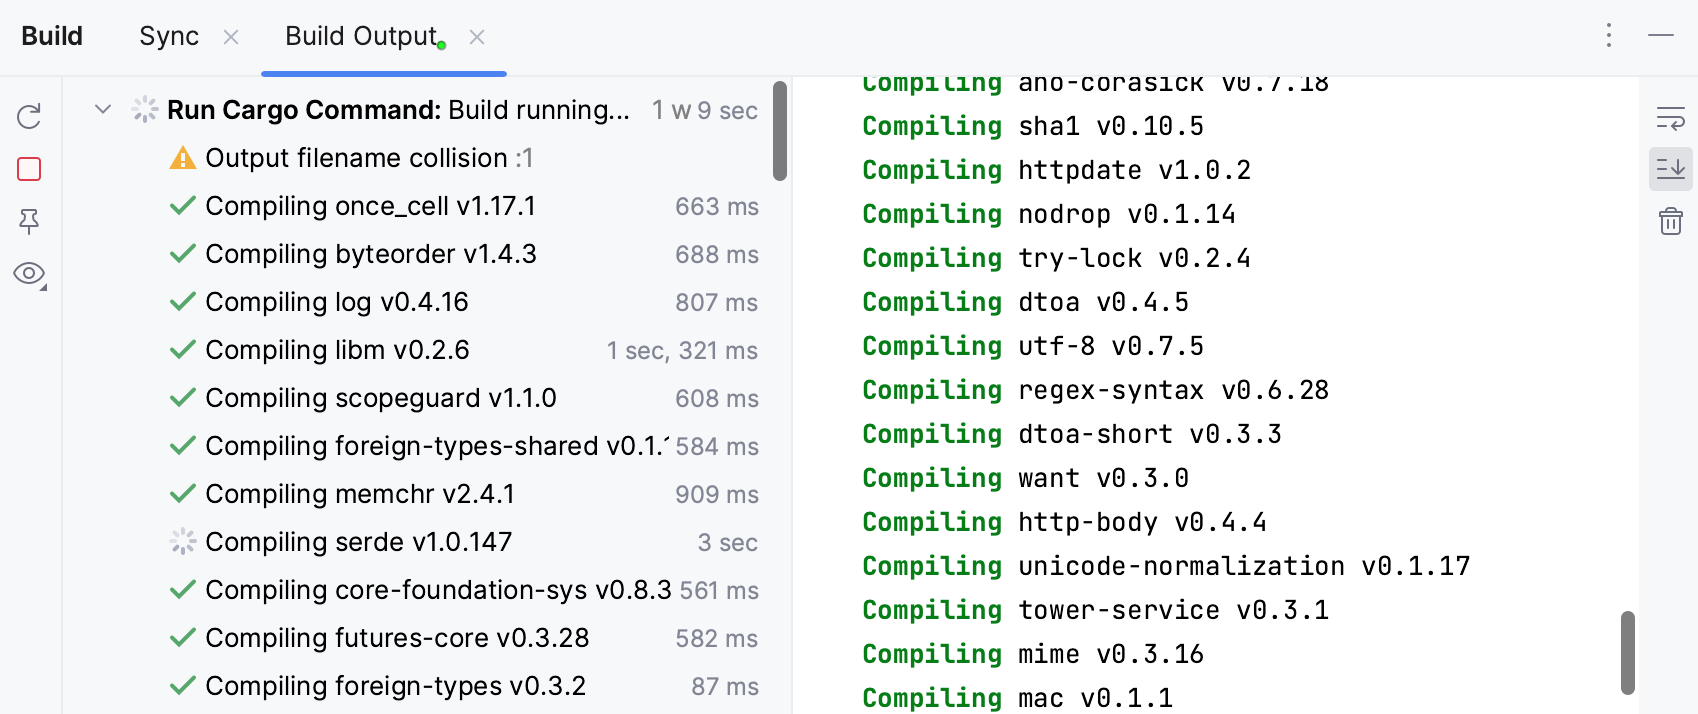
Use the buttons on the toolbar to stop or rerun
the build:
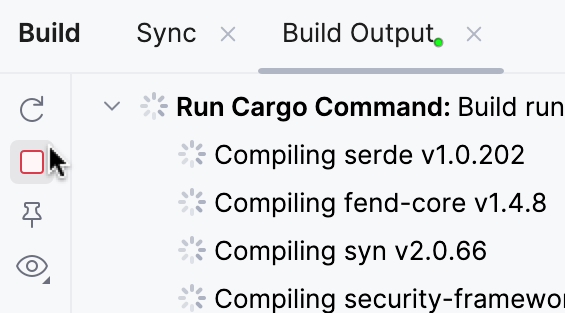
If compilation fails, the Build Output tab will display the errors. The compiler may suggest fixes, in which case you will see an Apply fix button next to each suggestion.

To run a target quickly using a default setup, choose one of the following options:
Locate the program entry point. Click
in the gutter and select Run:

Open the Project view. Right-click the necessary module (or the project root), and select Run:

In the Cargo tool window (View | Tool Windows | Cargo), double-click the necessary target.

The IDE will create a temporary run configuration – it's name will be displayed in the switcher.

You can save the temporary configuration as permanent for future use.
Before proceeding to the steps below, make sure you have created a permanent configuration or saved a temporary configuration as permanent.
In the configuration switcher, click
next to the desired configuration.

Alternatively, select the configuration and click
on the toolbar.
Select Run | Run from the main menu or press .
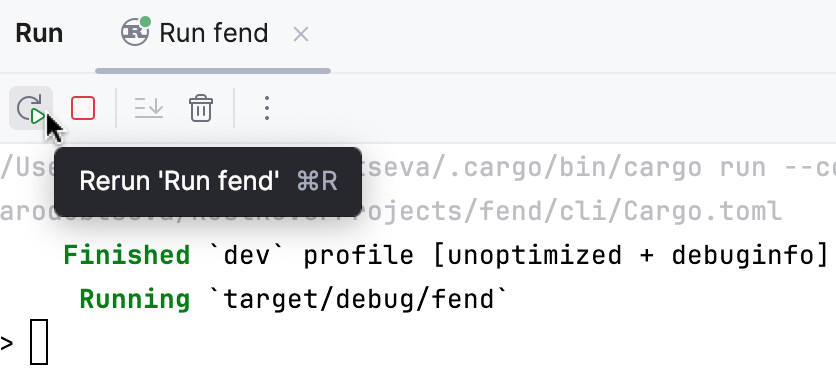
Once you run your code, the IDE will open the Run tool window where you can observe output, interact with the program, and control execution:
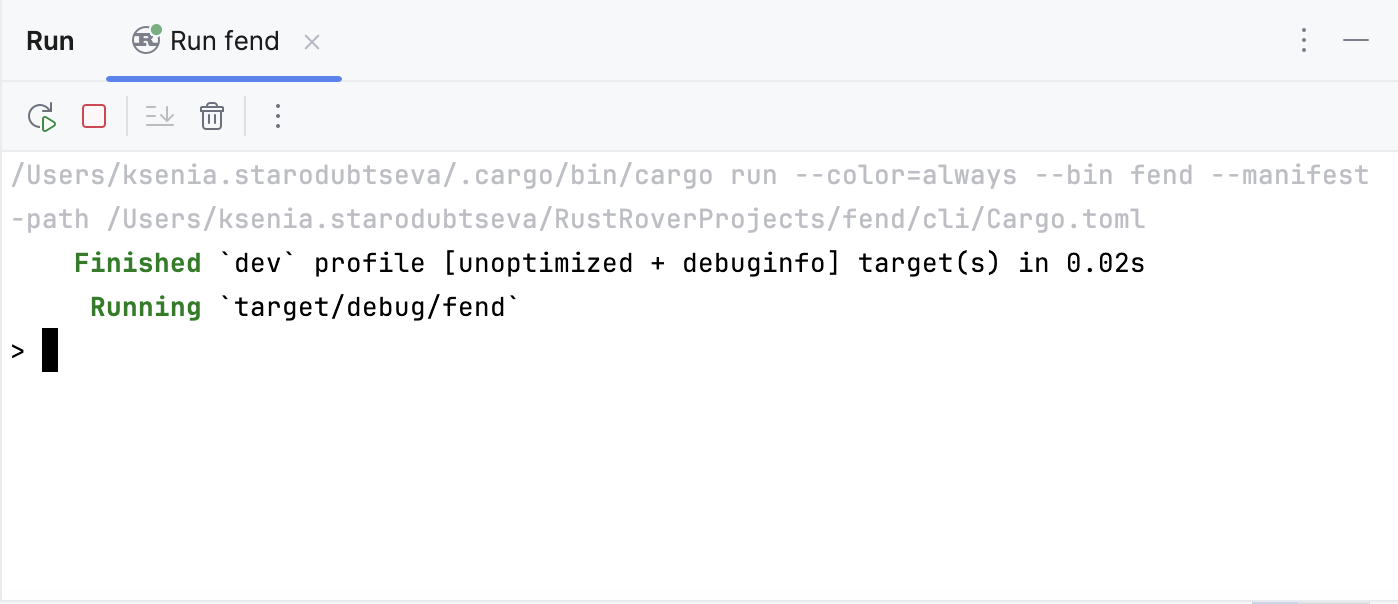
Use the toolbar on the left to control execution, navigate through result, and organize the Run tab.
To track errors that show up at runtime, you can run your application (or separate targets) in debug mode. For more information about debugging, refer to Debug code.