Configure type rendering
During a debugging session, PyCharm shows you information about your variables, classes, threads, frames, and more. Moreover, the debugger offers a range of options to customize the display of data according to your project's needs.
By default, PyCharm presents a well-organized and comprehensive view of debugging details in the Debug tool window. This layout provides you with the most commonly used options and actions.
However, you may want to examine some specific details or have the data filtered or rendered in a specific format. In this scenario, PyCharm lets you customize the default layout of the Debug tool window. You have the flexibility to create a powerful and granular configuration, ensuring that your classes are displayed according to your preferences.
Type renderers are also used in the Python Console and Jupyter Variable View.
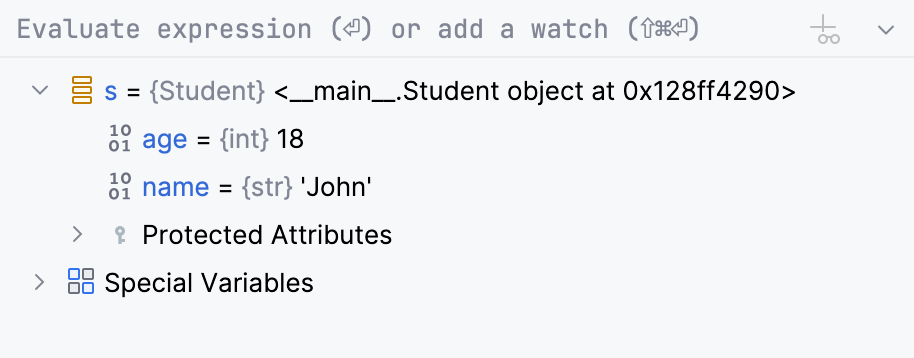
PyCharm allows you to provide a completely custom display format for various objects during a debugging session. This can be achieved by using renderers. A renderer is a special setup associated with a particular type that controls how the instances of this type are displayed in the Debug tool window. This setup is based on custom expressions that provide high level of flexibility for displaying the data.

Renderers support all types including primitives and arrays. Also, renderers disregard all access modifiers, so you can access any field irrespective of whether it is encapsulated.
Renderers are particularly useful when you are working with custom collections, whose contents aren't easily readable, and you need to identify their contents at a glance.
note
Note the following:
using heavy expressions in renderers may downgrade debugging performance
method calls should be used with caution because of their possible side-effects
Right-click any object on the Threads & Variables tab of the Debug tool window and select Customize Data View from the context menu.
The Python Type Renderers page of Settings with a new renderer opens. Configure it as required.

Apply the changes and preview the updates in the Debug tool window and the editor.

Item | Description |
|---|---|
Renderer name | The name of the renderer. This name is used for managing renderers and doesn't affect how actual data is displayed. |
Apply renderer to objects of type (fully-qualified name) | The object type to which this renderer applies. Enter the fully qualified name of the class. |
When rendering a node | This option determines how an object itself is displayed:
|
When expanding a node | This option determines how the contents of an object are displayed when it is expanded.
|
Append default children | Controls whether the fields of the object (that would be normally displayed when no renderer is specified) should appear along with the expression results. This option is only available with Use list of expressions. |
Right-click anywhere in the Variables tab and select Customize data views.
On the Python Type Renderers tab, select the renderer that you are going to remove and click
Delete. Then, apply the changes.
You can temporarily disable renderers without removing them altogether:
To mute a single renderer, right-click anywhere in the Variables tab and select Customize data views. On the Python Type Renderers tab, clear the box against the renderer you are going to mute and apply the changes.
When required, you can unmute the renderers using the same procedure.
Thanks for your feedback!