Configure an interpreter using Docker
Available only in PyCharm Professional: download to try or compare editions
PyCharm integration with Docker allows you to run your applications in the variously configured development environments deployed in Docker containers.
Make sure that the following prerequisites are met:
Docker is installed, as described in the Docker documentation.
You can install Docker on various platforms, but here we'll use the Windows installation.
Note that you might want to repeat this tutorial on different platforms; then use Docker installations for macOS and Linux (Ubuntu, other distributions-related instructions are available as well).
You have stable Internet connection, so that PyCharm can download and run
busybox:latest(the latest version of the BusyBox Docker Official Image). Once you have successfully configured an interpreter using Docker, you can go offline.Before you start working with Docker, make sure that the Docker plugin is enabled. The plugin is bundled with PyCharm and is activated by default. If the plugin is not activated, enable it on the Plugins page of the IDE settings as described in Install plugins.
In the Settings dialog (), select Build, Execution, Deployment | Docker, and select Docker for <your operating system> under Connect to Docker daemon with. For example, if you're on macOS, select Docker for Mac. See more detail in Docker settings.
Note that you cannot install any Python packages into Docker-based project interpreters.
Create a Python project QuadraticEquation, add the Solver.py file, and copy and paste the following code:
import math


class Solver:

    def demo(self, a, b, c):
        d = b ** 2 - 4 * a * c
        if d > 0:
            disc = math.sqrt(d)
            root1 = (-b + disc) / (2 * a)
            root2 = (-b - disc) / (2 * a)
            return root1, root2
        elif d == 0:
            return -b / (2 * a)
        else:
            return "This equation has no roots"


if __name__ == '__main__':
    solver = Solver()

    while True:
        a = int(input("a: "))
        b = int(input("b: "))
        c = int(input("c: "))
        result = solver.demo(a, b, c)
print(result)Now, let's define a Docker-based remote interpreter.
Do one of the following:
Click the Python Interpreter selector and choose Add New Interpreter.
Press to open Settings and go to Project: <project name> | Python Interpreter. Click the Add Interpreter link next to the list of the available interpreters.
Click the Python Interpreter selector and choose Interpreter Settings. Click the Add Interpreter link next to the list of the available interpreters.
Select On Docker.
Select an existing Docker configuration in the Docker server dropdown.
Alternatively, click
and perform the following steps to create a new Docker configuration:
- Create a Docker configuration
Click
to add a Docker configuration and specify how to connect to the Docker daemon.
The connection settings depend on your Docker version and operating system. For more information, refer to Docker connection settings.
The Connection successful message should appear at the bottom of the dialog.

For more information about mapping local paths to the virtual machine running the Docker daemon when using Docker on Windows or macOS, refer to Virtual machine path mappings for Windows and macOS hosts. You will not be able to use volumes and bind mounts for directories outside of the mapped local path.
This table is not available on a Linux host, where Docker runs natively and you can mount any directory to the container.
The following actions depend on whether you want to pull a pre-built image from a Docker registry or to build an image locally from a Dockerfile.
- Pull a Docker image
Select Pull or use existing and specify the tag of the desired image in the Image tag field.

- Build a Docker image
Select Build and change the default values in the Dockerfile and Context folder fields if necessary.

If required, expand the Optional section and specify the following:
Image tag
Specify an optional name and tag for the built image.
This can be helpful for referring to the image in the future. If you leave the field blank, the image will have only a random unique identifier.
Build options
Set supported
docker buildoptions.For example, you can specify metadata for the built image with the
--labeloption.Build args
Specify the values for build-time variables that can be accessed like regular environment variables during the build process but do not persist in the intermediate or final images.
This is similar to using the
--build-argsoption with thedocker buildcommand.These variables must be defined in the Dockerfile with the
ARGinstruction. For example, you can define a variable for the version of the base image that you are going to use:ARG PY_VERSION=latest FROM python:$PY_VERSIONThe
PY_VERSIONvariable in this case will default tolatestand the Dockerfile will produce an image with the latest available version of Python, unless you redefine it as a build-time argument. If you set,PY_VERSION=3.10, Docker will pullpython:3.10instead, which will run a container with Python version 3.10.Redefining the
PY_VERSIONargument is similar to setting the following command-line option:--build-arg PY_VERSION=3.10You can provide several arguments separated by spaces.
Wait for PyCharm to connect to the Docker daemon and complete the container introspection.

Next, select an interpreter to use in the Docker container. You can choose any virtualenv or conda environment that is already configured in the container or select a system interpreter.

Click OK.
The configured remote interpreter is added to the list.
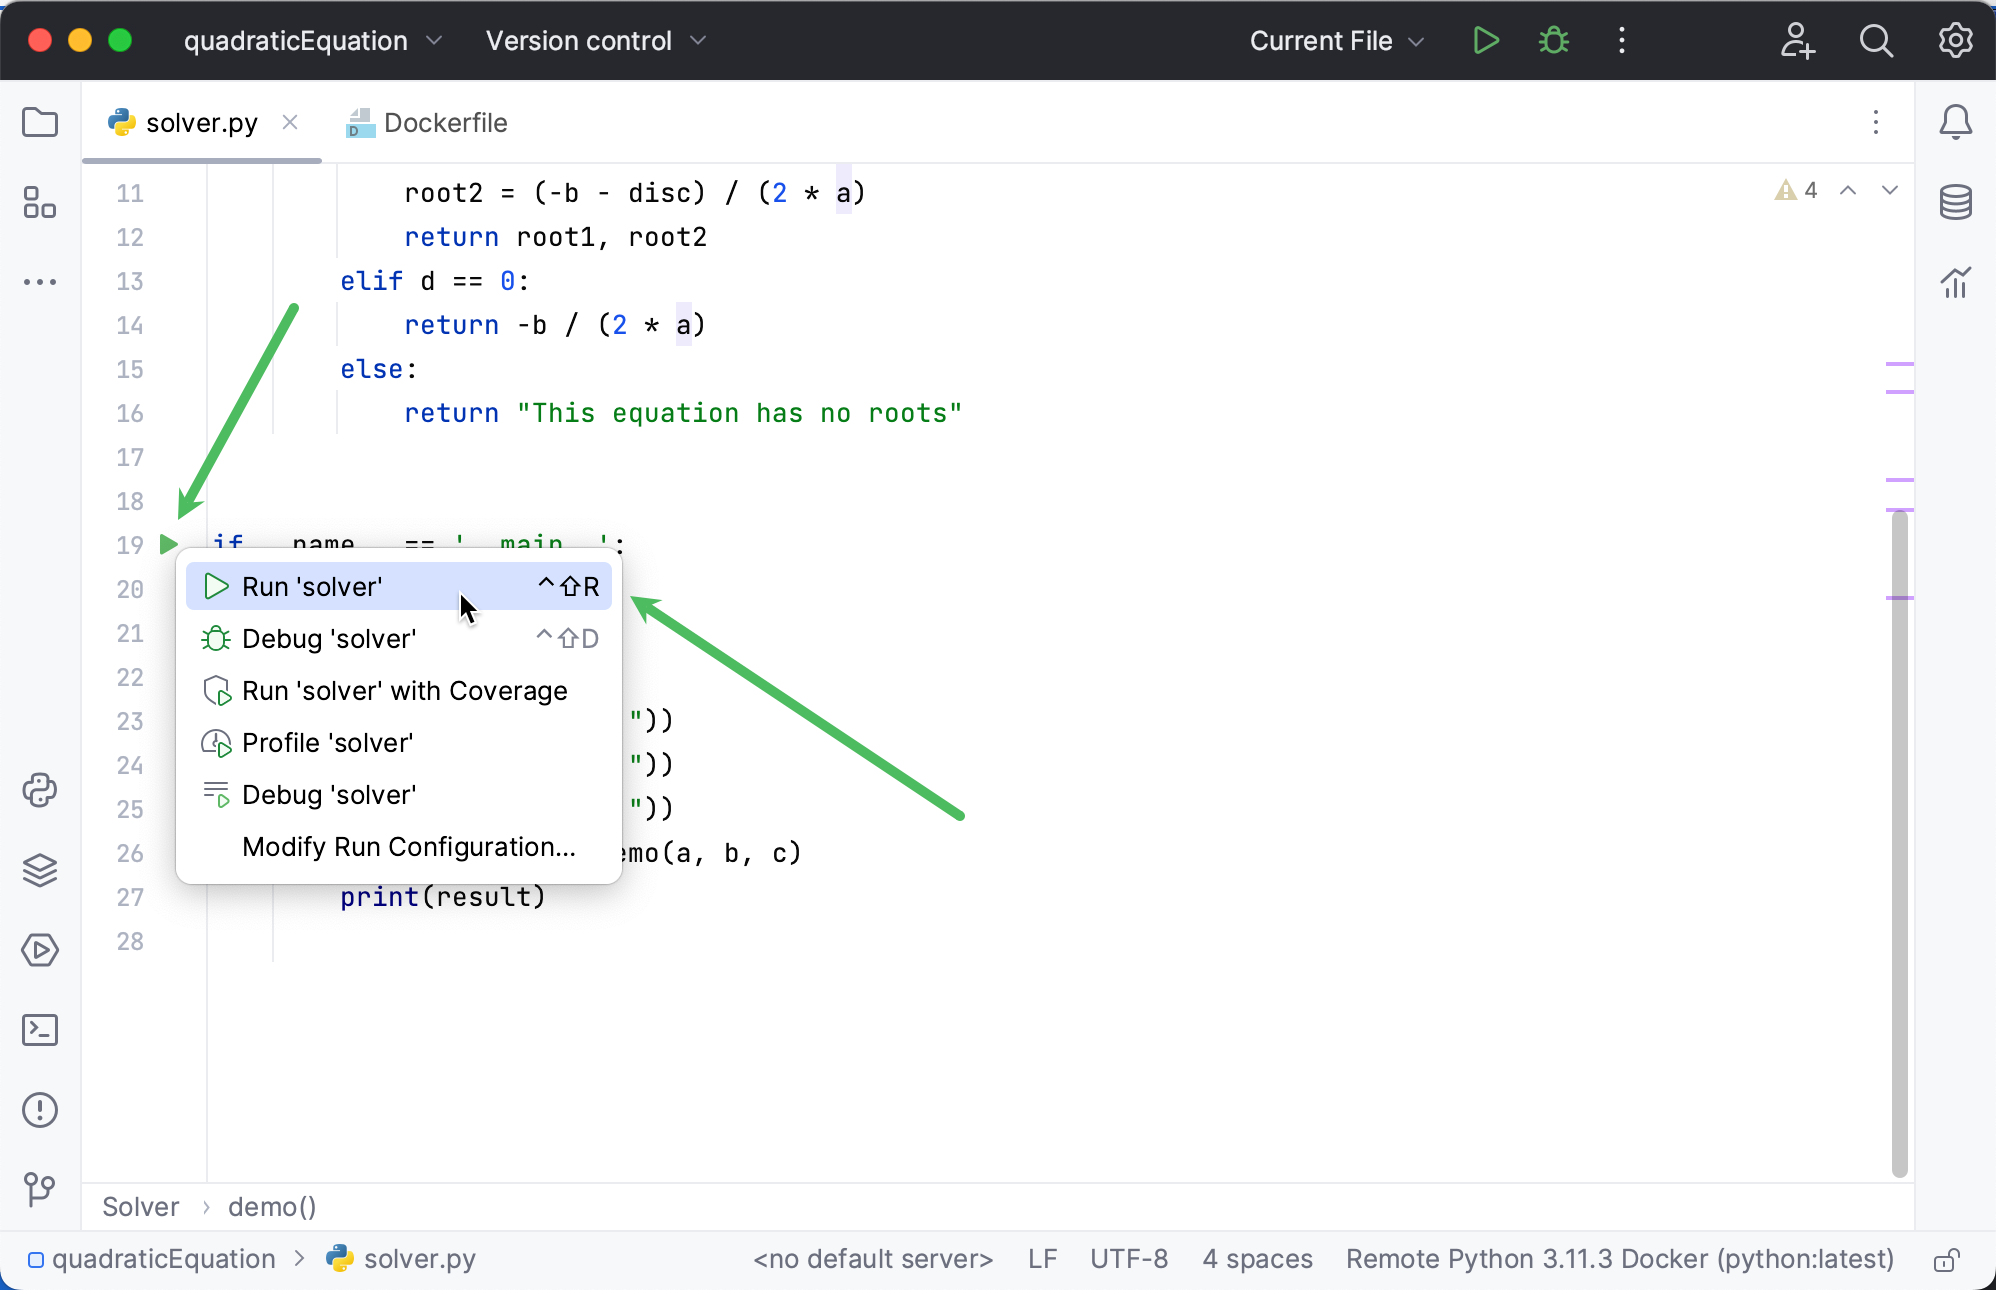
In the gutter, next to the main clause, click the icon, and choose Run 'solver':

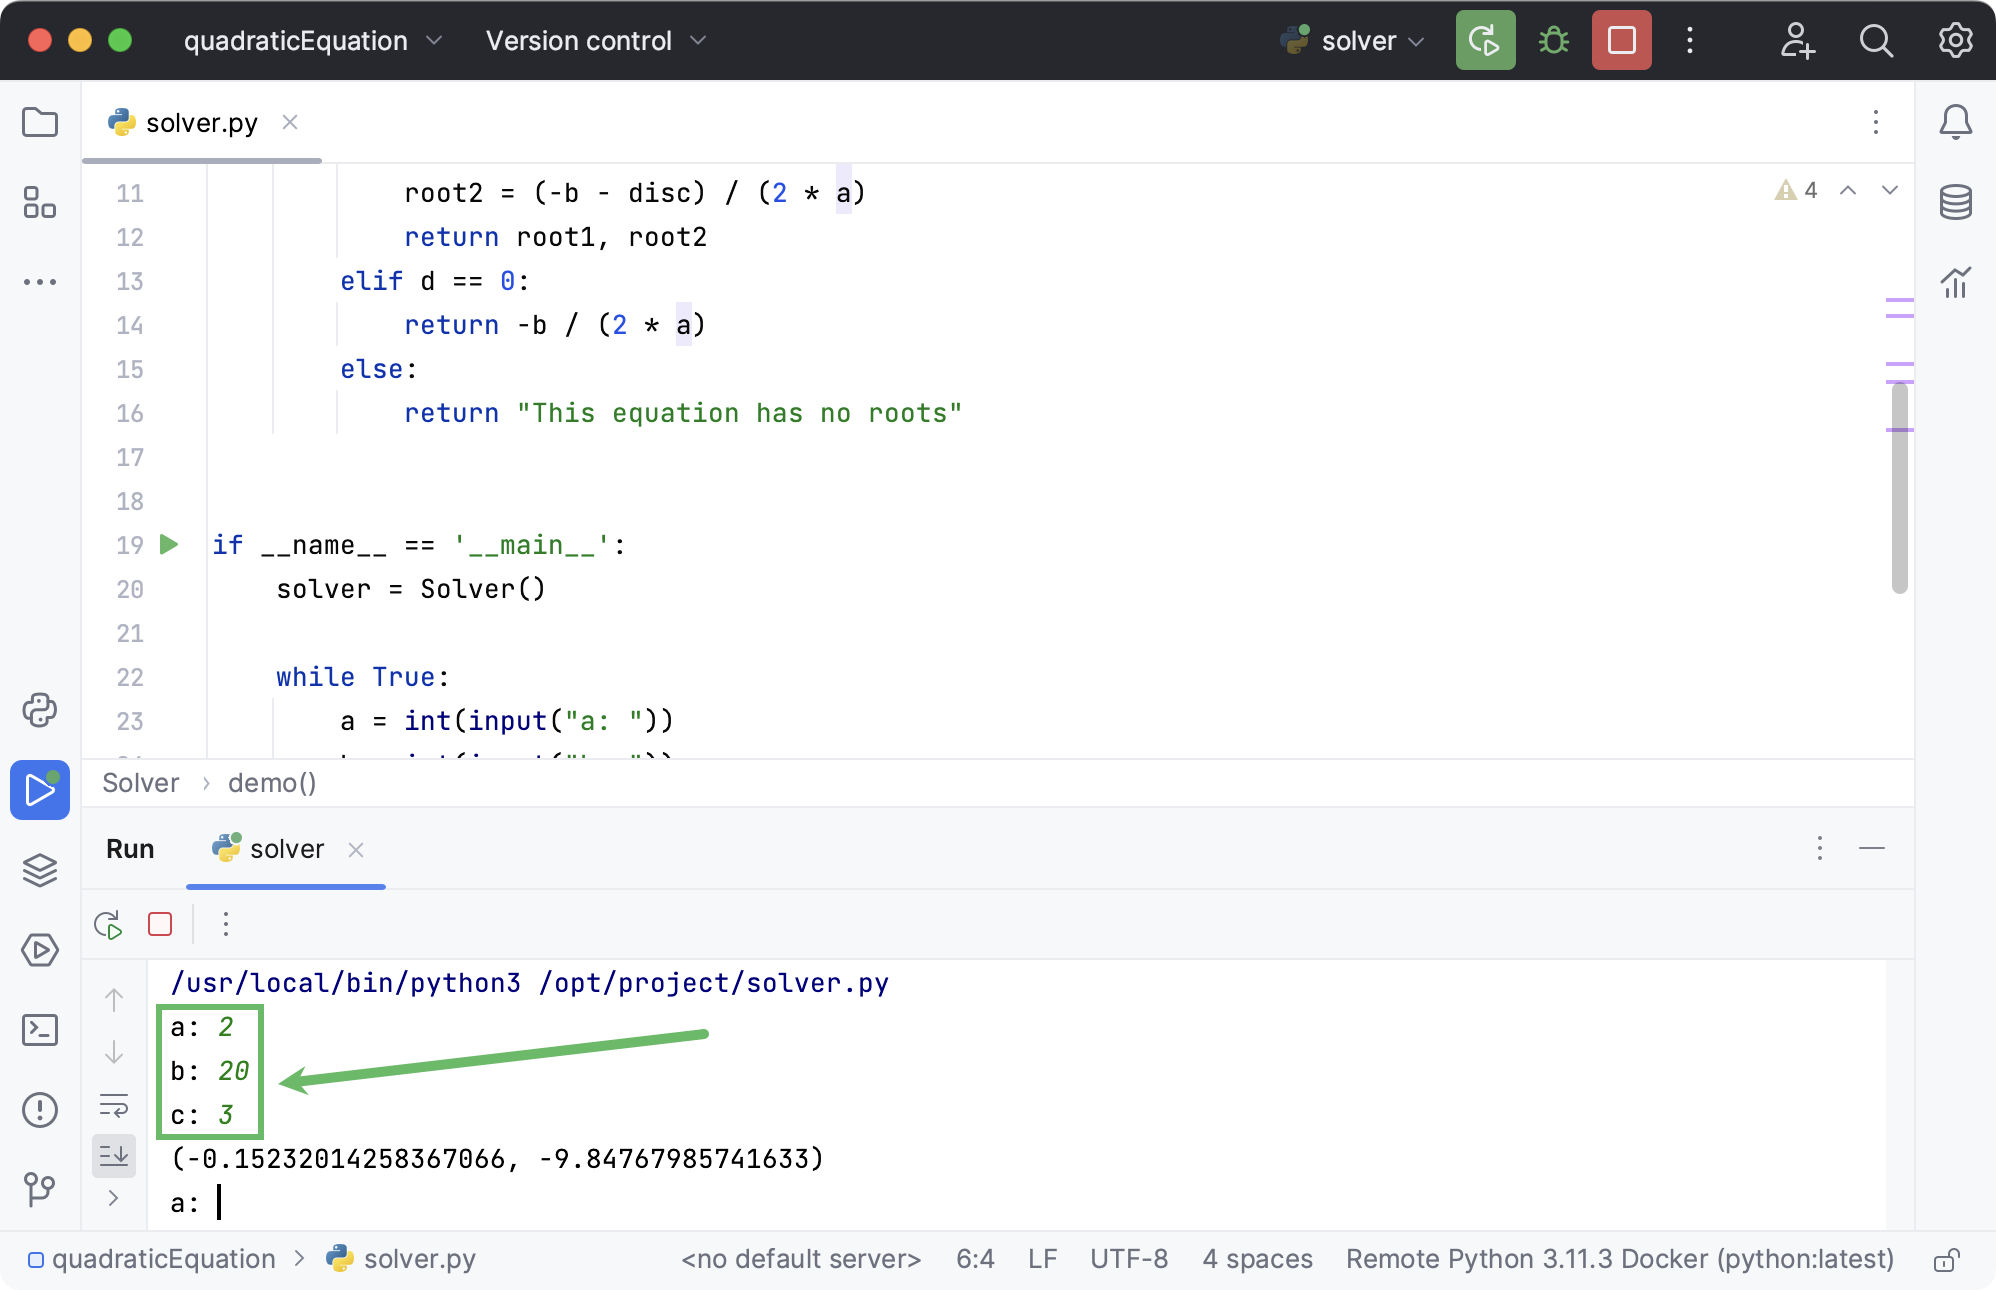
The script is launched in the Run tool window. Provide values to the script:

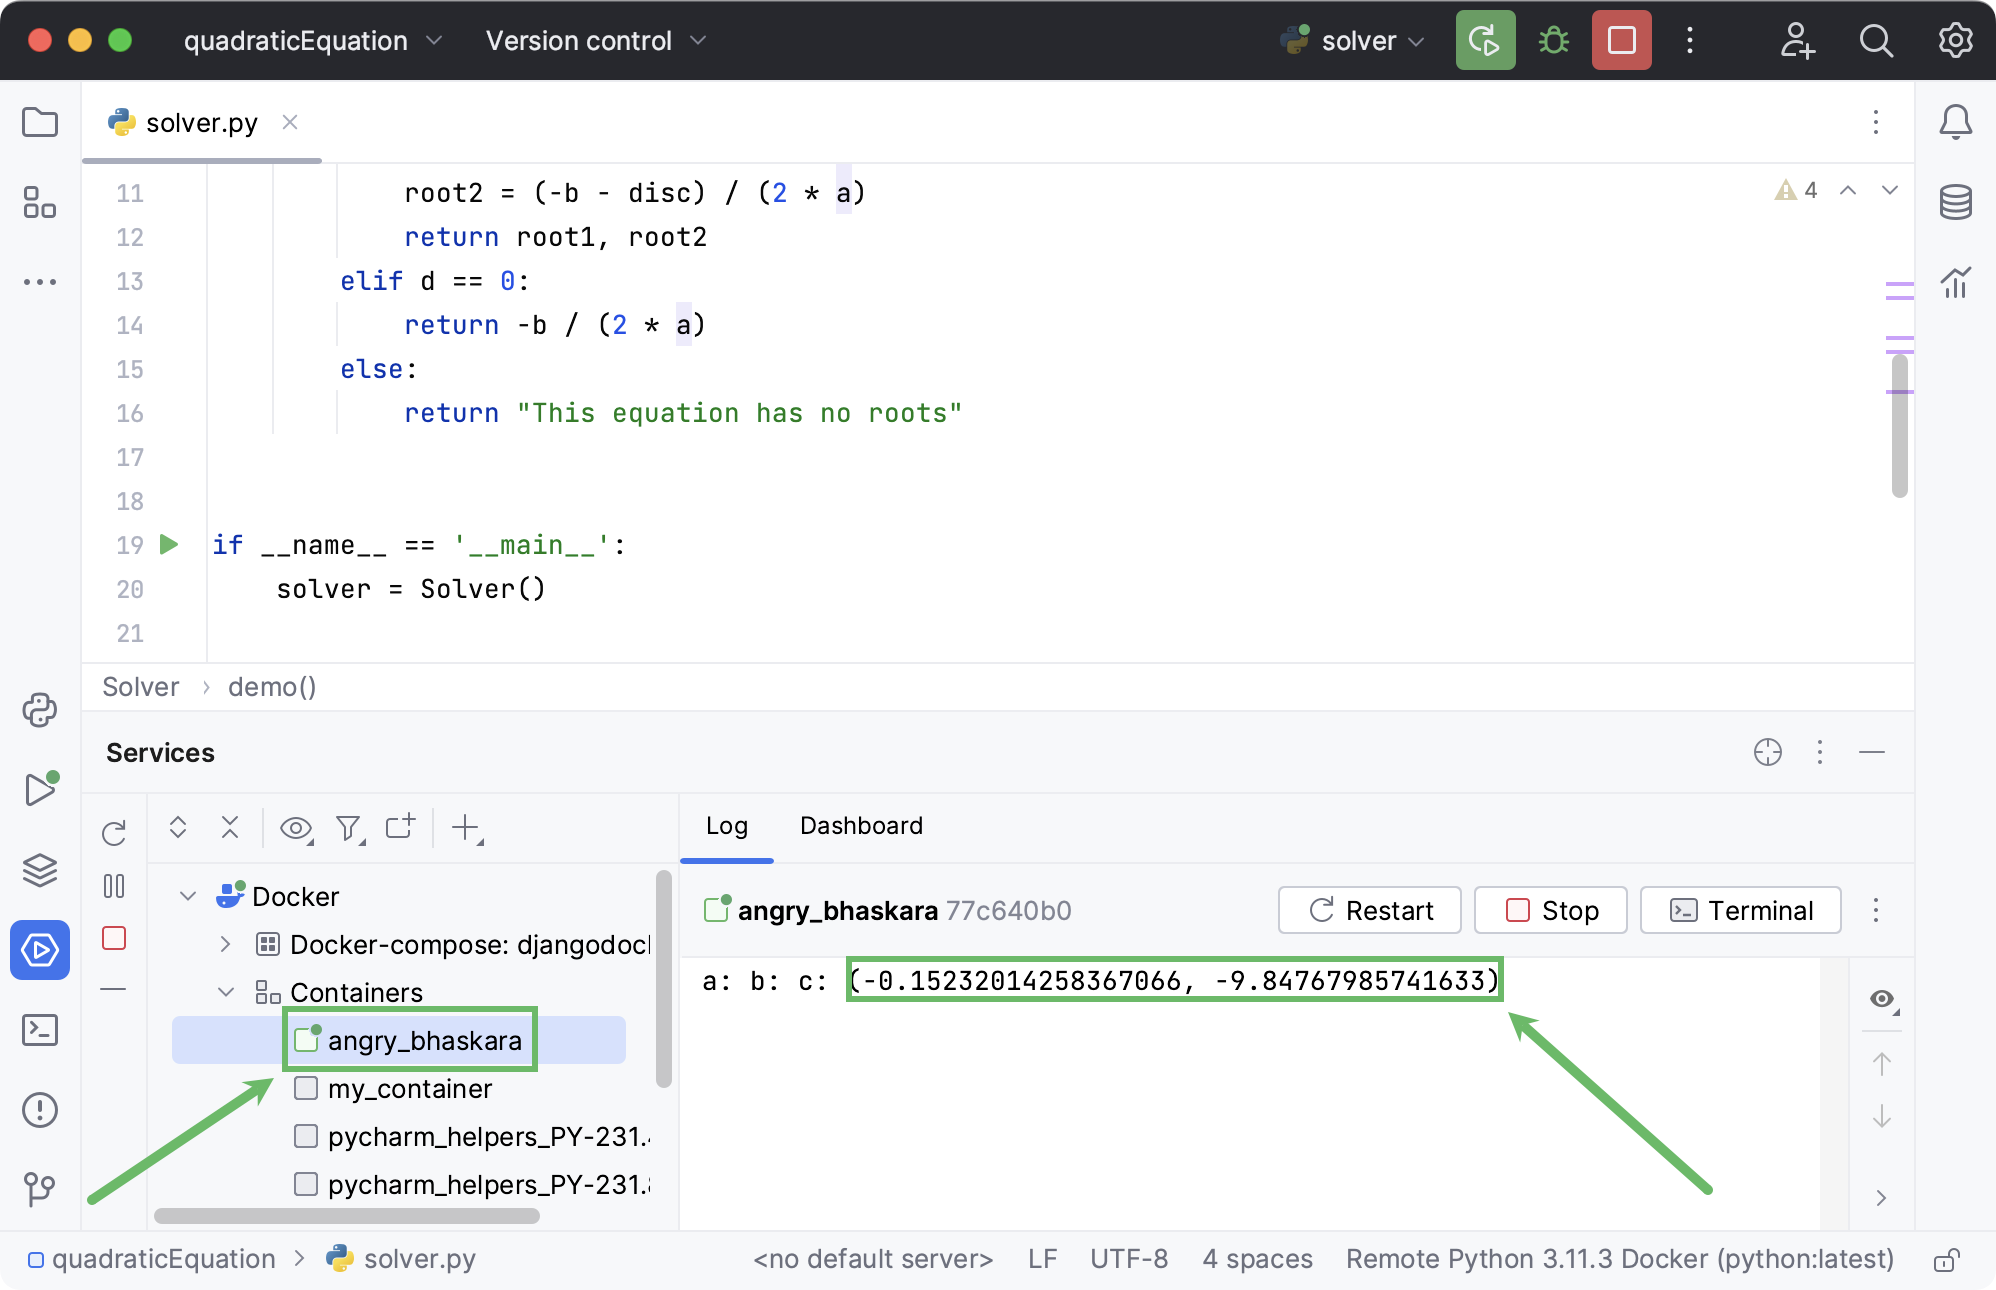
Switch to the Services tool window to preview the container details. Expand the Containers node and select the running container.

Note that the Log tab contains the same execution result.
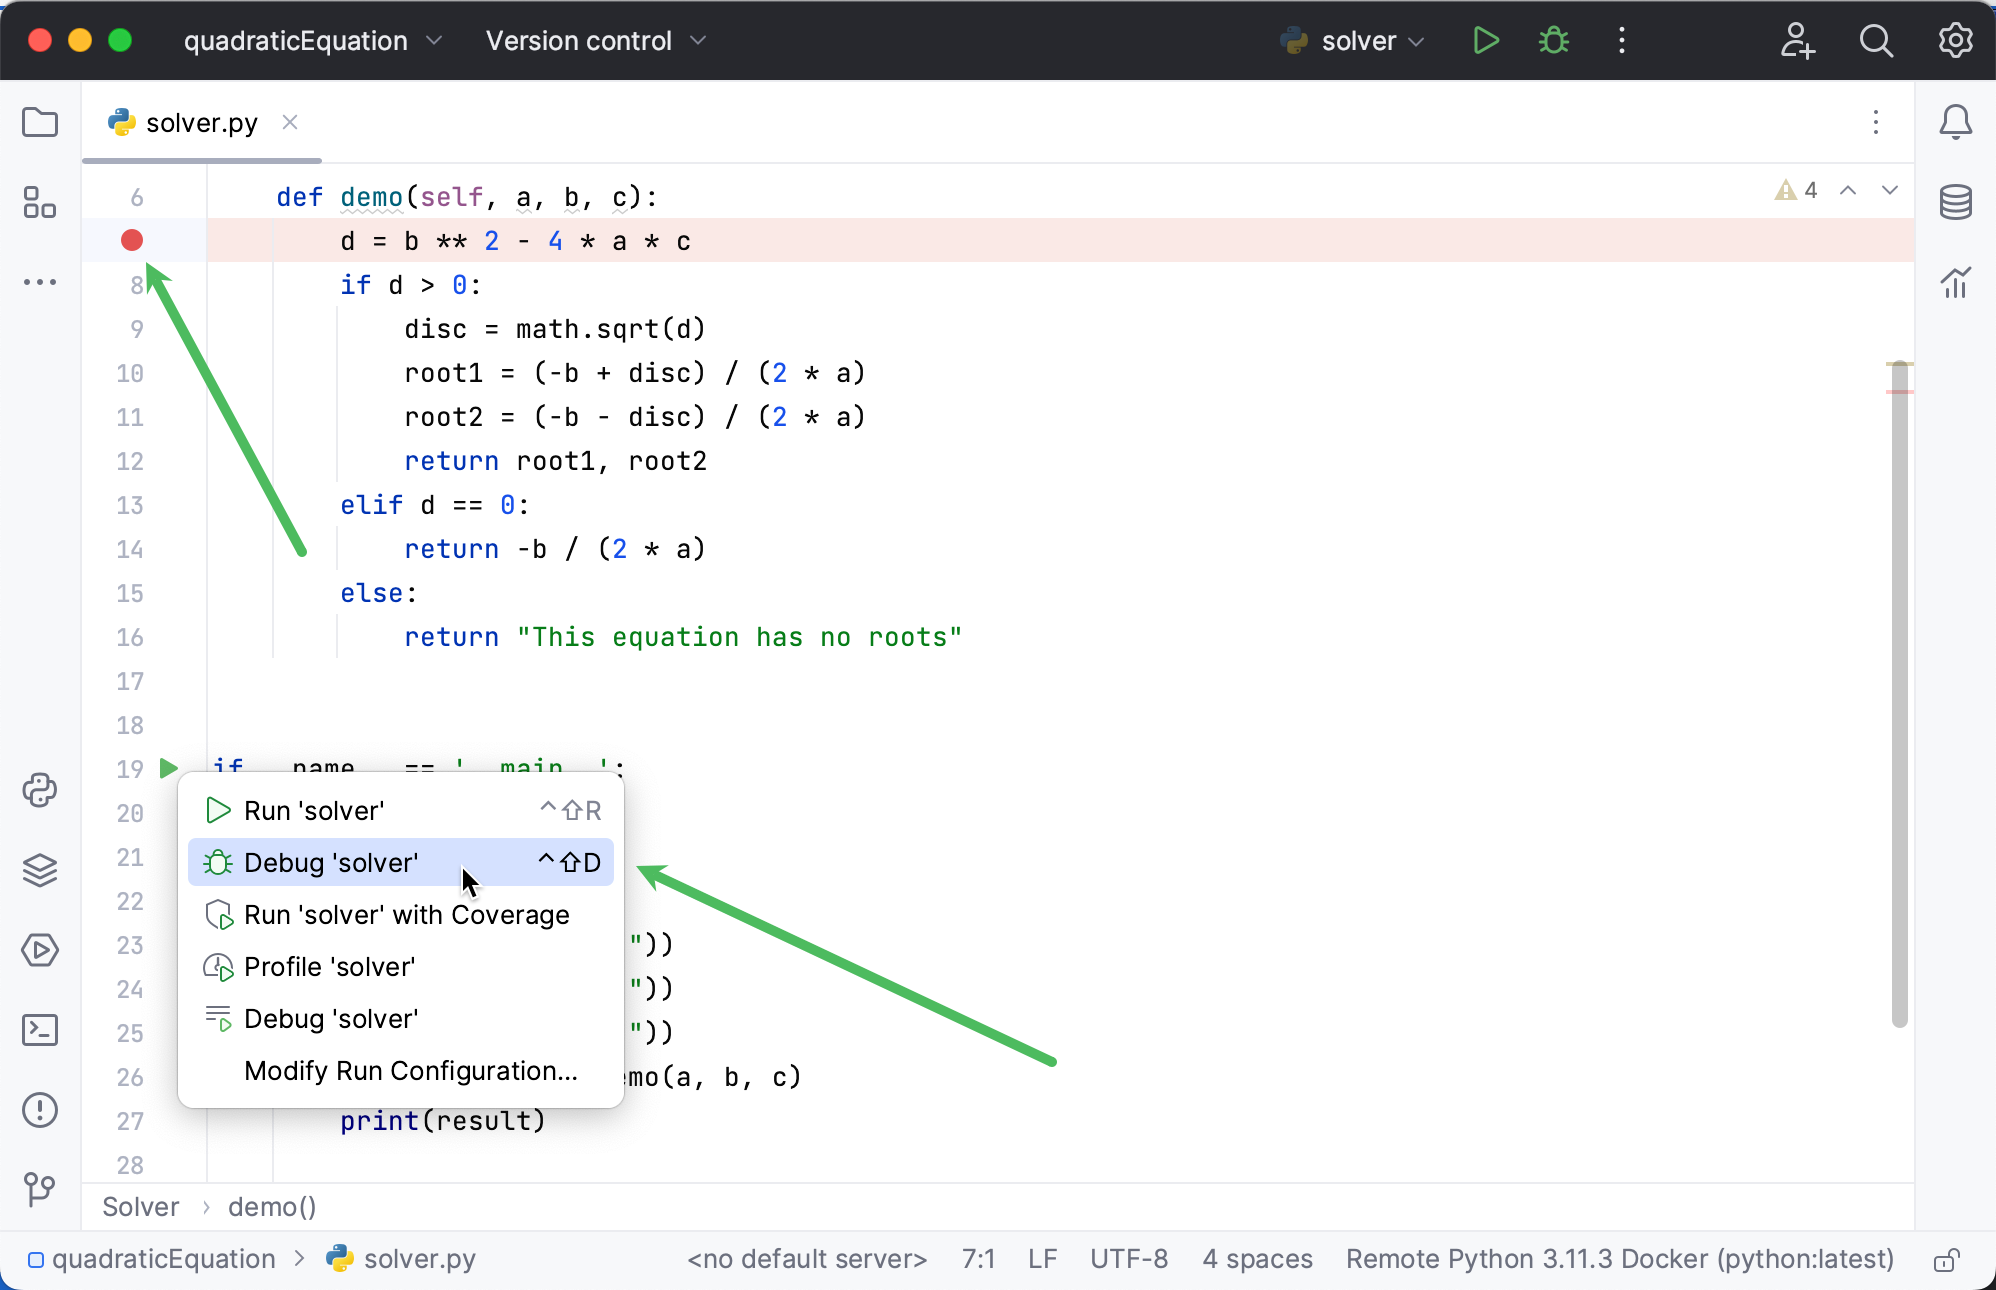
Next, let's debug the application. For that, let's put a breakpoint on the line that calculates d by clicking the line number. Then click in the gutter and choose Debug 'solver'.

The debugger runs also in the Docker container:

However, now this container has a different id, and hence - different name.
warning
It's important that PyCharm creates a new container, when an application is executed in any way. Whether it's running, debugging, running with coverage, testing - each execution requires a new container!
Let's summarize what has been done with the help of PyCharm:
We created a project and added a Python script.
We configured the remote interpreter.
We ran and debugged our script in the Docker containers.
Finally, we launched the Docker tool window and saw all the details visible in the Terminal.
See the following video tutorial for additional information: