Run AppCode for the first time
Last modified: 22 March 2023You can use the Toolbox App to run any JetBrains product. In case of a standalone installation, run AppCode from the Applications directory, Launchpad, or Spotlight.
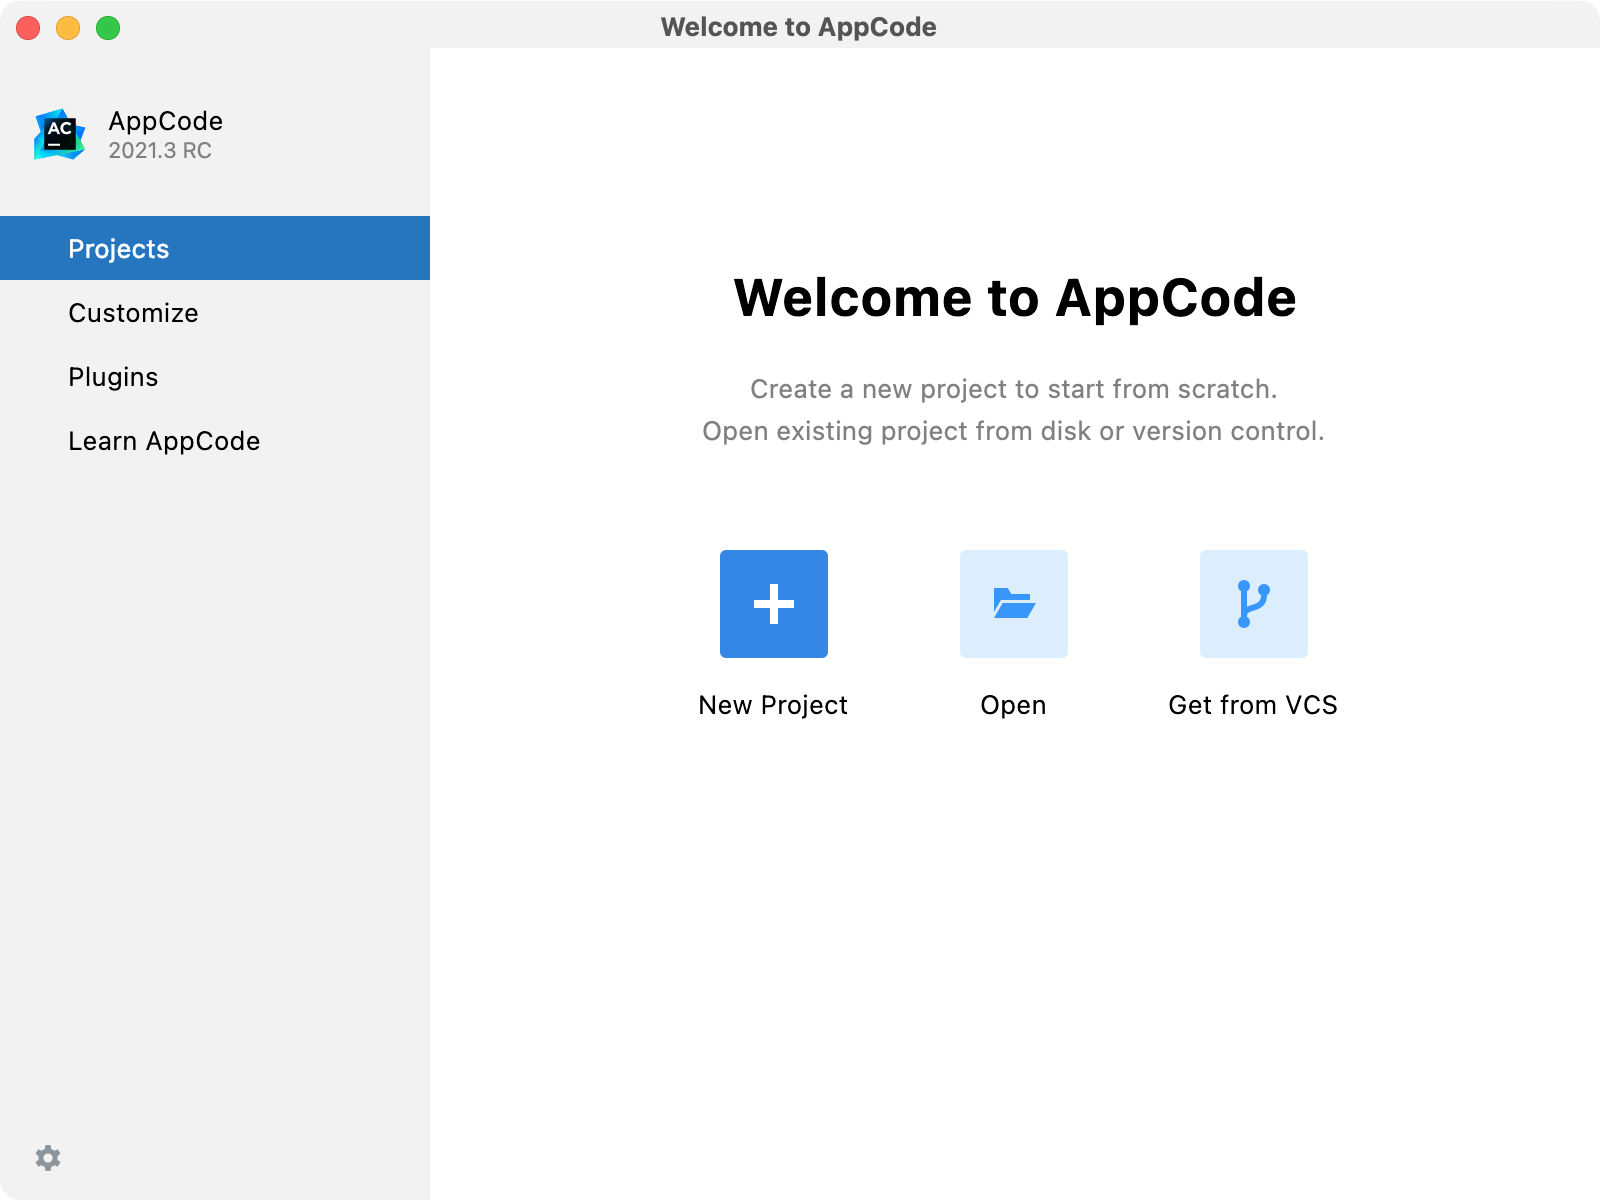
Once you launch AppCode, you will see the Welcome screen, the starting point to your work with the IDE, and configuring its settings. This screen also appears when you close all opened projects. Use the tabs on the left side to switch to the specific welcome dialog.
Customize the IDE appearance
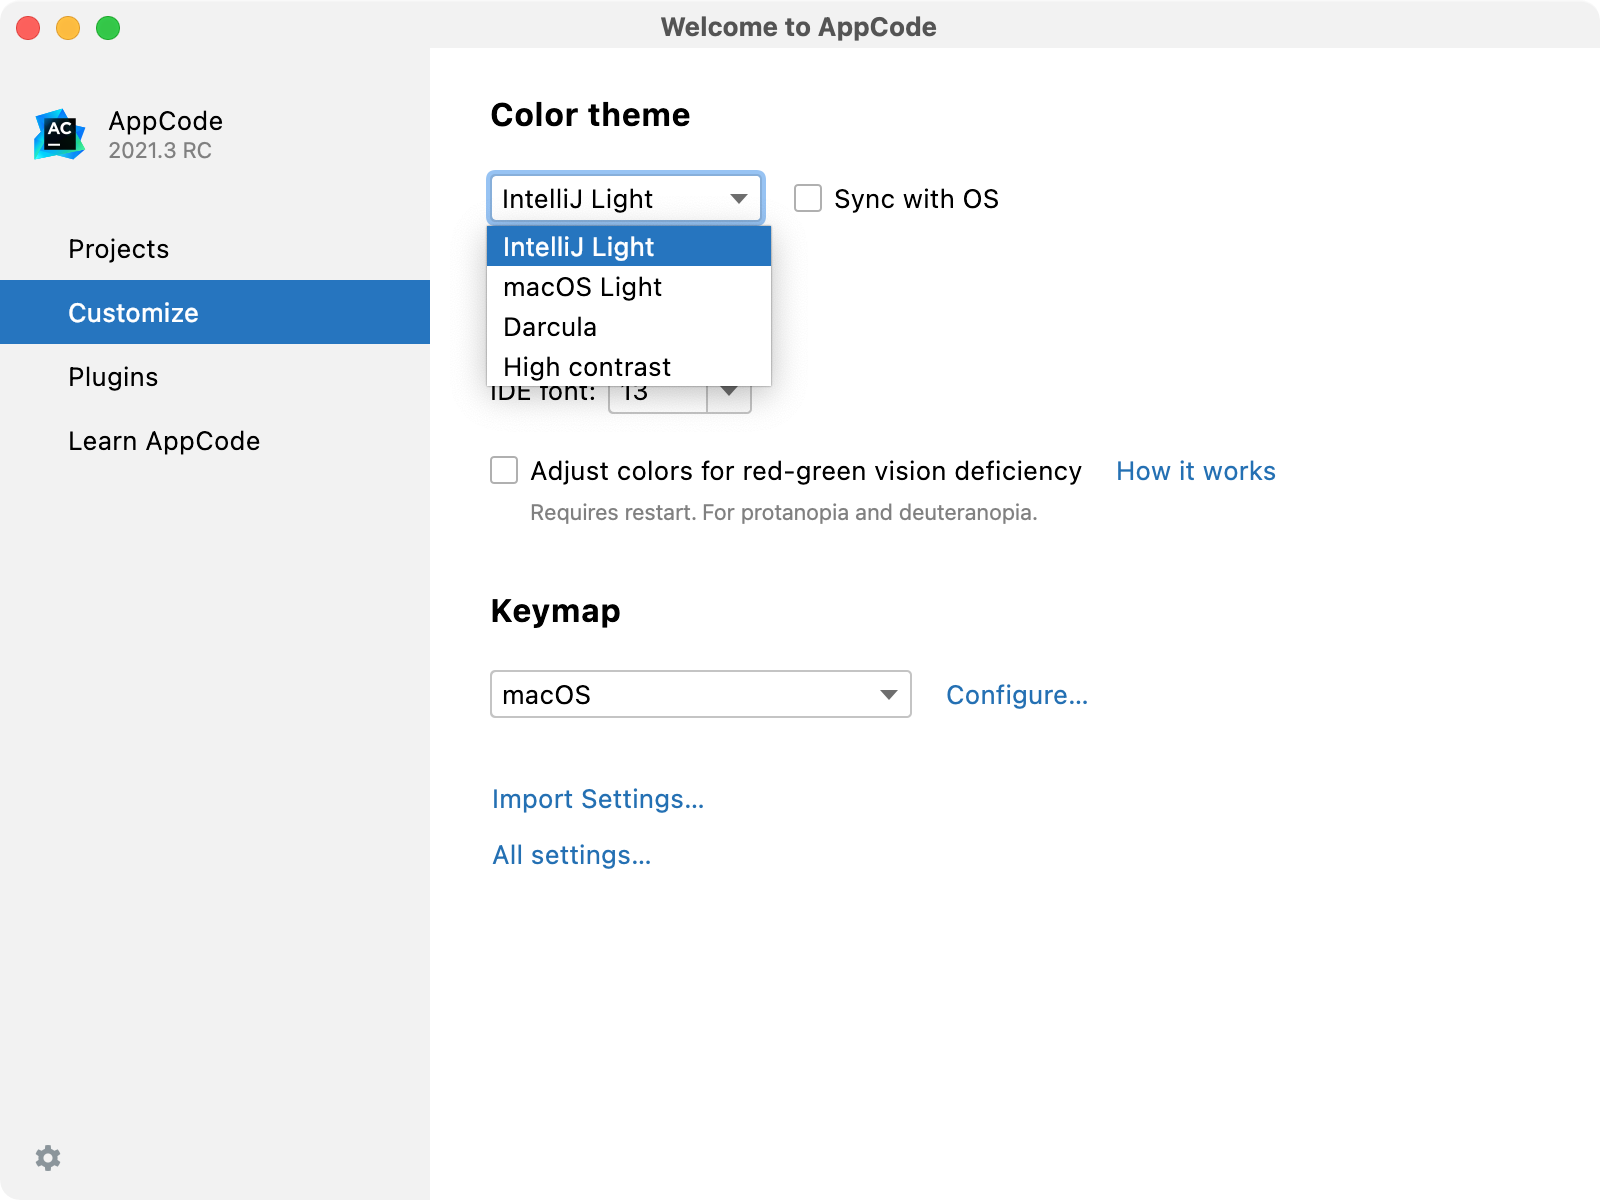
Click Customize and select another color theme or select the Sync with OS checkbox to use your system default theme. Here you can also configure accessibility settings or select another keymap.
note
Try the new AppCode user interface.
Configure the default settings
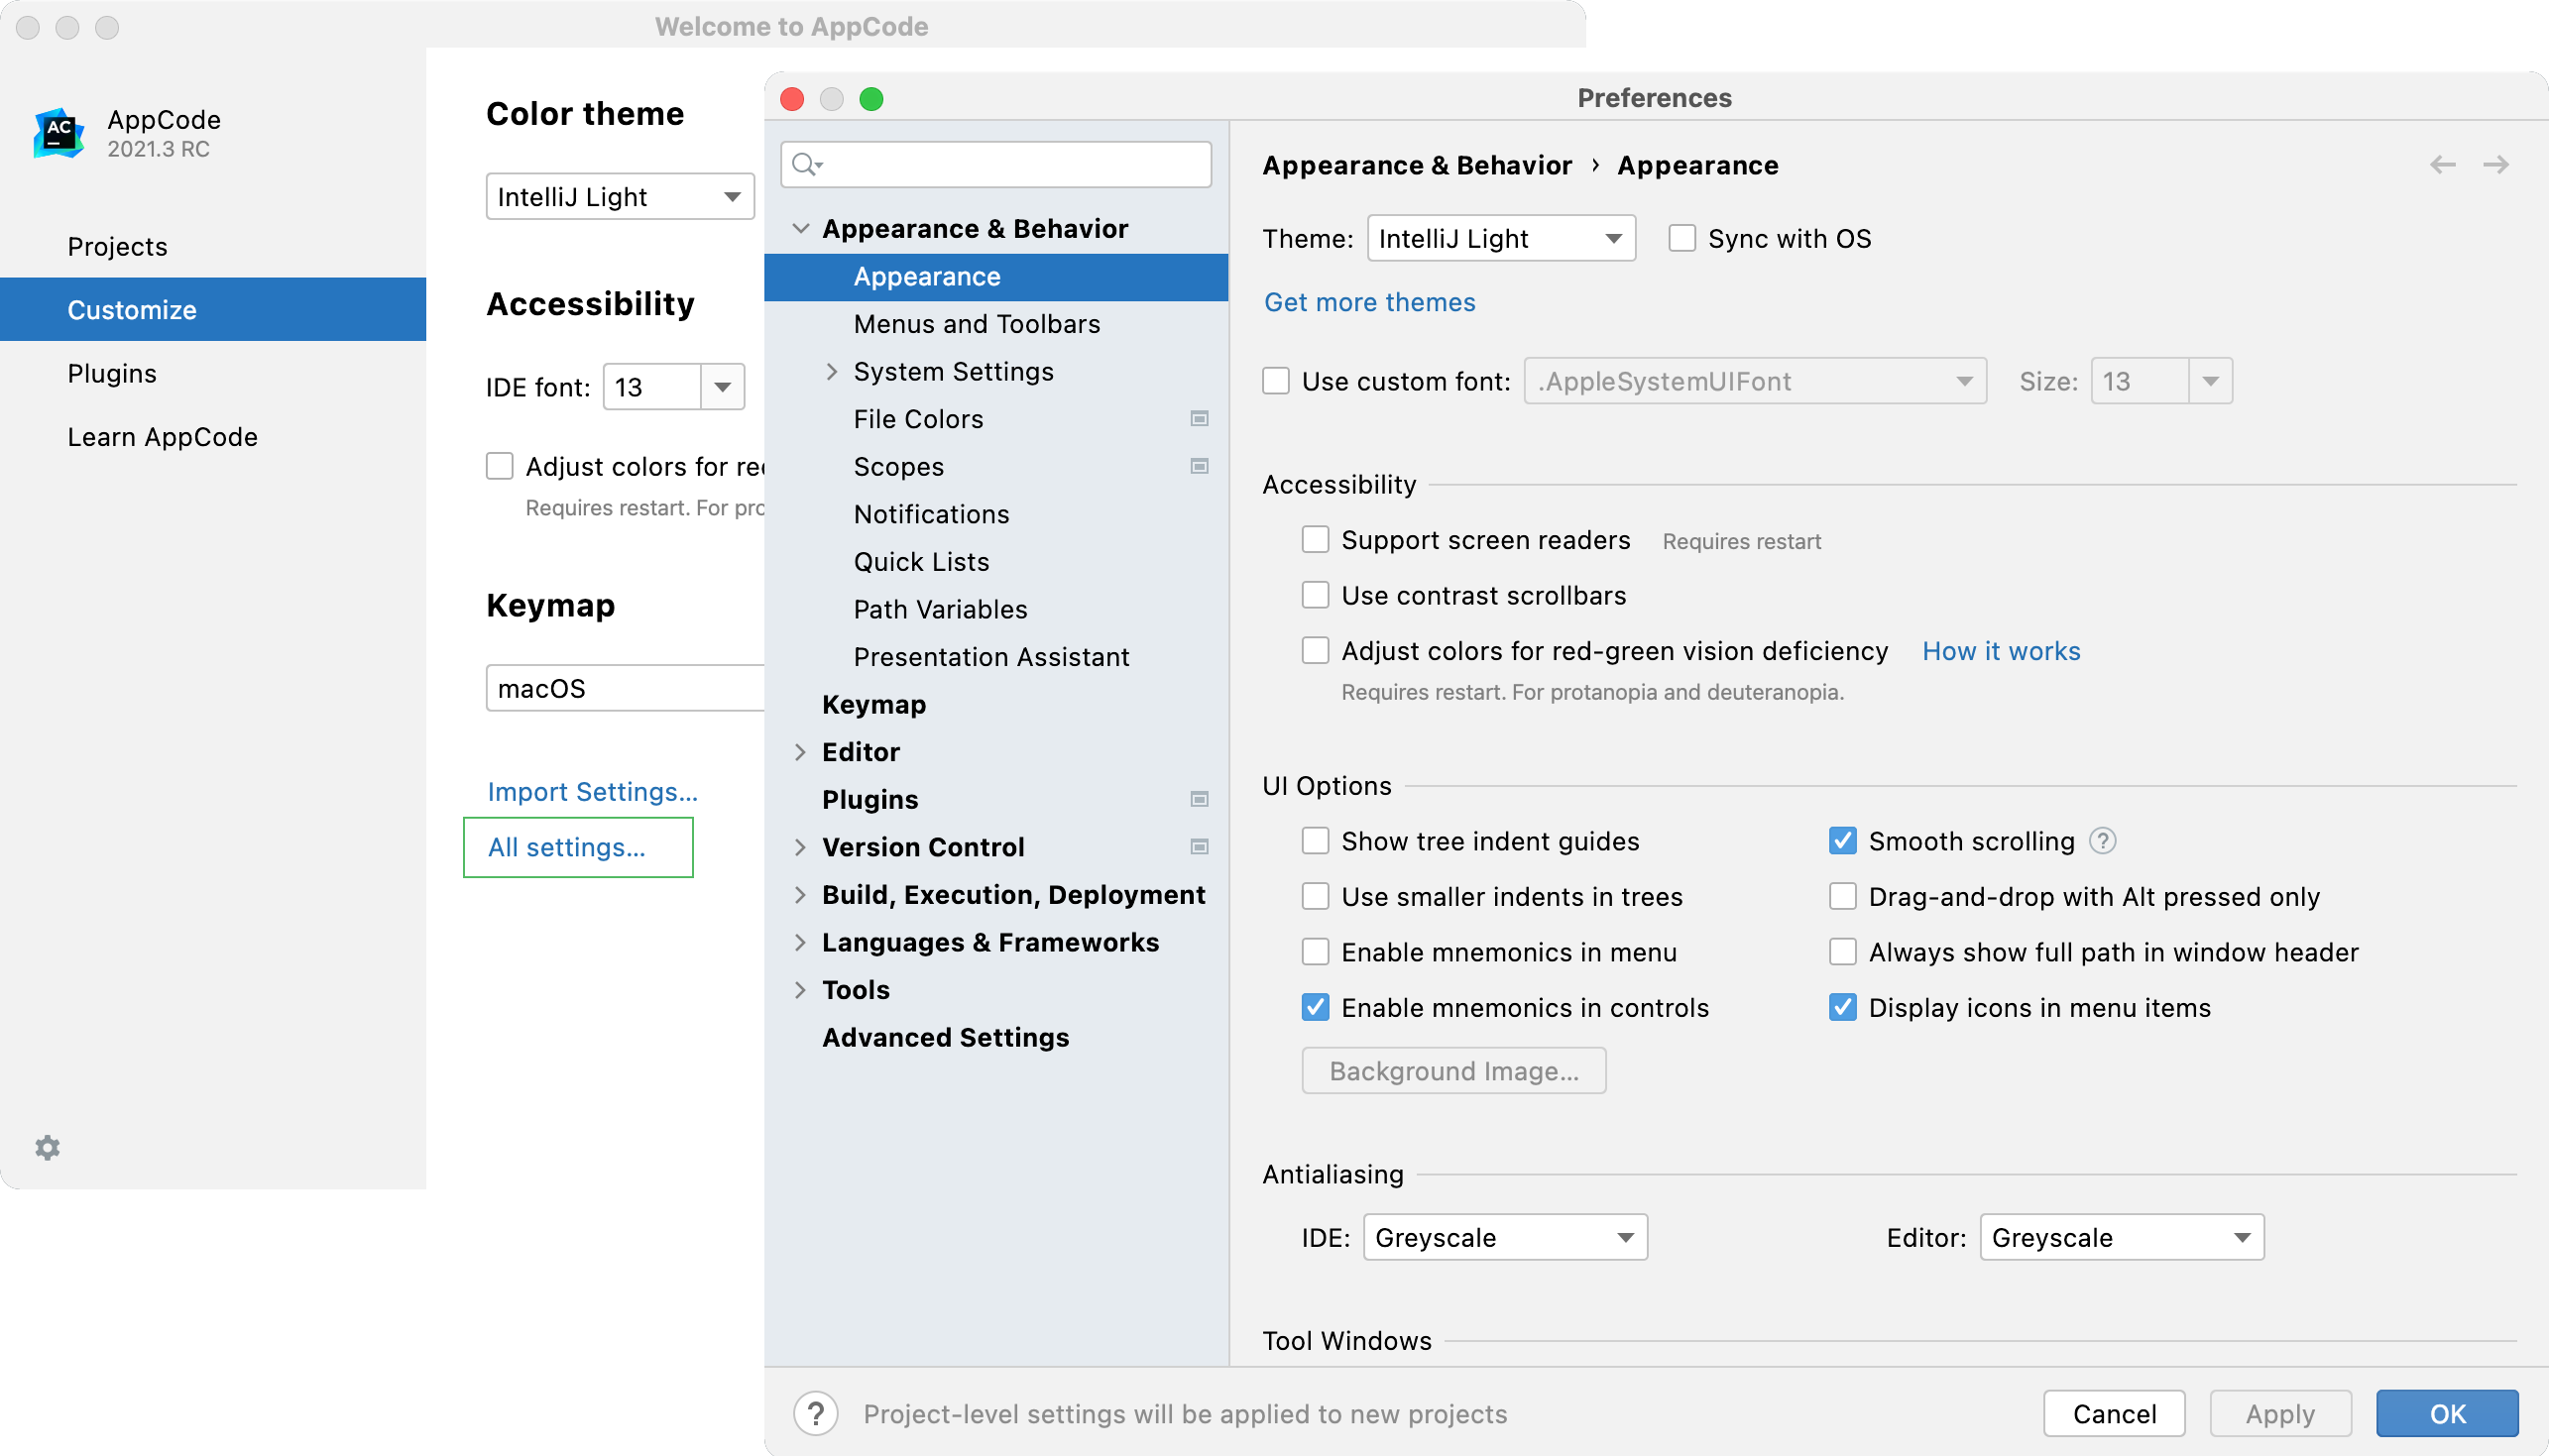
Click Customize and select Import Settings if you already have a copy of the required settings that you want to apply.
Alternatively, click All settings to open the settings dialog. The settings that you modify at this moment will become the new default configuration for your projects and the IDE.
Install additional plugins
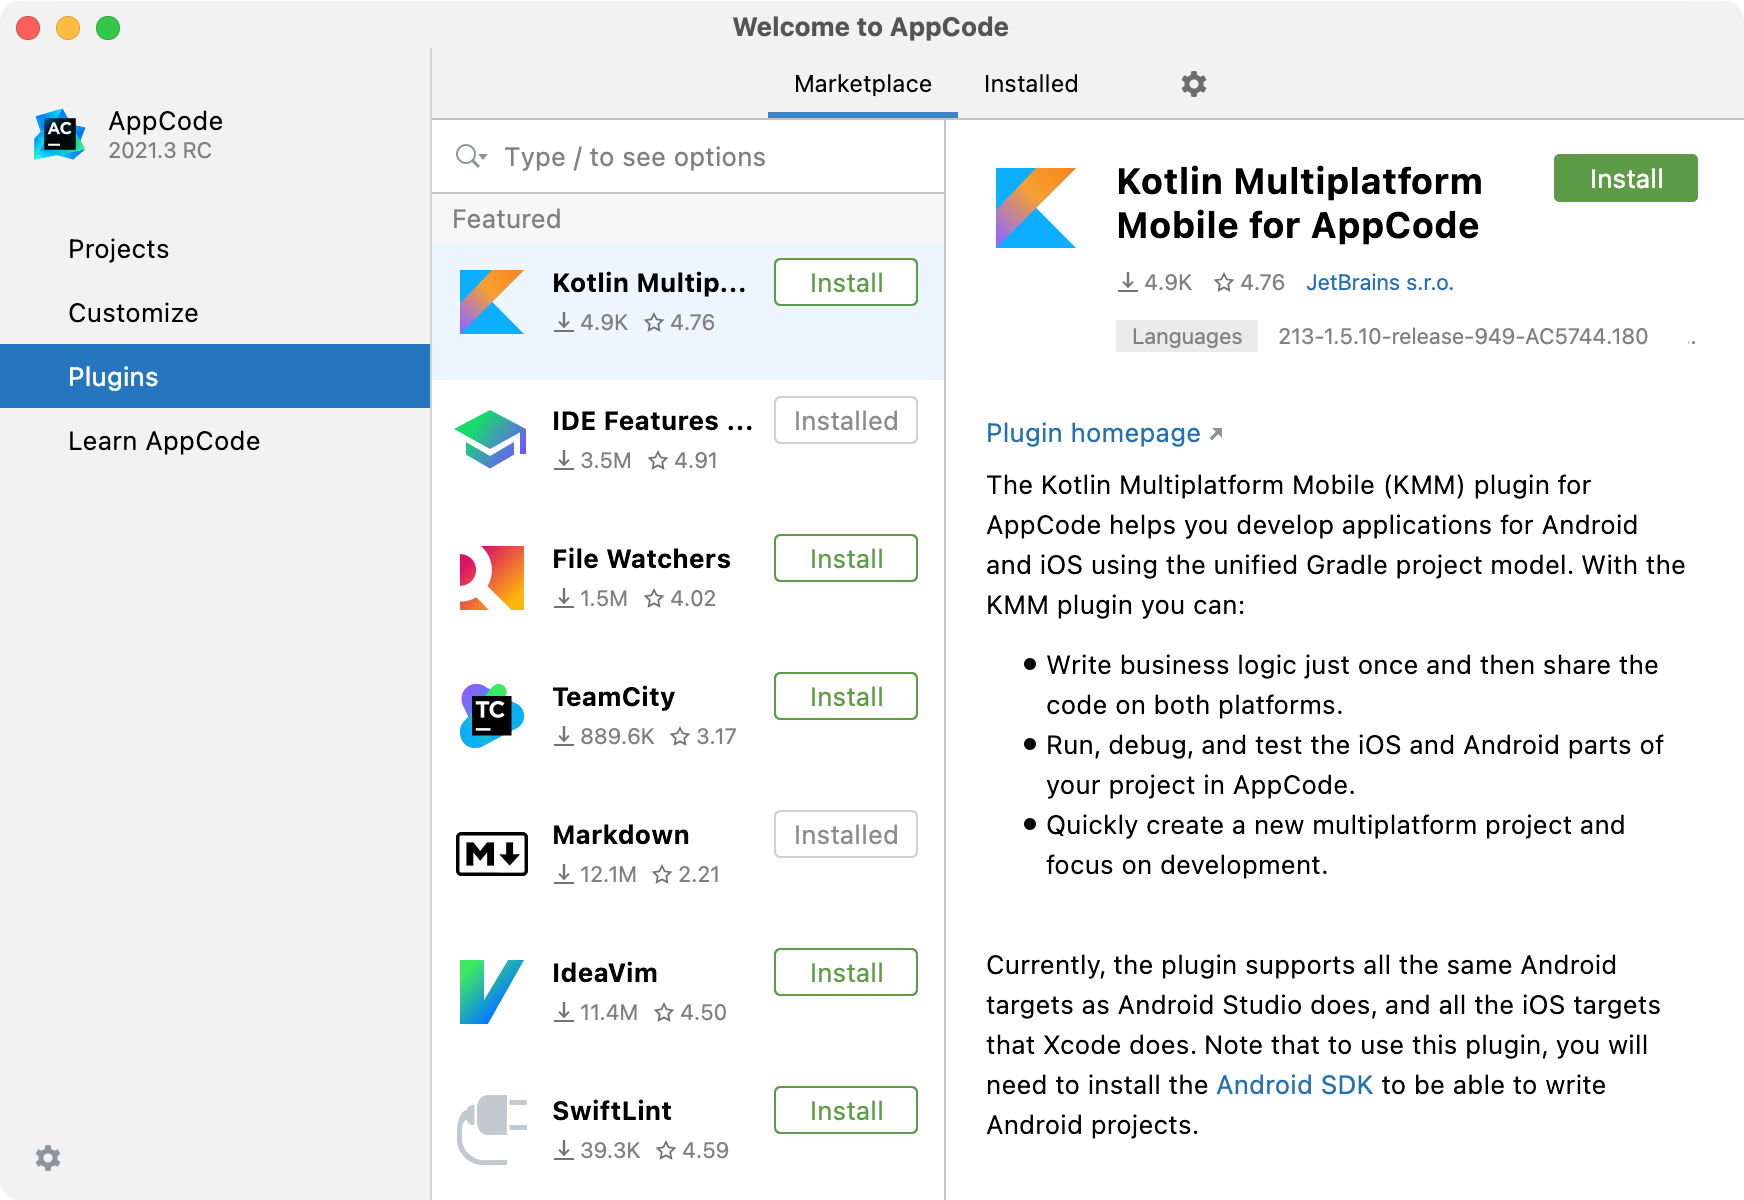
Click Plugins in the left-hand pane and download and install additional plugins from the AppCode plugins repository.
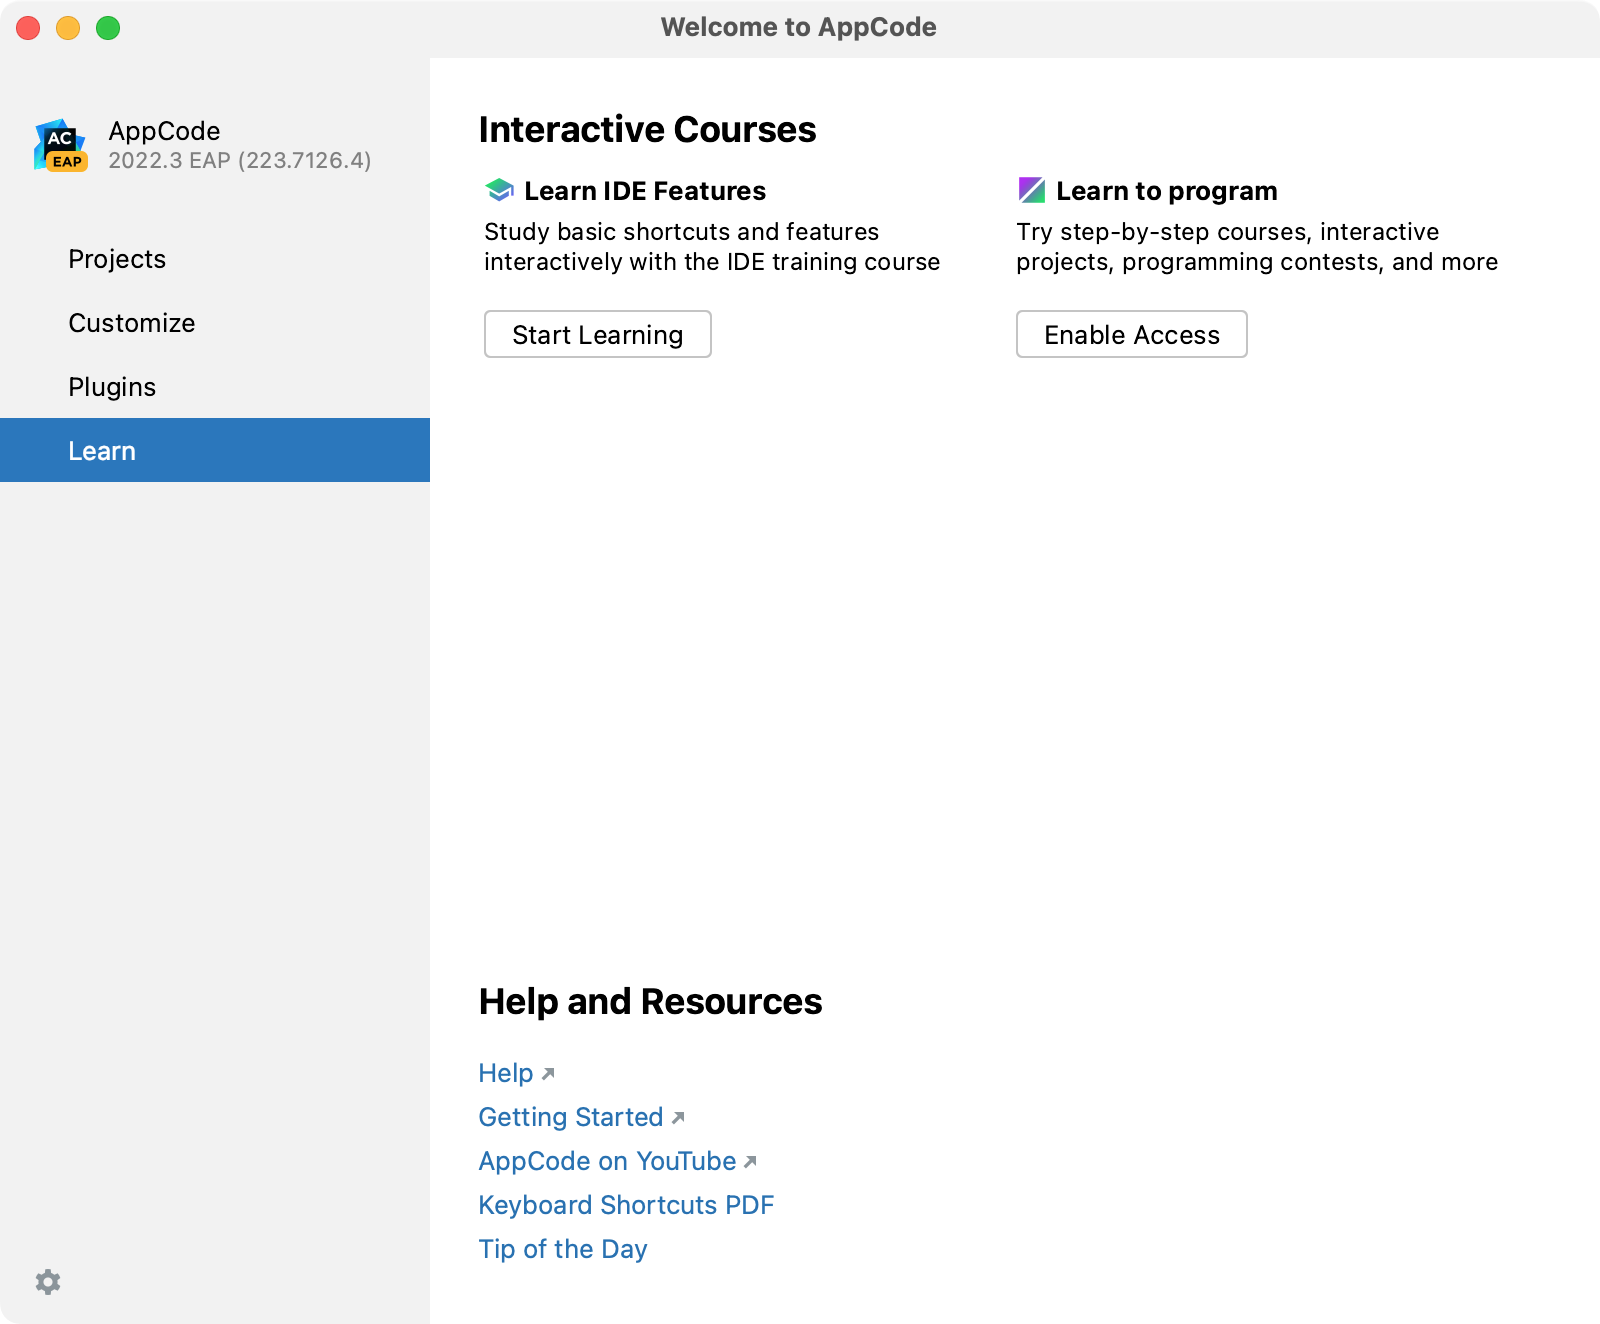
Learn AppCode
Click Learn to get more familiar with the shortcuts, features, and workflows that the IDE has to offer. For more information, refer to Learn IDE features.
Start a project in AppCode
From the Welcome to AppCode dialog, you can do the following:
Check the Xcode installation
By default, AppCode automatically detects the path to the existing Xcode installation. If you see that the list of available simulators in the run/debug configuration selector is empty, and the code is not resolved in the editor, most likely, this means that the path to the supported Xcode version is not specified or specified incorrectly. To fix it:
Make sure that the supported version of Xcode is installed on your Mac and has been launched at least once.
Go to Preferences Ctrl+Alt+S, select Tools | Xcode, and in the Selected Xcode field specify the path to the Xcode.app file.
Thanks for your feedback!