Cypress Custom Commands
Last modified: 11 February 2024note
Cypress Custom Commands support in IntelliJ IDEA is provided by the Test Automation plugin. If the relevant features are not available, make sure that the plugin is installed and enabled.
Custom Commands provide a way to reuse certain methods or functions across the Cypress test suite. For example, you can write a command to log in the user and reuse it within your project whenever applicable.
IntelliJ IDEA supports Custom Commands, meaning that all coding assistance features, such as renaming, navigation, code completion, and inspections are available right away.
Custom Commands coding assistance
Cypress-specific inspections
Cypress utilizes a chaining mechanism that allows you to write a sequence of commands where information is passed from one command to the next until the chain ends or an error occurs.
However, this mechanism has some specifics. For example, any action command must always be placed at the end of the chain and used only once.
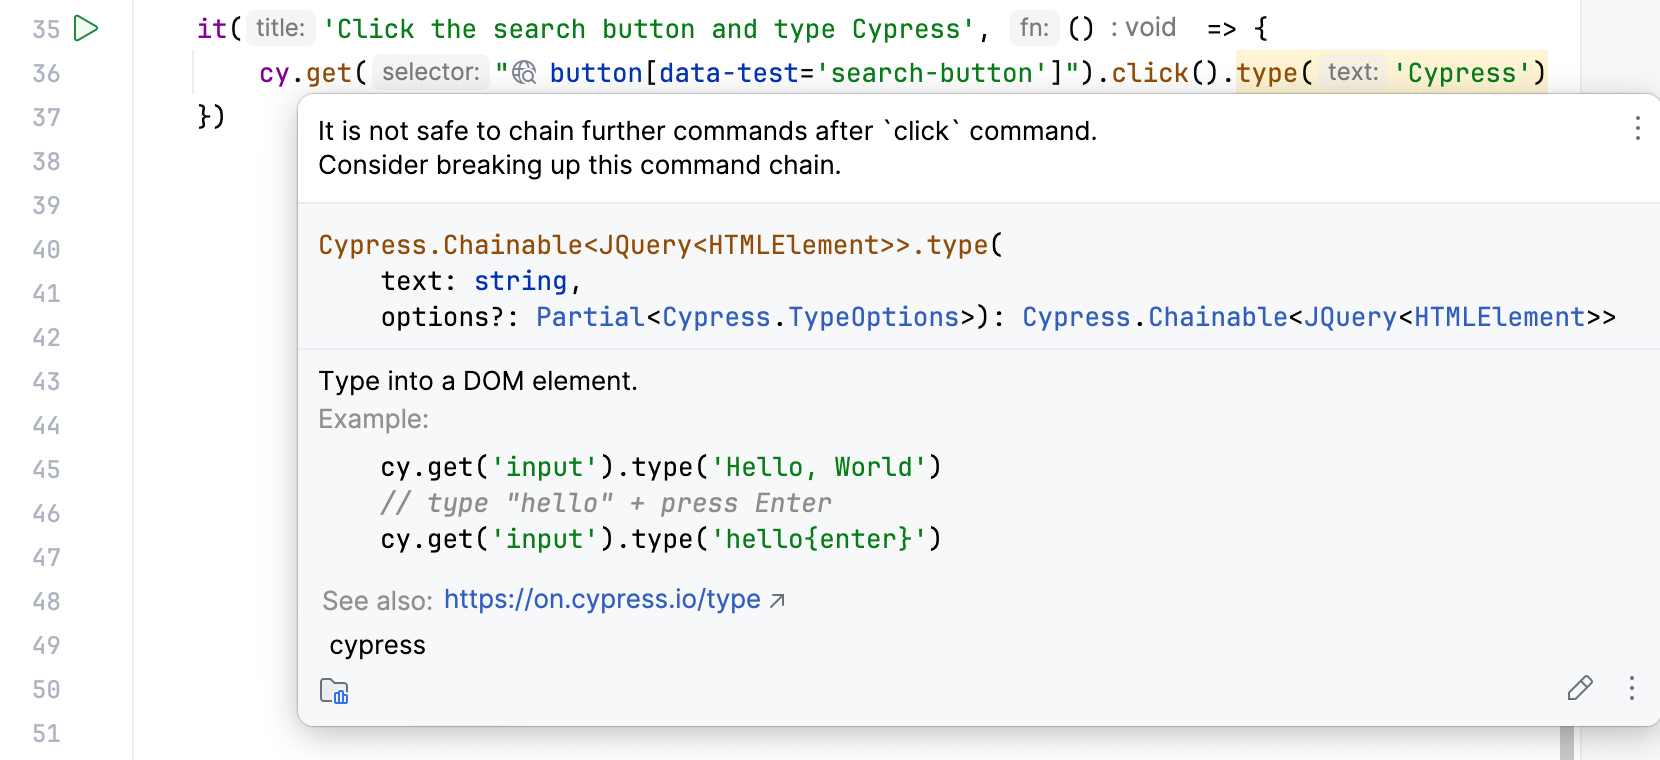
In this example, the chain contains two action commands placed one after another, which is prohibited. The execution of this test will result in an error.
it('Click the search button and type Cypress', () => {
    cy.get("button[data-test='search-button']")
        .click()
        .type('Cypress')
 })
In this example, the chain is split in two, so each chain contains only one action command. This test will be executed without an issue.
it('Click the search button and type Cypress', () => {
    cy.get("button[data-test='search-button']").click()
    cy.get("input[data-test$='inner']").type('Cypress')
})
Validation of the command chain is not performed in JavaScript/TypeScript, and in Cypress it is performed only at runtime, which may lead to issues during the test execution. IntelliJ IDEA, in its turn, provides an inspection for chained commands, highlighting incorrect usages.

Function-specific inspections
IntelliJ IDEA performs function-specific code inspections that detect and correct abnormal code in your project.
For example, if you provide an incorrect number or type of arguments for the command, the erroneous code gets highlighted. You can hover the mouse over the highlighted code to see the description of the error.

For more information, refer to Code inspections.
Renaming
If you need to rename the command, you can use the Rename refactoring. To do this:
Highlight the command that you want to rename.

Press and provide a new name for the command.

(Optional) Configure additional search options and define scope.
Click Refactor.
For more information, refer to Rename refactorings.
Creating a Custom Command
To create a Custom Command, you have to first write the command, and then create a TypeScript declaration for it. To do this:
Write your command in the code editor.
note
It is recommended to specify commands in the cypress
/support or cypress/commands.ts /support file, since this file is loaded via an import statement provided in the supportFile before any test files are evaluated./commands.js TypeScriptJavaScript

tip
Initially, IntelliJ IDEA highlights the command as an error or weak warning, depending on the programming language selected for the project. However, once you create a TypeScript declaration, the issue will be resolved.
Hover the mouse over the highlighted code and click Create missing TypeScript declaration.
Alternatively, place the caret at the highlighted code, press , and select Create missing TypeScript declaration.
TypeScriptJavaScript

As a result, the TypeScript declaration is generated and added to the cypress

tip
If needed, you can change the location of the index.d.ts file in settings.
Navigating to a TypeScript declaration
You might want to navigate between the command implementation and the corresponding TypeScript declaration:
To navigate to the TypeScript declaration, click
in the gutter near the command implementation.

To navigate back to the command implementation, click
in the gutter near the TypeScript declaration.

Using Custom Commands
Once you have created a custom command, you can use it in your code. To do this:
In your test, type
cy.followed by the name of the custom command.Custom CommandUsage

Changing the location of the command file
By default, the file that contains the generated TypeScript declaration is located at cypress
Press to open the IDE settings and then select Languages & Frameworks | Cypress.
In the TypeScript file to store TS declarations of custom commands field, specify a new path.

Apply the changes and close the dialog.