Import from Excel files
In this tutorial, we will learn how to import the data that you have in Excel files into your database.
Before you start
Make sure that you have the following:
A running database instance ready to use.
In DataGrip, a data source that can connect to your database instance.
Excel file that contains your data.
For illustration purposes, in this tutorial we will use the Sakila PostgreSQL database running in Docker and the countries.xlsx Excel file.
- Where do I get those materials?
To learn how to create and run the Sakila PostgreSQL database in DataGrip, refer to the Run the PostgreSQL Sakila database in a Docker container topic.
You can download the countries.xlsx Excel file from the GitHub repo.
So, the initial state includes the data source with Sakila PostgreSQL database and the countries.xlsx Excel file stored locally.
In DataGrip, there are two ways of importing data from Excel files:
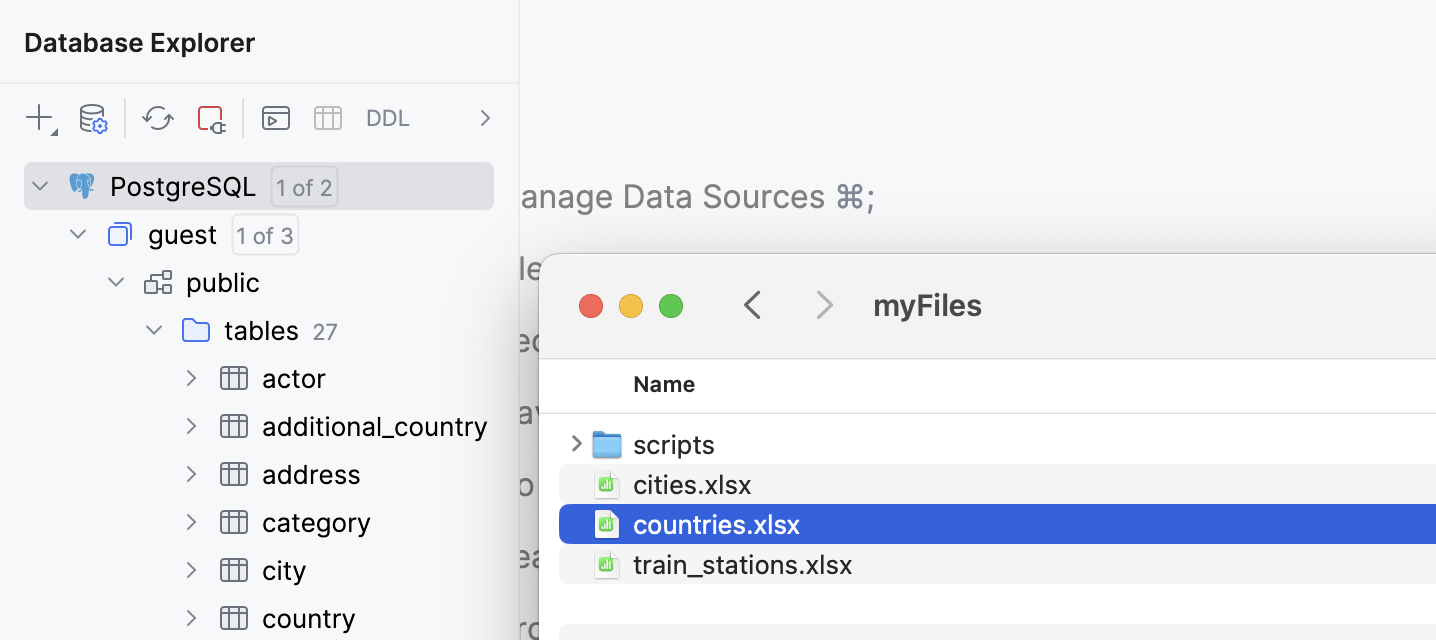
By using a context menu in Database Explorer (⌘ 1).
In this case, you will use a context menu of an item to navigate to and select your Excel file in your file browser. You can select any Excel file that is accessible to you, no special association to DataGrip project is required.
This case is preferable if your Excel file isn't located in a directory attached to your DataGrip project. For example, if you only need to run the import from a file once.
By dragging the file from Files tool window Alt+2.
In this case, you will drag your Excel file from Files tool window to your database in Database Explorer. You can drag the Excel file located in the directories attached to your project.
This case might be preferable if the directory with your Excel file is already attached to your DataGrip project, and the file is available in the Files tool window.
Step 1. Prepare your file in IDE
For the Database Explorer scenario, you can skip this step.
To use the files that are stored locally on your machine in the Files tool window, you have to attach directories with them to your DataGrip project.
Attach the directory with dump files
You can open the Files tool window by doing one of the following:
In the main menu, go to .
On the right tool window bar, click
Files.
Press Alt+2.
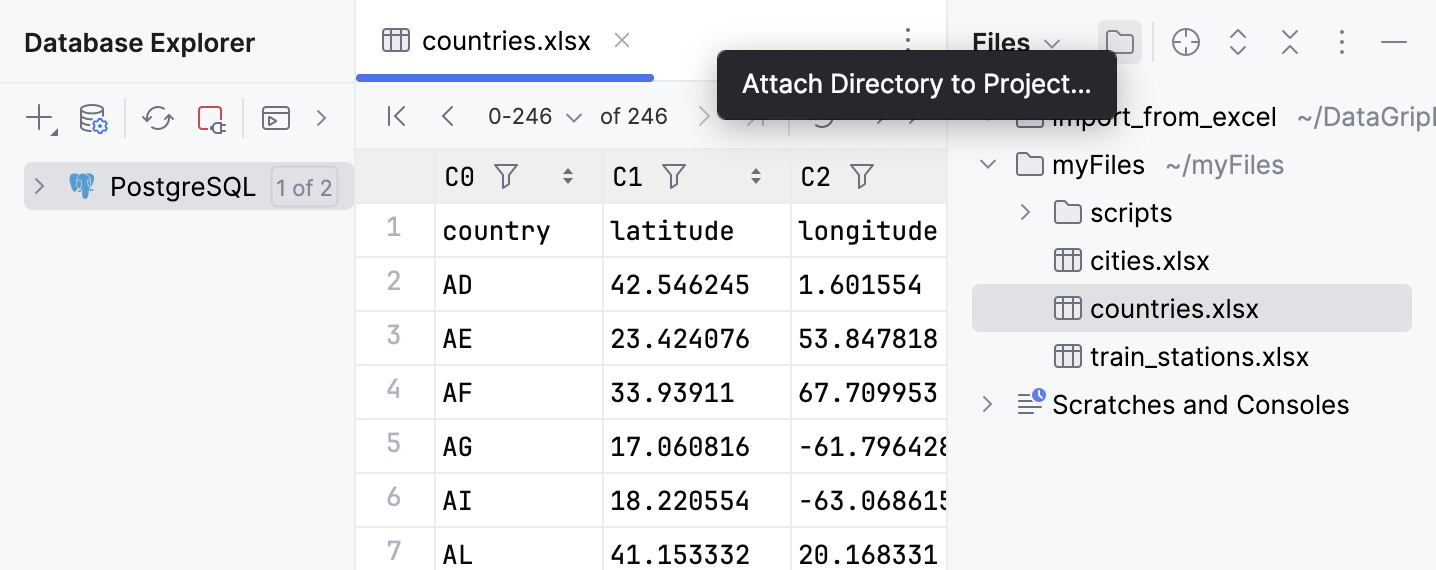
In the Files tool window, click the Attach Directory to Project button (
) in the toolbar.
Alternatively, right-click in the area of the Files tool window and select Attach Directory to Project.
In the file browser, navigate to the directory that you want to attach. In our case, it is the myFiles directory.
Click Open.
Step 2. Start importing the data
To start importing data from your Excel file, you need to navigate to it first.
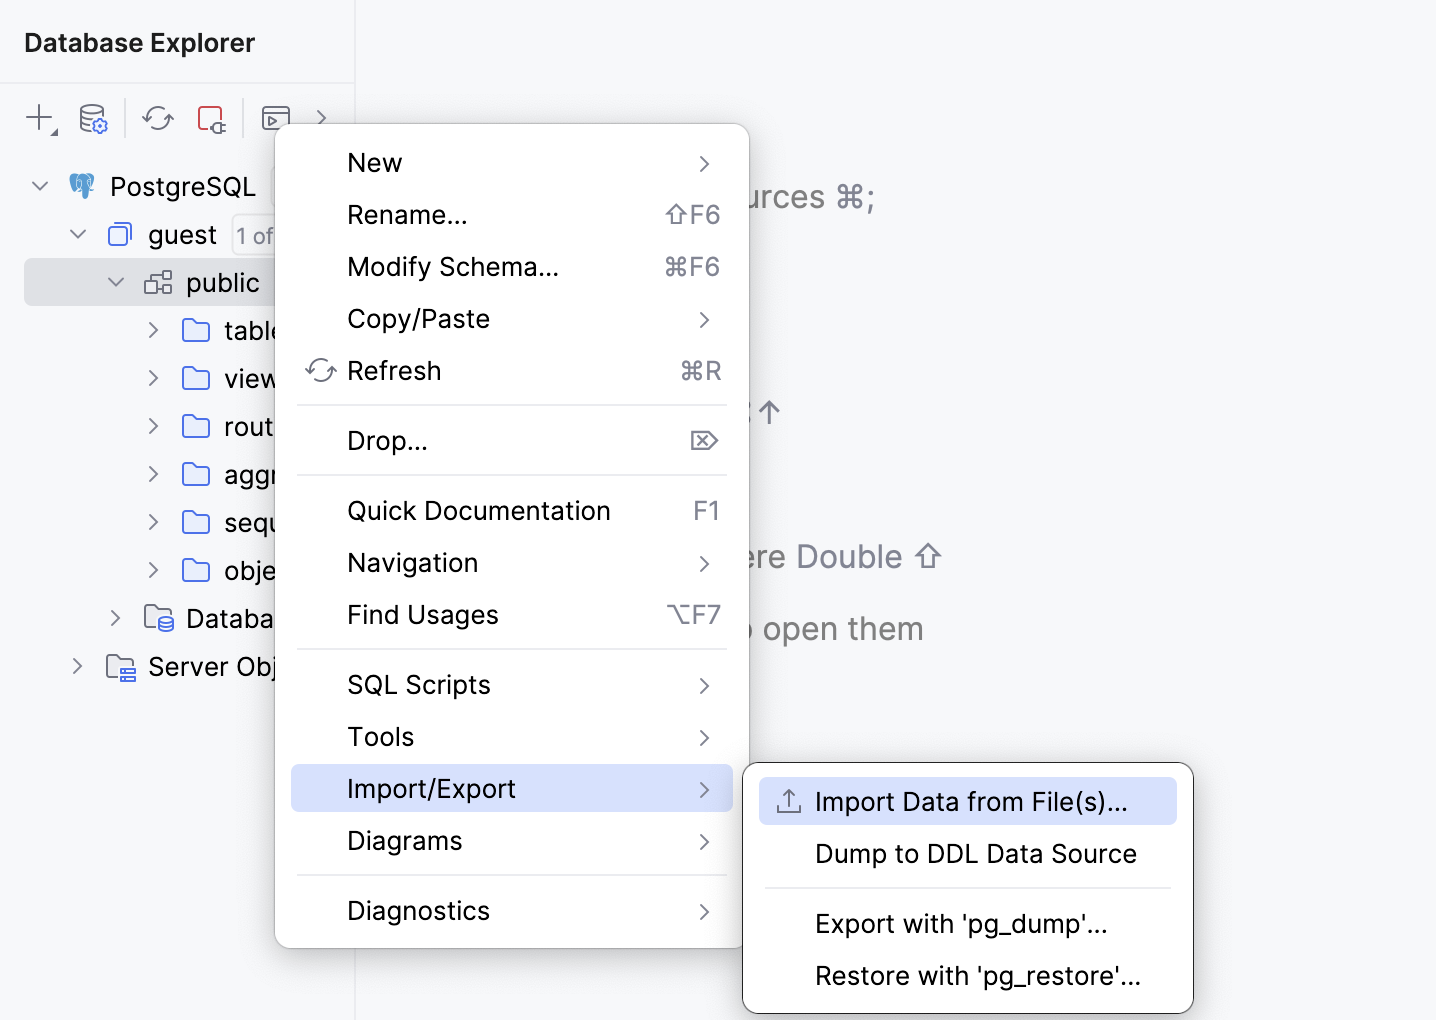
In the Database Explorer (⌘ 1) , right-click the public schema and select .
In the file browser window that opens, navigate to the countries.xlsx file.
Click Open.
In the Files tool window Alt+2, navigate to the countries.xlsx file.
Drag the countries.xlsx file to the database schema in Database Explorer (⌘ 1) that you want to import the data to.
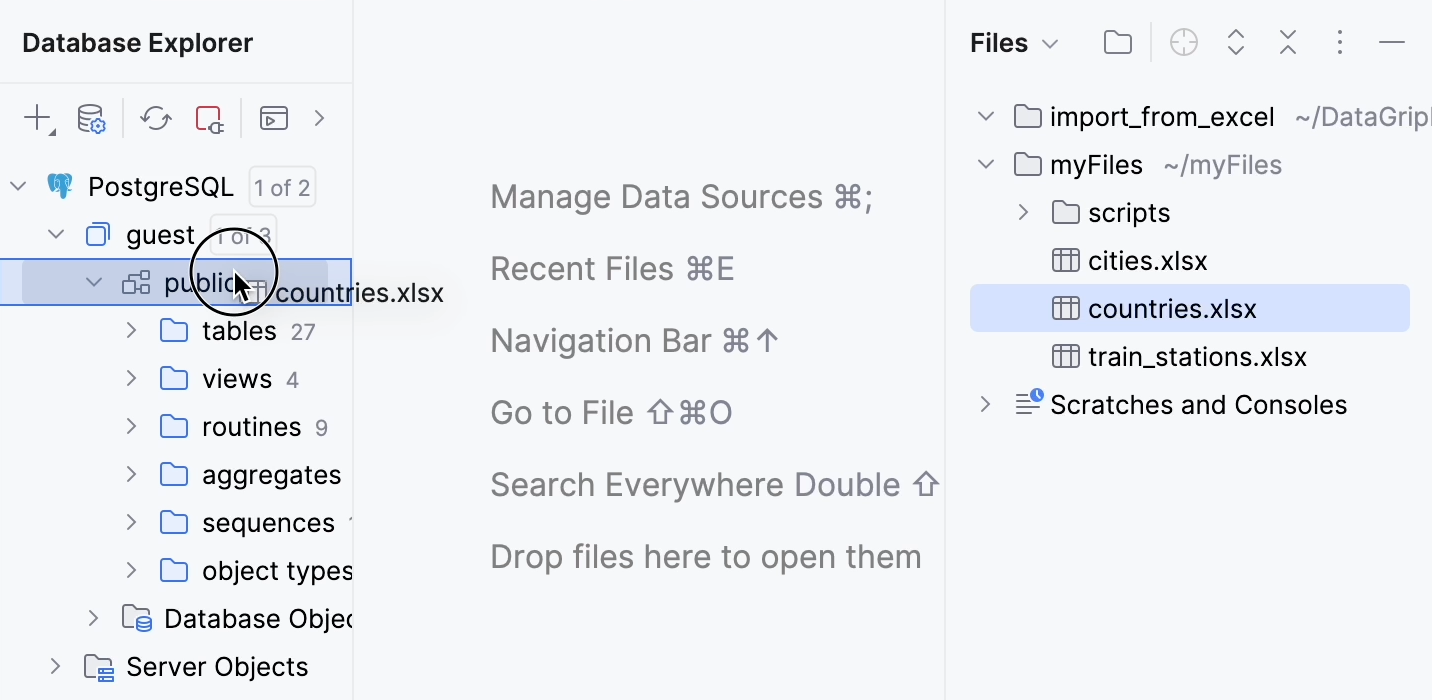
Once the import is initiated, the Import dialog opens.
Step 3. Configure the import settings
Importing data from an Excel file requires configuring the following settings in the Import dialog:
In the mapping settings section, you can configure the target schema and table, set column mapping, and so on.
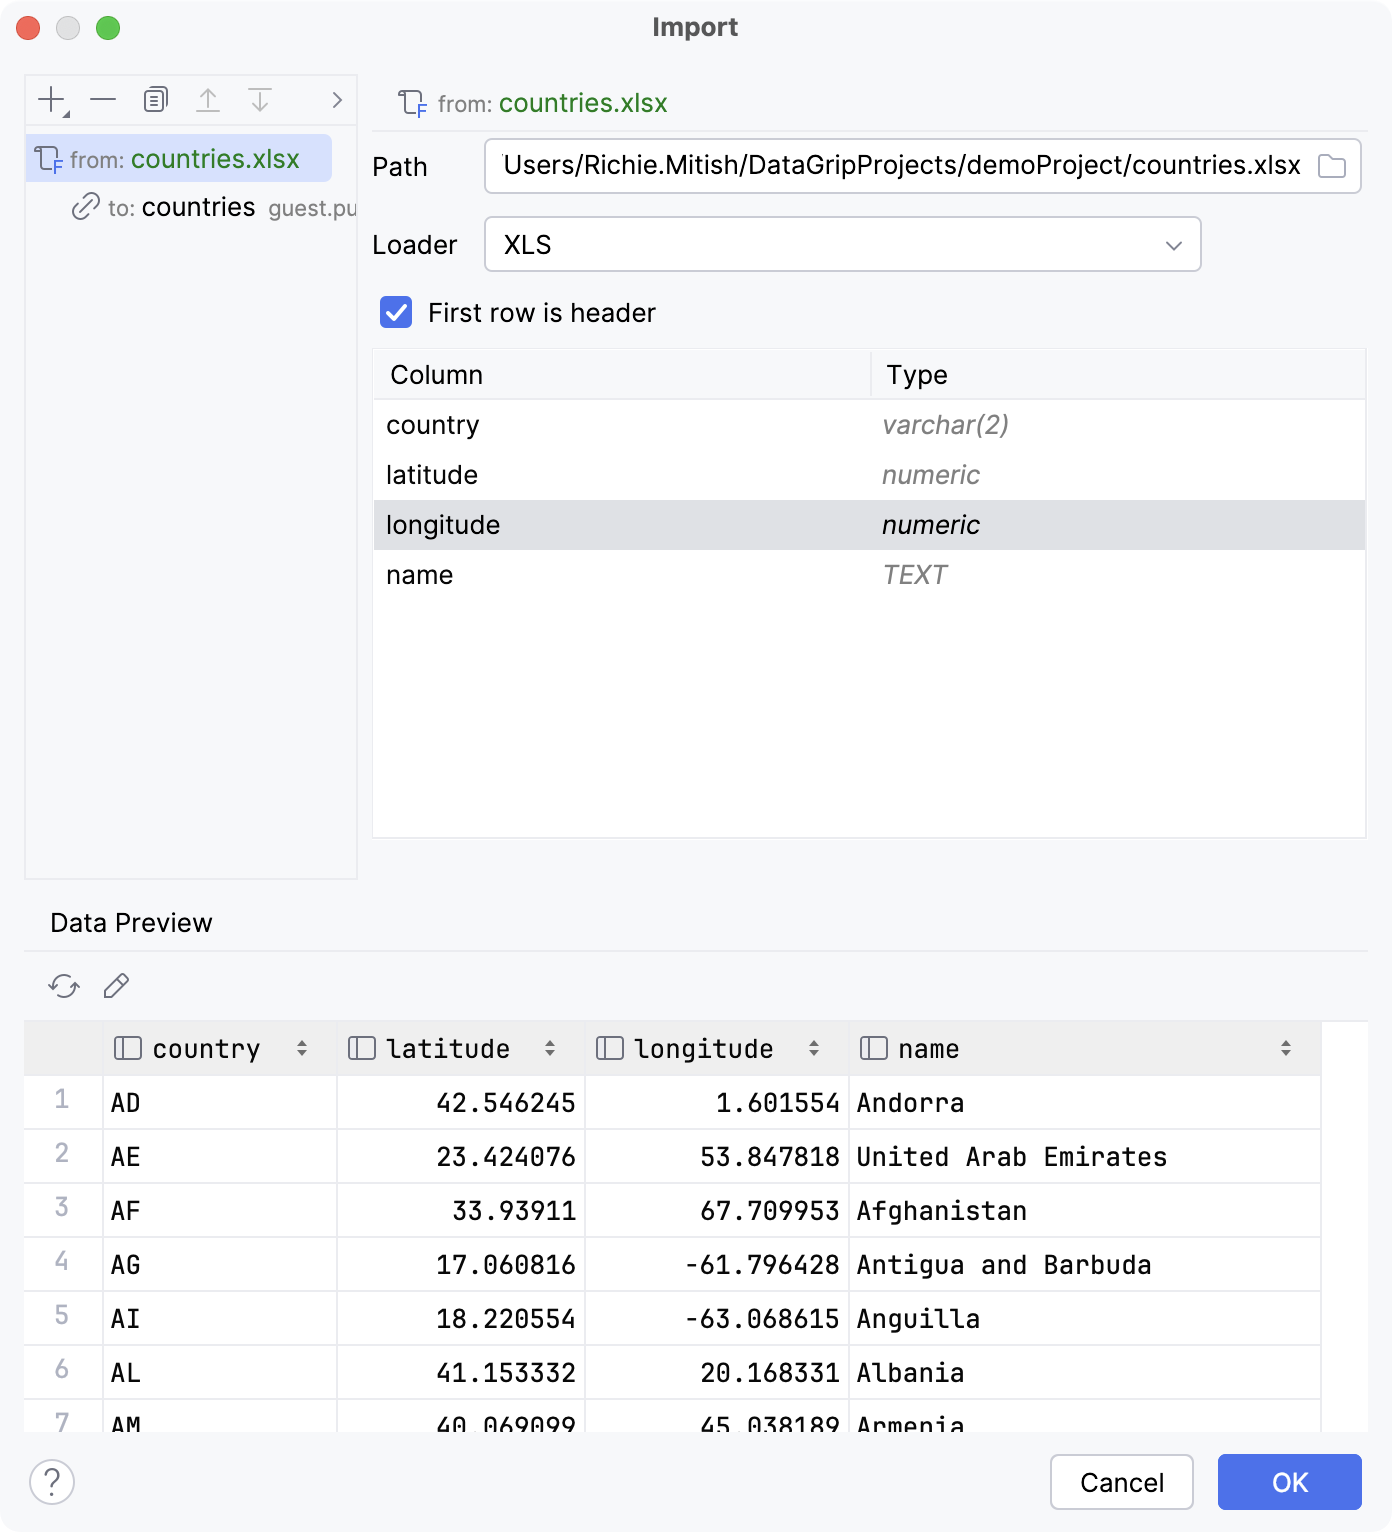
In the source settings section, you can set a path to your Excel file, select a suitable data loader, and also set the first row of the Excel file to be the header row in your target database table.
Configure the mapping settings:
In the Import dialog, the mapping settings (
) is selected by default in the upper left pane.
You can select in which schema to create a table and whether to import data to a new table or an existing one.
In this tutorial, we will import data to a new countries table in the public schema. Let us use the preset corresponding values of the Schema and Table fields.
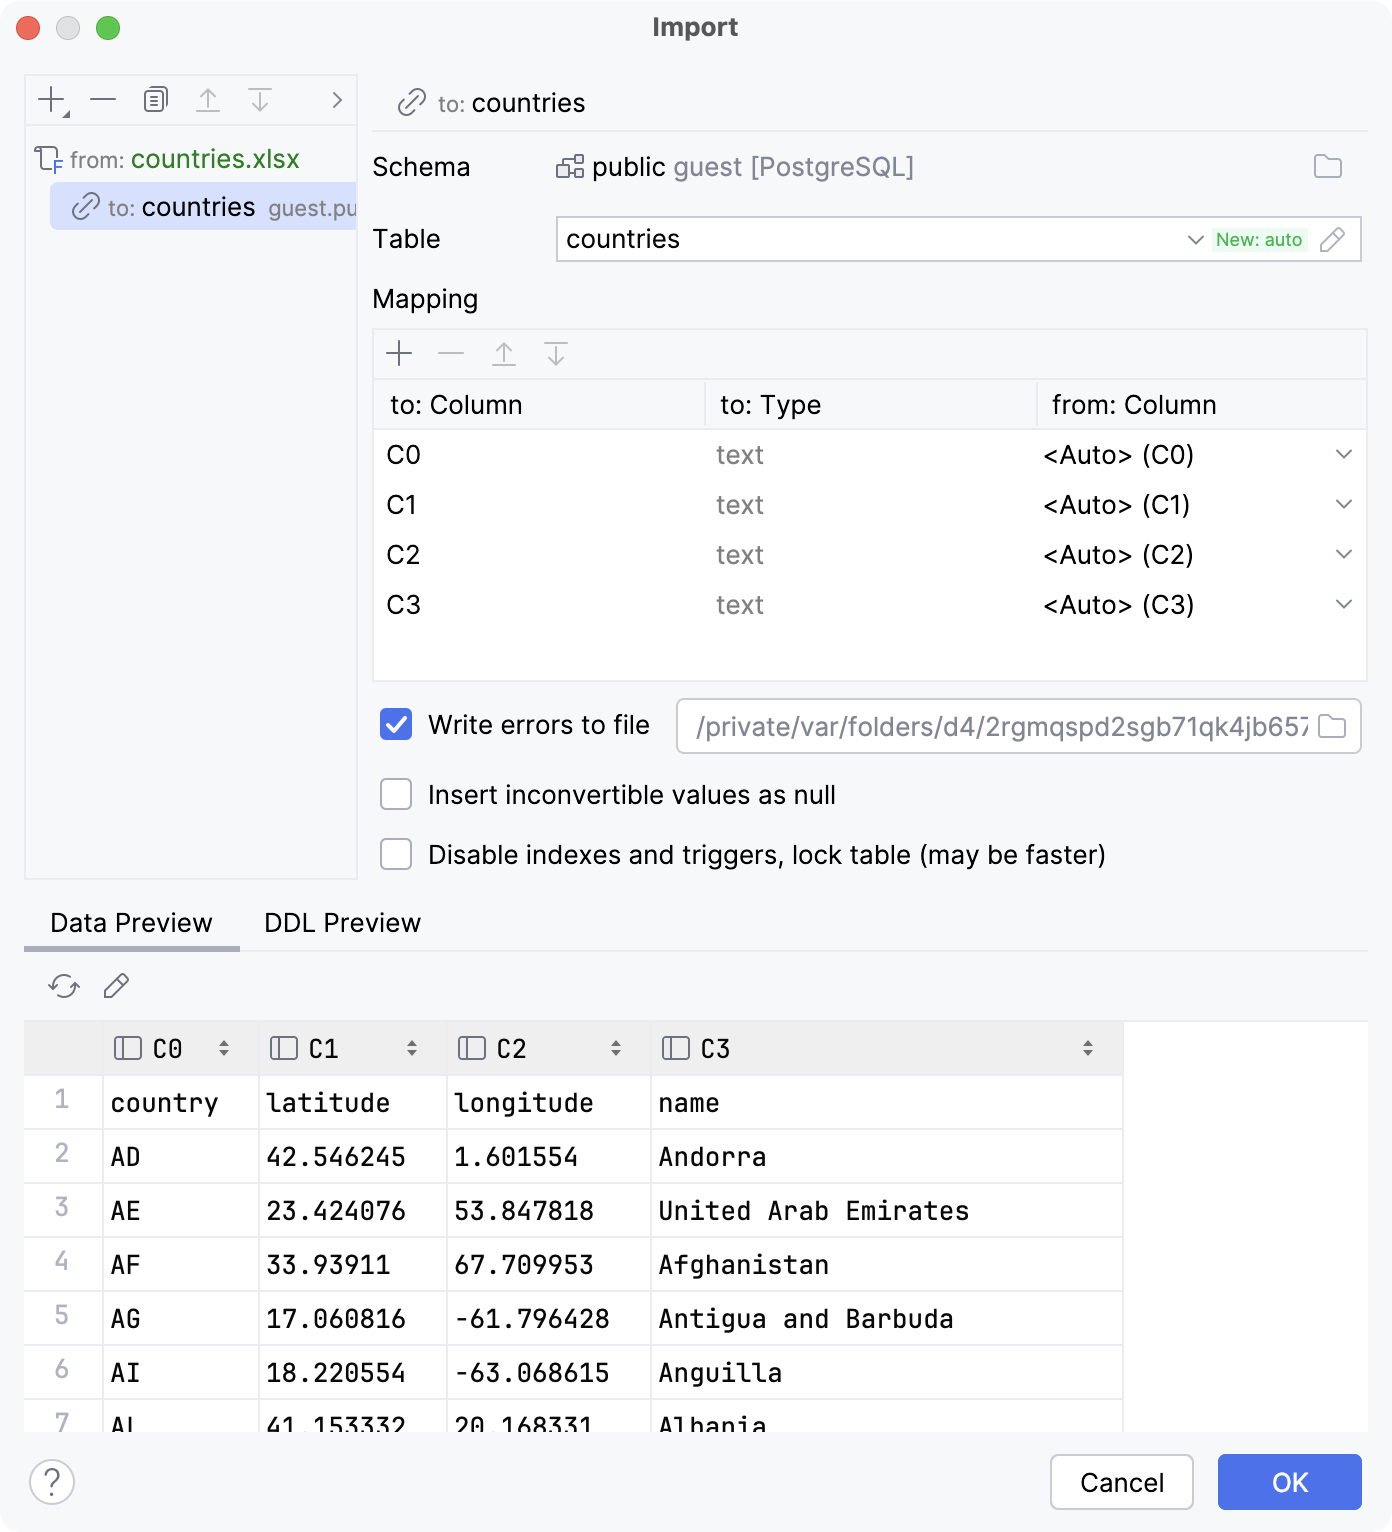
Configure the source file settings:
In the upper left pane of the Import dialog, select the source file to configure its settings.
Select First row is header to mark the first row as a header.
In the Mapping pane, set the following values in the Type column:
Column
Type
countryvarchar(2)latitudenumericlongitudenumeric
To start importing data from the Excel file to your database, click OK.
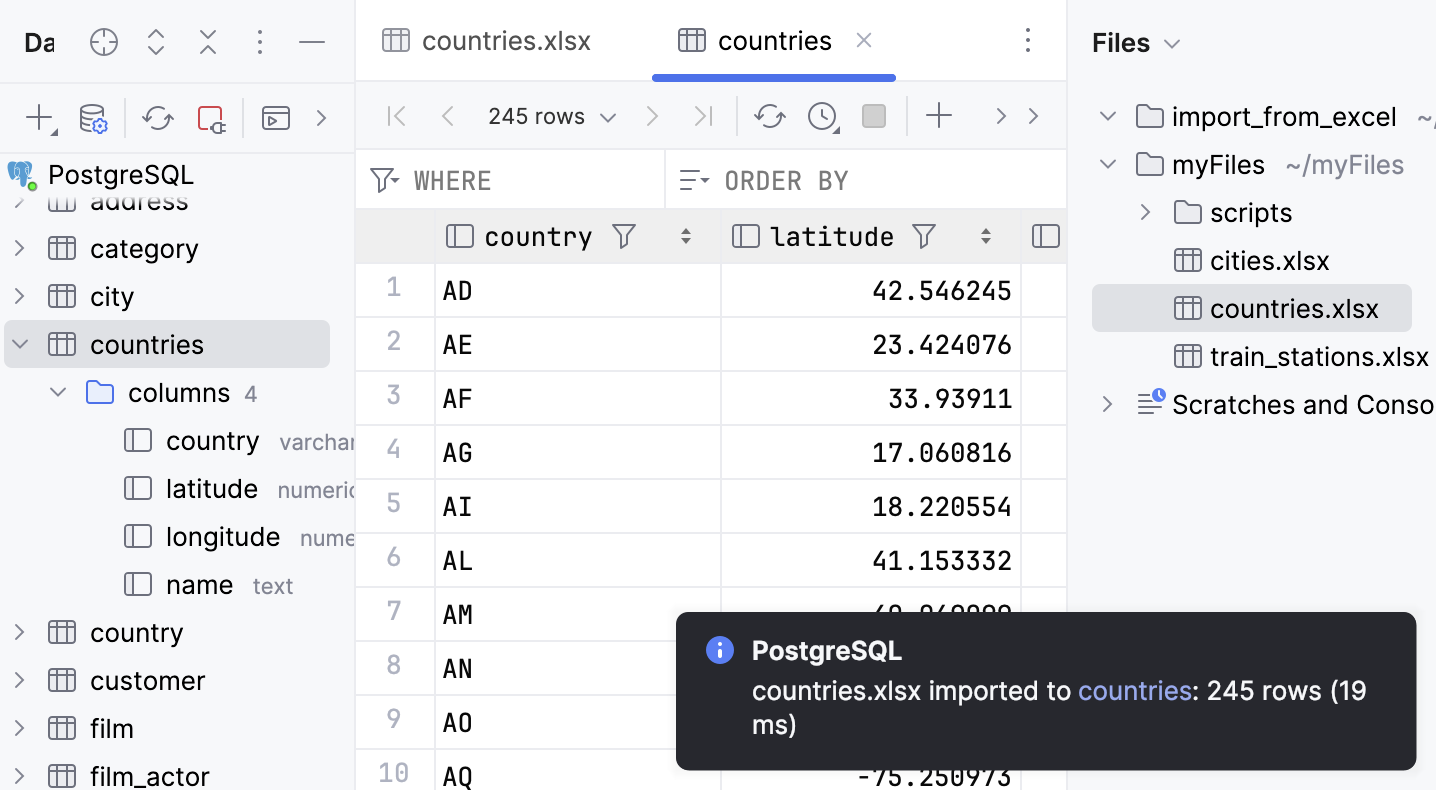
As a result, DataGrip imports the data from countries.xlsx Excel file to a new countries database table.
