Making a New Site Design
Let's change the look on the website with custom templates.
Schlockchain has a website, with content, structure, and linking. But it looks....bland. Let's spice things up with a custom look by making new Jinja2 templates.
Hello World Page Layout
To make things clear, we're not making a Sphinx theme which implies a bunch of contracts for re-use. We're the only ones using this layout. We don't need to make it configurable.
To start, we're going to replace the template for "pages" by writing a specially-named file _templates/page.html:
<h2>Hello</h2>
All the pages on our site certainly look different now:
We've replaced the page.html template used Sphinx template with something static.
It's used on every "page" in the site, although Sphinx also has other kinds of pages with specially-named _templates files to override:
- about
- donate
- layout
- navigation
- relations
- support
Before getting into the intricacies of injecting content, let's put in a nice look-and-feel.
Bulma Layout
I'm a big fan of the Bulma CSS framework. It's like Bootstrap, but a bit lighter, though less popular. Let's add the starter with CSS from CDN to make our site look better: It's simplified (no SCSS customizing, no figure support) but it's fine for this tutorial.
Add a file at _templates/layout.html:
<!doctype html>
<html>
	<head>
		<meta charset="utf-8" />
		<meta name="viewport" content="width=device-width, initial-scale=1" />
		<title>Hello Bulma!</title>
		<link
			rel="stylesheet"
			href="https://cdn.jsdelivr.net/npm/bulma@0.9.2/css/bulma.min.css"
		/>
	</head>
	<body>
		<section class="section">
			<div class="container">
				<h1 class="title">Hello World</h1>
				<p class="subtitle">My first website with <strong>Bulma</strong>!</p>
			</div>
		</section>
	</body>
</html>
With our look-and-feel started, we can now add the content structure to the template.
Dynamic Page
Although the file has a .html suffix, because it is in the magically-named _templates directory, it's actually a Jinja2 template.
This means it can use the template variables available in Sphinx.
First, let's get the page title into the HTML <title>:
<title>{{ title|striptags|e }}{{ titlesuffix }}</title>
Let's gradually build up a Bulma navbar, starting with the configured logo as the navbar brand.
Add the following just after the opening of <body>:
<nav class="navbar" role="navigation" aria-label="main navigation">
    <div class="navbar-brand">
        <a class="navbar-item" href="https://bulma.io">
            <img alt="Logo" src="{{ pathto('_static/' + logo, 1)}}" width="102" height="28">
        </a>
    </div>
</nav>
We now have the start of a navbar, with a logo that is a clickable-link to the home page:
Next, we'll add a simple navbar start for some links, just after the close of the <div> in the <nav>.
We also add a navbar end for the searchbox.
The <nav> now has two <div> elements as children:
<div class="navbar-menu">
    <div class="navbar-start">
        <a class="navbar-item" href="{{ pathto(master_doc) }}">Home</a>
        <a class="navbar-item" href="{{ pathto('about_us') }}">About</a>
    </div>
    <div class="navbar-end">
        <a class="navbar-item">
            <form class="search" action="{{ pathto('search') }}" method="get">
                <input class="input is-rounded " type="text" placeholder="Search..." name="q"
                       aria-labelledby="searchlabel"/>
            </form>
        </a>
    </div>
</div>
We aren't really showing the document content.
Let's replace the <section> with a <main> element that supplies the content:
<main class="section">
    <div class="container">
        <div class="content" role="main">
            {{ body }}
        </div>
    </div>
</main>
We've forgotten about copyright.
Let's add a <footer> to display it, just before </body>:
<footer class="footer">
    <div class="content has-text-centered">
        <p>
            <strong>Our Site</strong> by <a href="https://example.com">Schlockchain</a>.
            Copyright © {{ copyright }}
        </p>
    </div>
</footer>
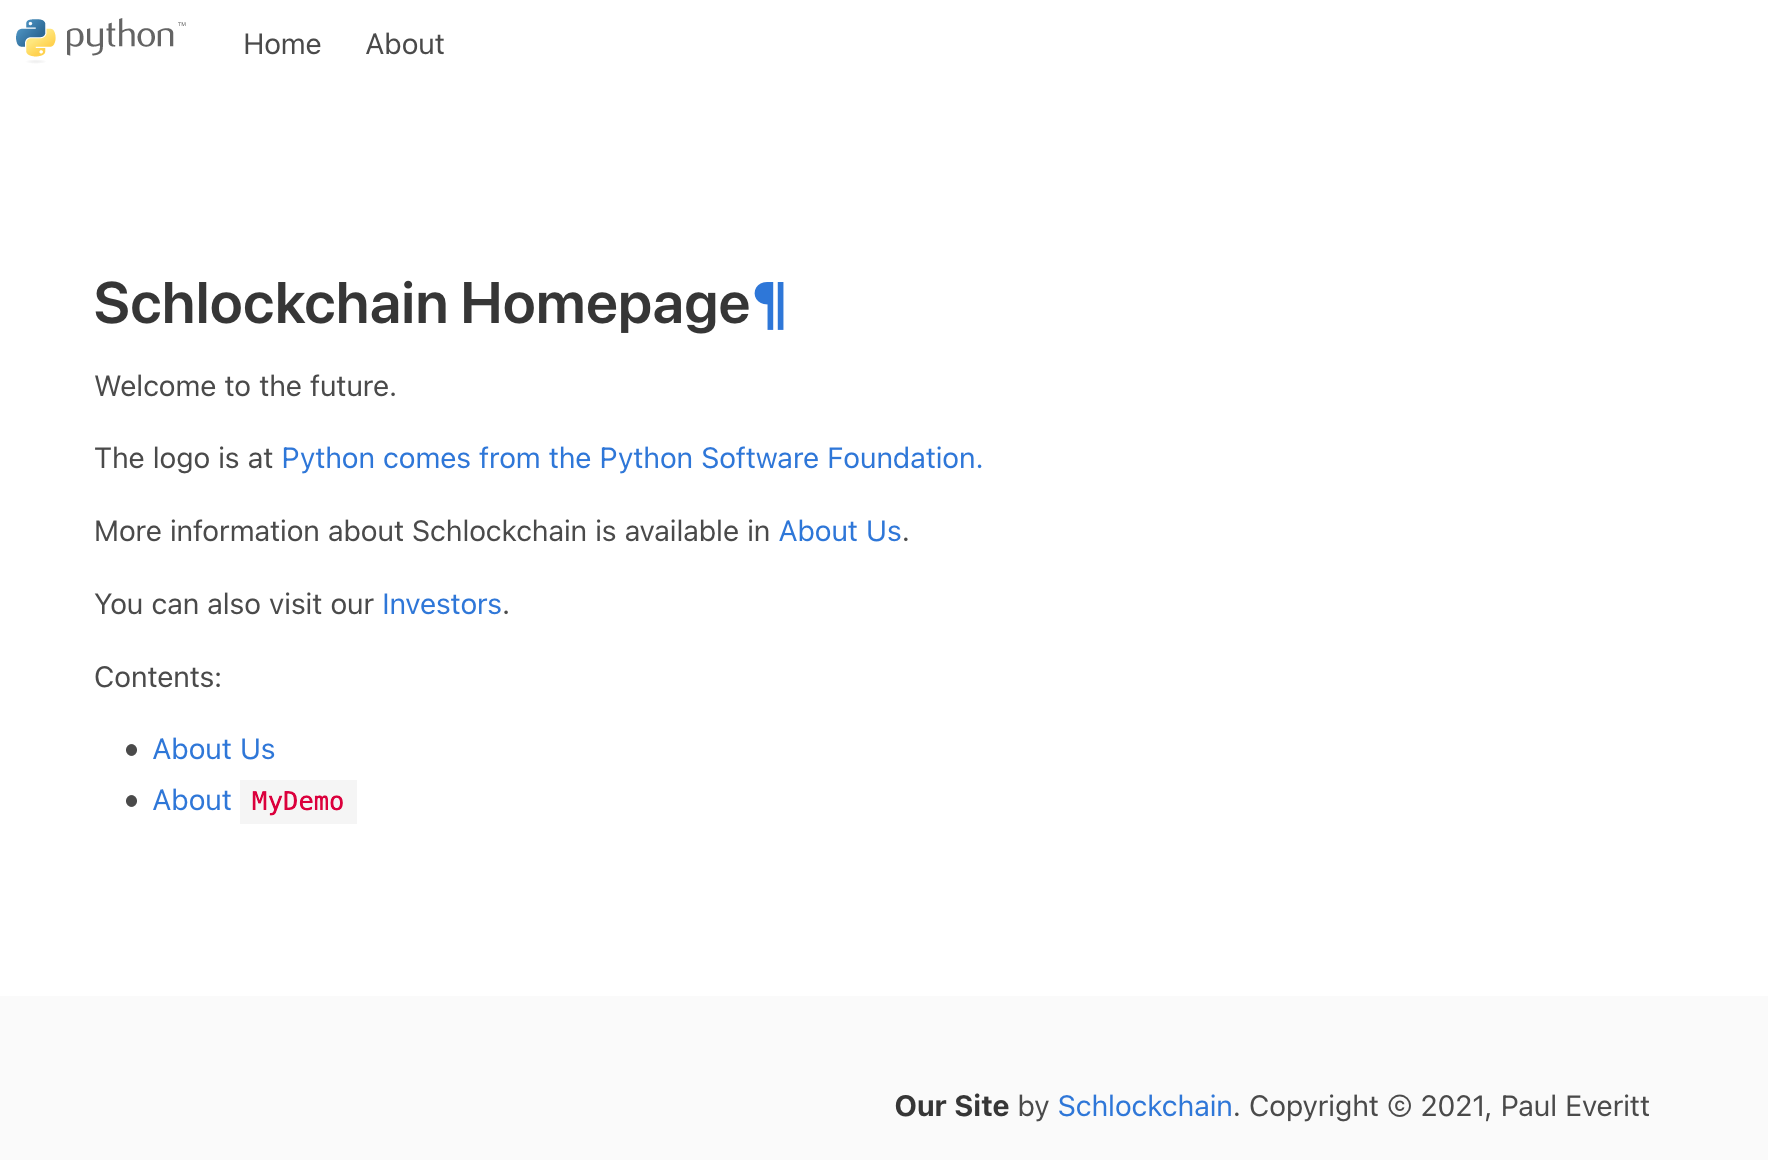
We now have the structure of a page:

Layout CSS
It's easy to spot a problem, though: we have a strange paragraph symbol after the heading. We need to add a link to our custom CSS, then in there, add some styling to hide that symbol except on hover.
First, add a <link> to the end of the <head>, after the link to the Bulma CSS:
<link rel="stylesheet" href="{{ pathto('_static/pygments.css', 1) }}">
<link rel="stylesheet" href="{{ pathto('_static/custom.css', 1) }}">
The first line will get us the styling for code on the about_us page.
Next, open _static/custom.css_t, remove the contents, and add the following:
a.headerlink {
	visibility: hidden;
}

a.brackets:before,
span.brackets > a:before {
	content: "[";
}

a.brackets:after,
span.brackets > a:after {
	content: "]";
}

h1:hover > a.headerlink,
h2:hover > a.headerlink,
h3:hover > a.headerlink,
h4:hover > a.headerlink,
h5:hover > a.headerlink,
h6:hover > a.headerlink,
dt:hover > a.headerlink,
caption:hover > a.headerlink,
p.caption:hover > a.headerlink,
div.code-block-caption:hover > a.headerlink {
	visibility: visible;
}
You might need to do a force-reload in the browser to see the change.
Now, when you hover on Schlockchain Homepage, you see the paragraph symbol.
Also, if you click on About, you'll see that our code is syntax-highlighted.
Layout Template
We're going to need a page for search results.
Sphinx already provides one, but it won't use our new look.
We thus need to refactor page.html into a layout.html Jinja2 base template.
First, rename page.html to a new file _static/layout.html, then change the <main> block:
<main class="section">
    <div class="container">
        <div class="content" role="main">
            {% block body %}
            {% endblock %}
        </div>
    </div>
</main>
While this is mostly the same, we defined a body block that child templates can fill.
We can now create _static/page.html which uses that base template and puts content into the block:
{% extends "layout.html" %}
{% block body %}
{{ body }}
{% endblock %}
Everything should look the same.
Layout JS
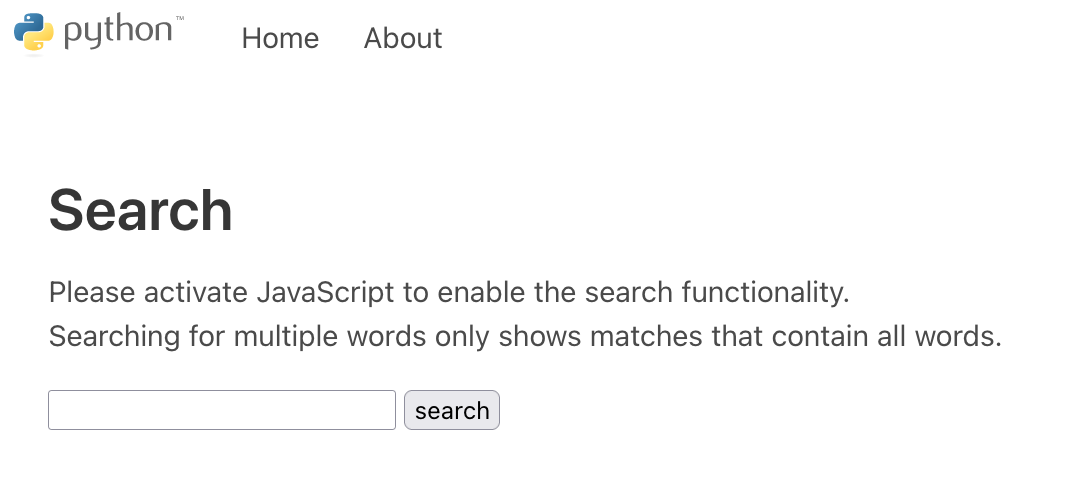
Alas, our search box doesn't really work. Pressing enter goes the page, but it's empty:

We need to do two things: get some JavaScript loaded, and make a custom search results page which inserts the results.
We'll start with the first part.
Add the following in the <head>:
{%- for js in script_files %}
    {{ js_tag(js) }}
{%- endfor %}
<script id="documentation_options" data-url_root="{{ url_root }}"
        src="{{ pathto('_static/documentation_options.js', 1) }}"></script>
<script src="{{ pathto('_static/searchtools.js', 1) }}"></script>
<script src="{{ pathto('_static/language_data.js', 1) }}"></script>
<script src="{{ pathto('searchindex.js', 1) }}" defer></script>
We've taken the lazy approach.
Ideally, we should load this at the end of <body>.
Or even better, define a block that we can fill from the search results page, leaving only the parts needed on all the pages.
But this is ok for this tutorial.
Next, make a template at _templates/search.html for the search page:
{% extends "layout.html" %}
{% block body %}
{% if search_performed %}
<h2>Search Results</h2>
{% if not search_results %}
<p>Your search did not match any documents. Please make sure
    that all words are spelled correctly and that you've selected
    enough categories.</p>
{% endif %}
{% endif %}
<div id="search-results">
    {% if search_results %}
    <ul>
        {% for href, caption, context in search_results %}
        <li><a href="{{ pathto(item.href) }}">{{ caption }}</a>
            <div class="context">{{ context|e }}</div>
        </li>
        {% endfor %}
    </ul>
    {% endif %}
</div>
{% endblock %}
This new search results page gives us our layout and fills in the block for results. There's a good bit of implicit stuff going on -- JS wakes up, gets the search index, and finds results client-side, then updates the correct node.
Future Work
In this site design step, we've just scratched the surface. There's a lot more that can be done, that should be done:
- Favicon
- Meta tags and canonical links
- Sidebars
- Everything in Sphinx's
basic/layout.html
