Setting the scene
Downloading the project and running the application.
Since you're reading this, you probably need to transition your application from Java EE to Jakarta EE. If you want the history on this change, check out this helpful blog post from Java Magazine. Fundamentally the Java Persistence API was renamed to Jakarta Persistence API meaning that the javax namespace changed to jakarta for frameworks whose APIs have moved to Jakarta EE (which is not all).
However, Tomcat recently released version 10 which updated package names from javax to jakarta. SpringBoot also made this change in version 6.
We're going to work with some sample code which you can get from GitHub with thanks to Dalia for creating the project! There are three branches in this project; main, javax-branch and jakarta-branch. Clone the project from GitHub if you want to follow along and check out the javax-branch branch, we will start here.
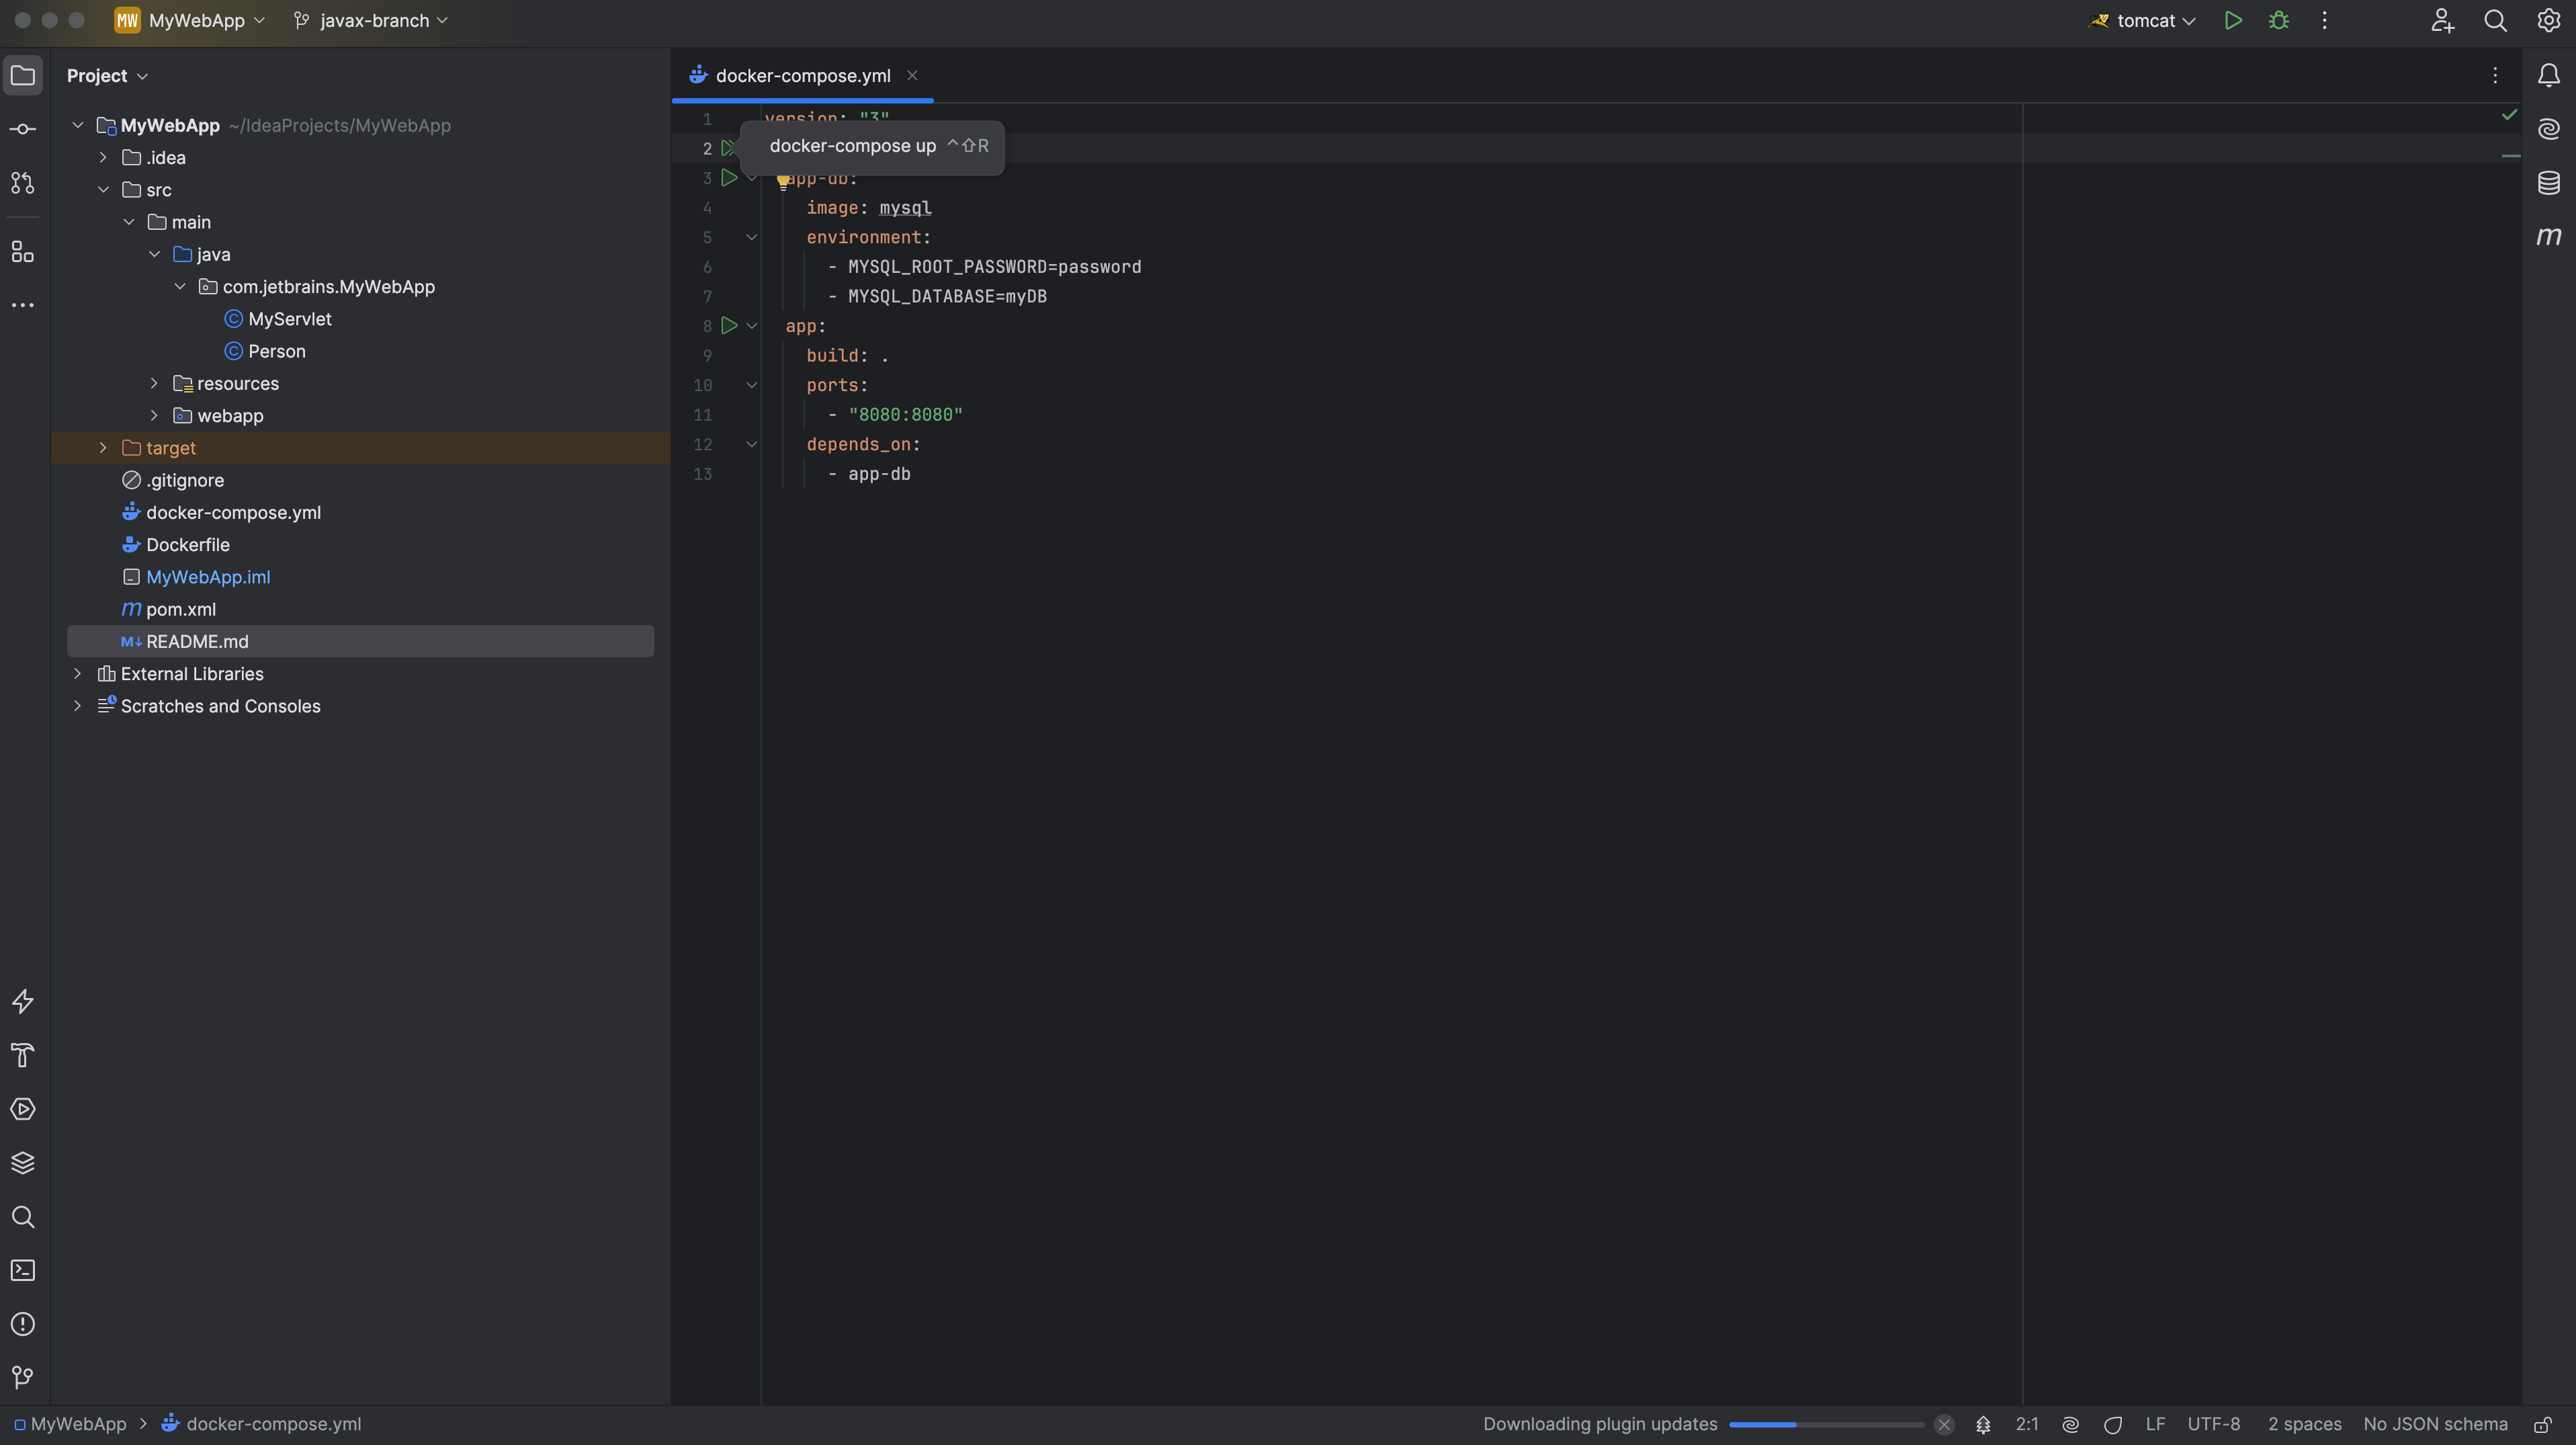
If you are following along, I recommend that you use IntelliJ IDEA Ultimate, however you can use IntelliJ IDEA and install the Docker plugin manually. Either way you will need Docker running on your machine. Once you have downloaded the code, you can use the run icon in the gutter of thedocker-compose.yml file:

Now you should be able to navigate to localhost:8080/MyWebApp and see the application. If you enter a name and a fruit, your data should successfully be persisted to the database. This application, specifically the javax branch is running Tomcat 9.0 which uses the javax namespace. We're now going to start the migration to the jakarta namespace.
