Dependency Diagram
Using the Dependency Diagram in IntelliJ IDEA Ultimate.
If you are using IntelliJ IDEA Ultimate, you can also view your dependencies as a diagram.
Show Diagrams
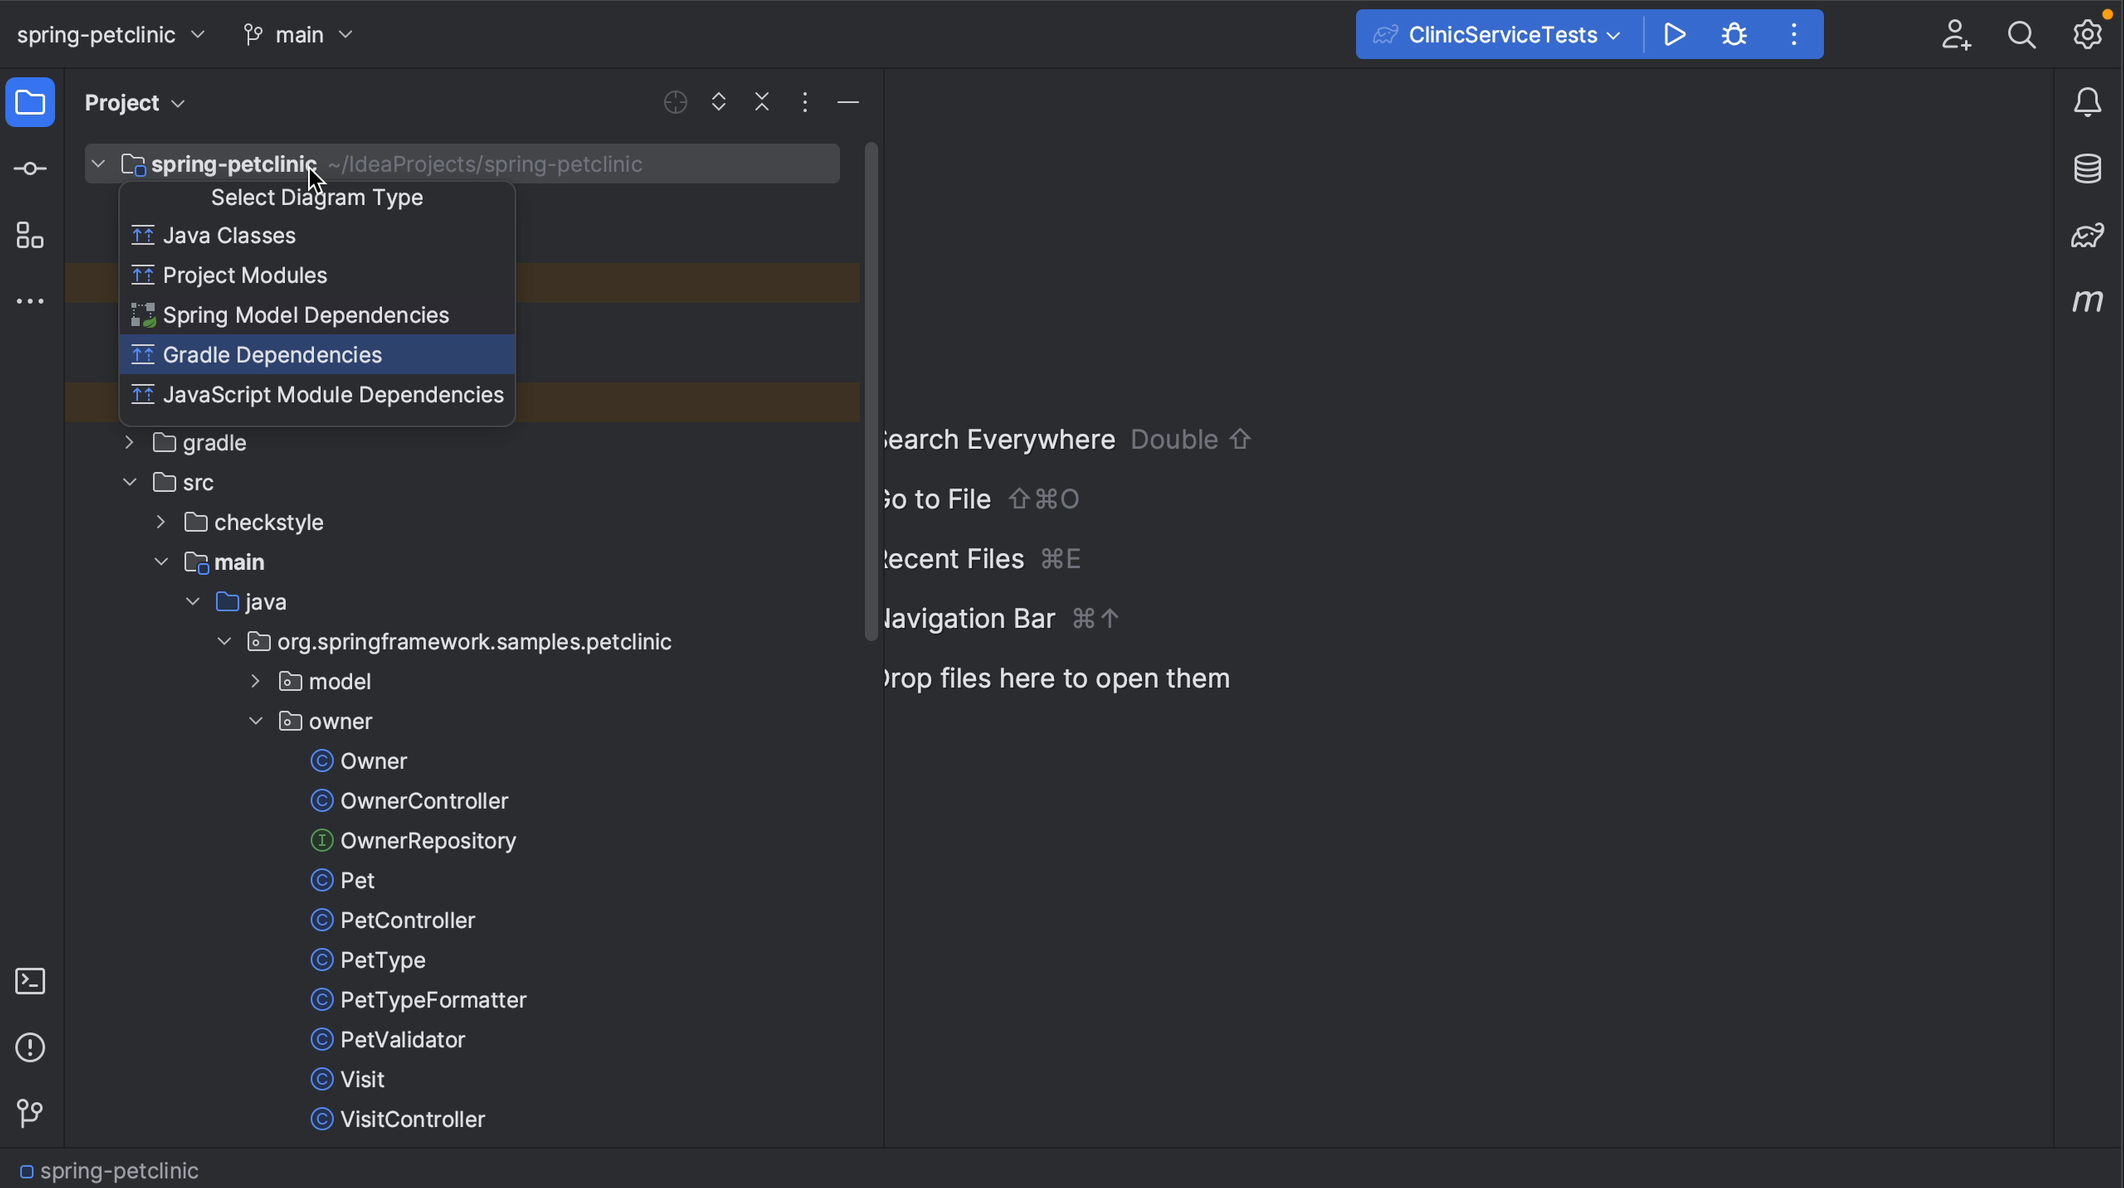
We can open diagrams either by right-clicking the project in the Project tool window and selecting Diagrams | Show Diagrams, or by using the shortcut ⌥⇧⌘U (macOS) / Ctrl+Alt+Shift+U (Windows/Linux). You'll notice this gives you several diagram options to choose from. In this case, we're interested in the Gradle Dependencies, so we select that one. We can hide all tool windows ⌘⇧F12 (macOS) / Ctrl+Shift+F12 (Windows/Linux), so we can focus on the diagram.gut

Zoom in
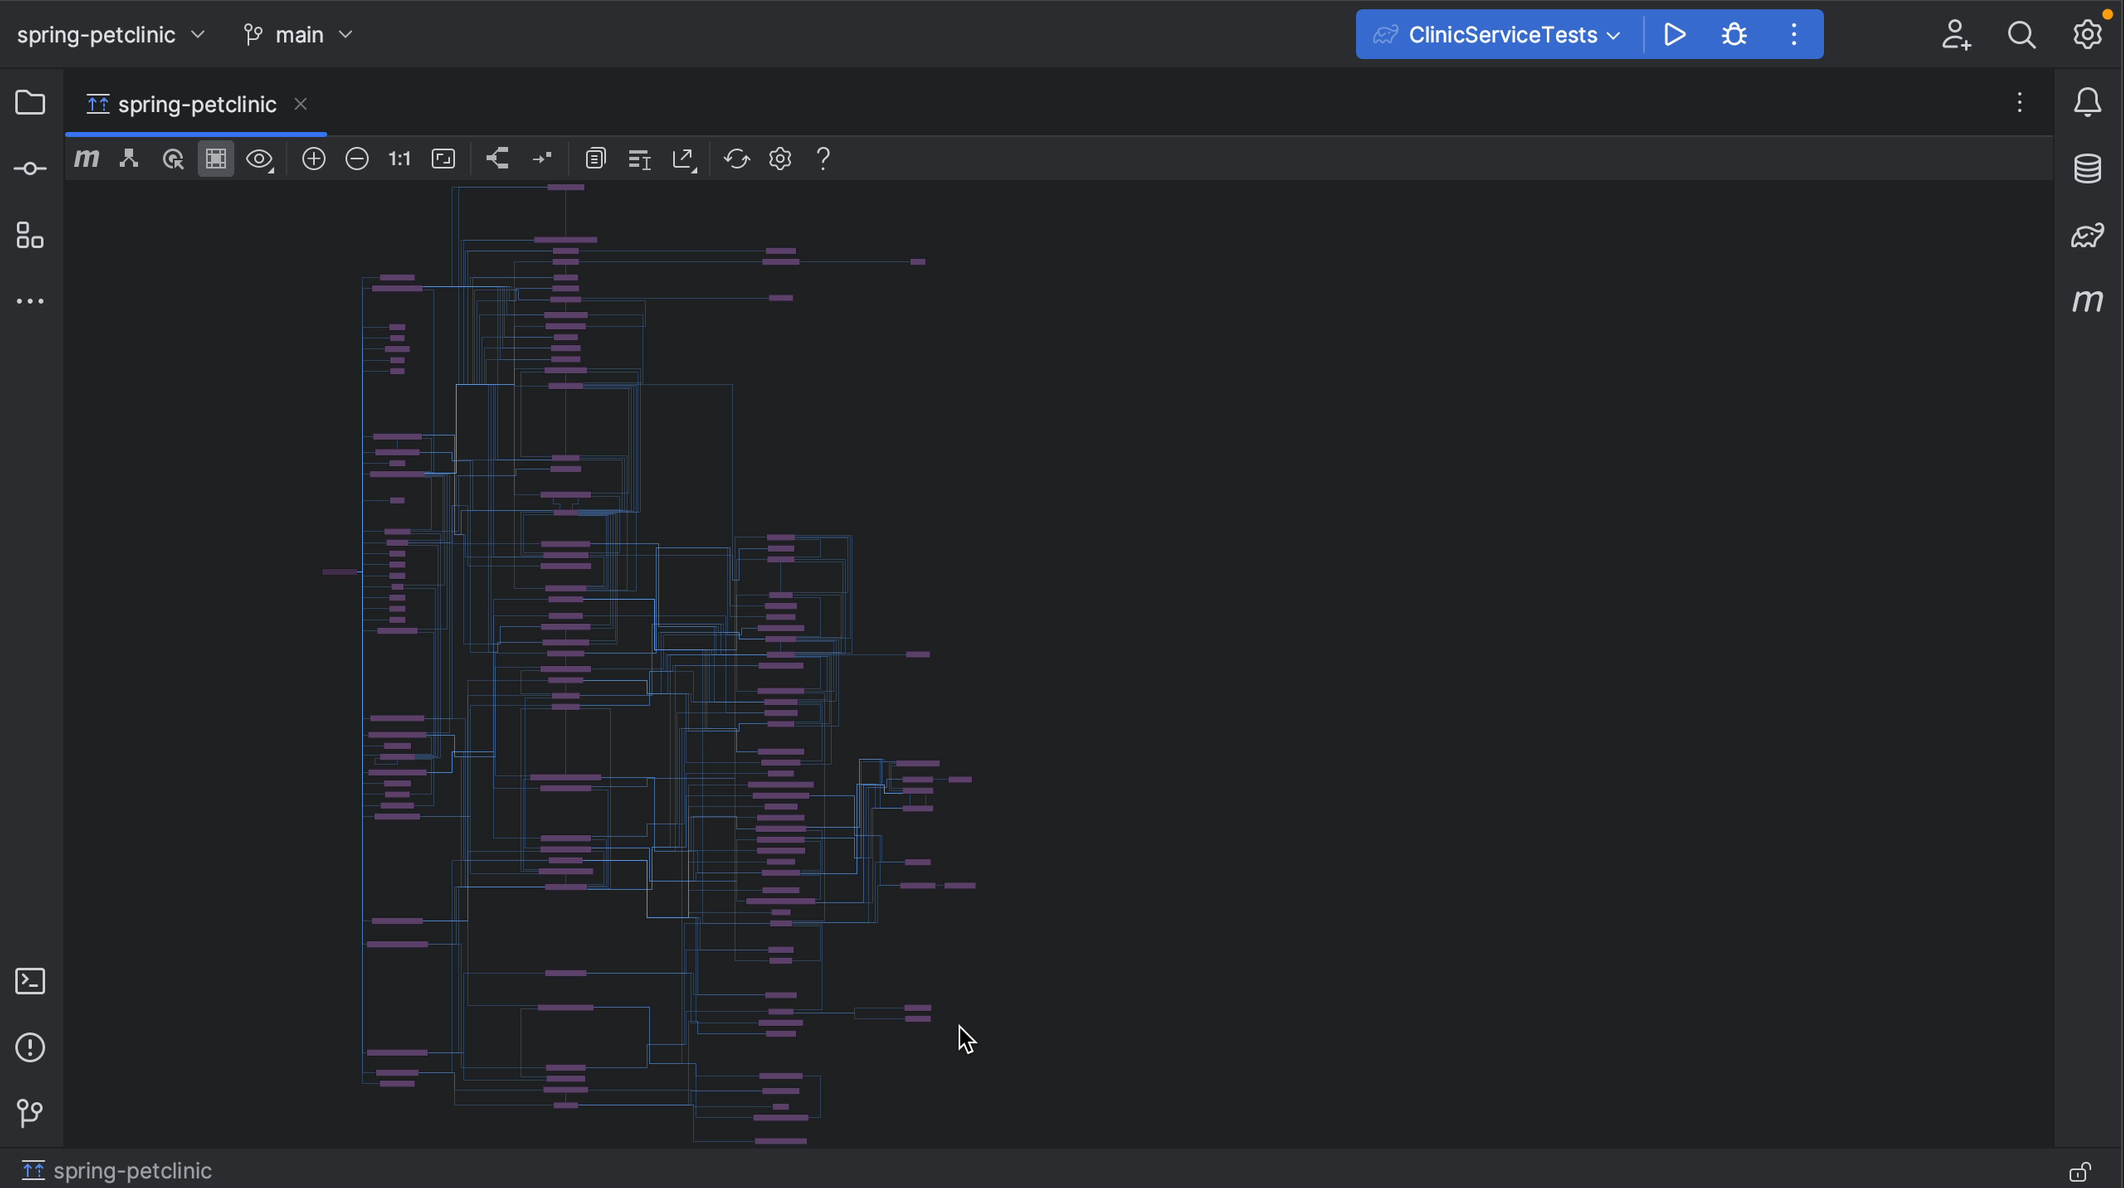
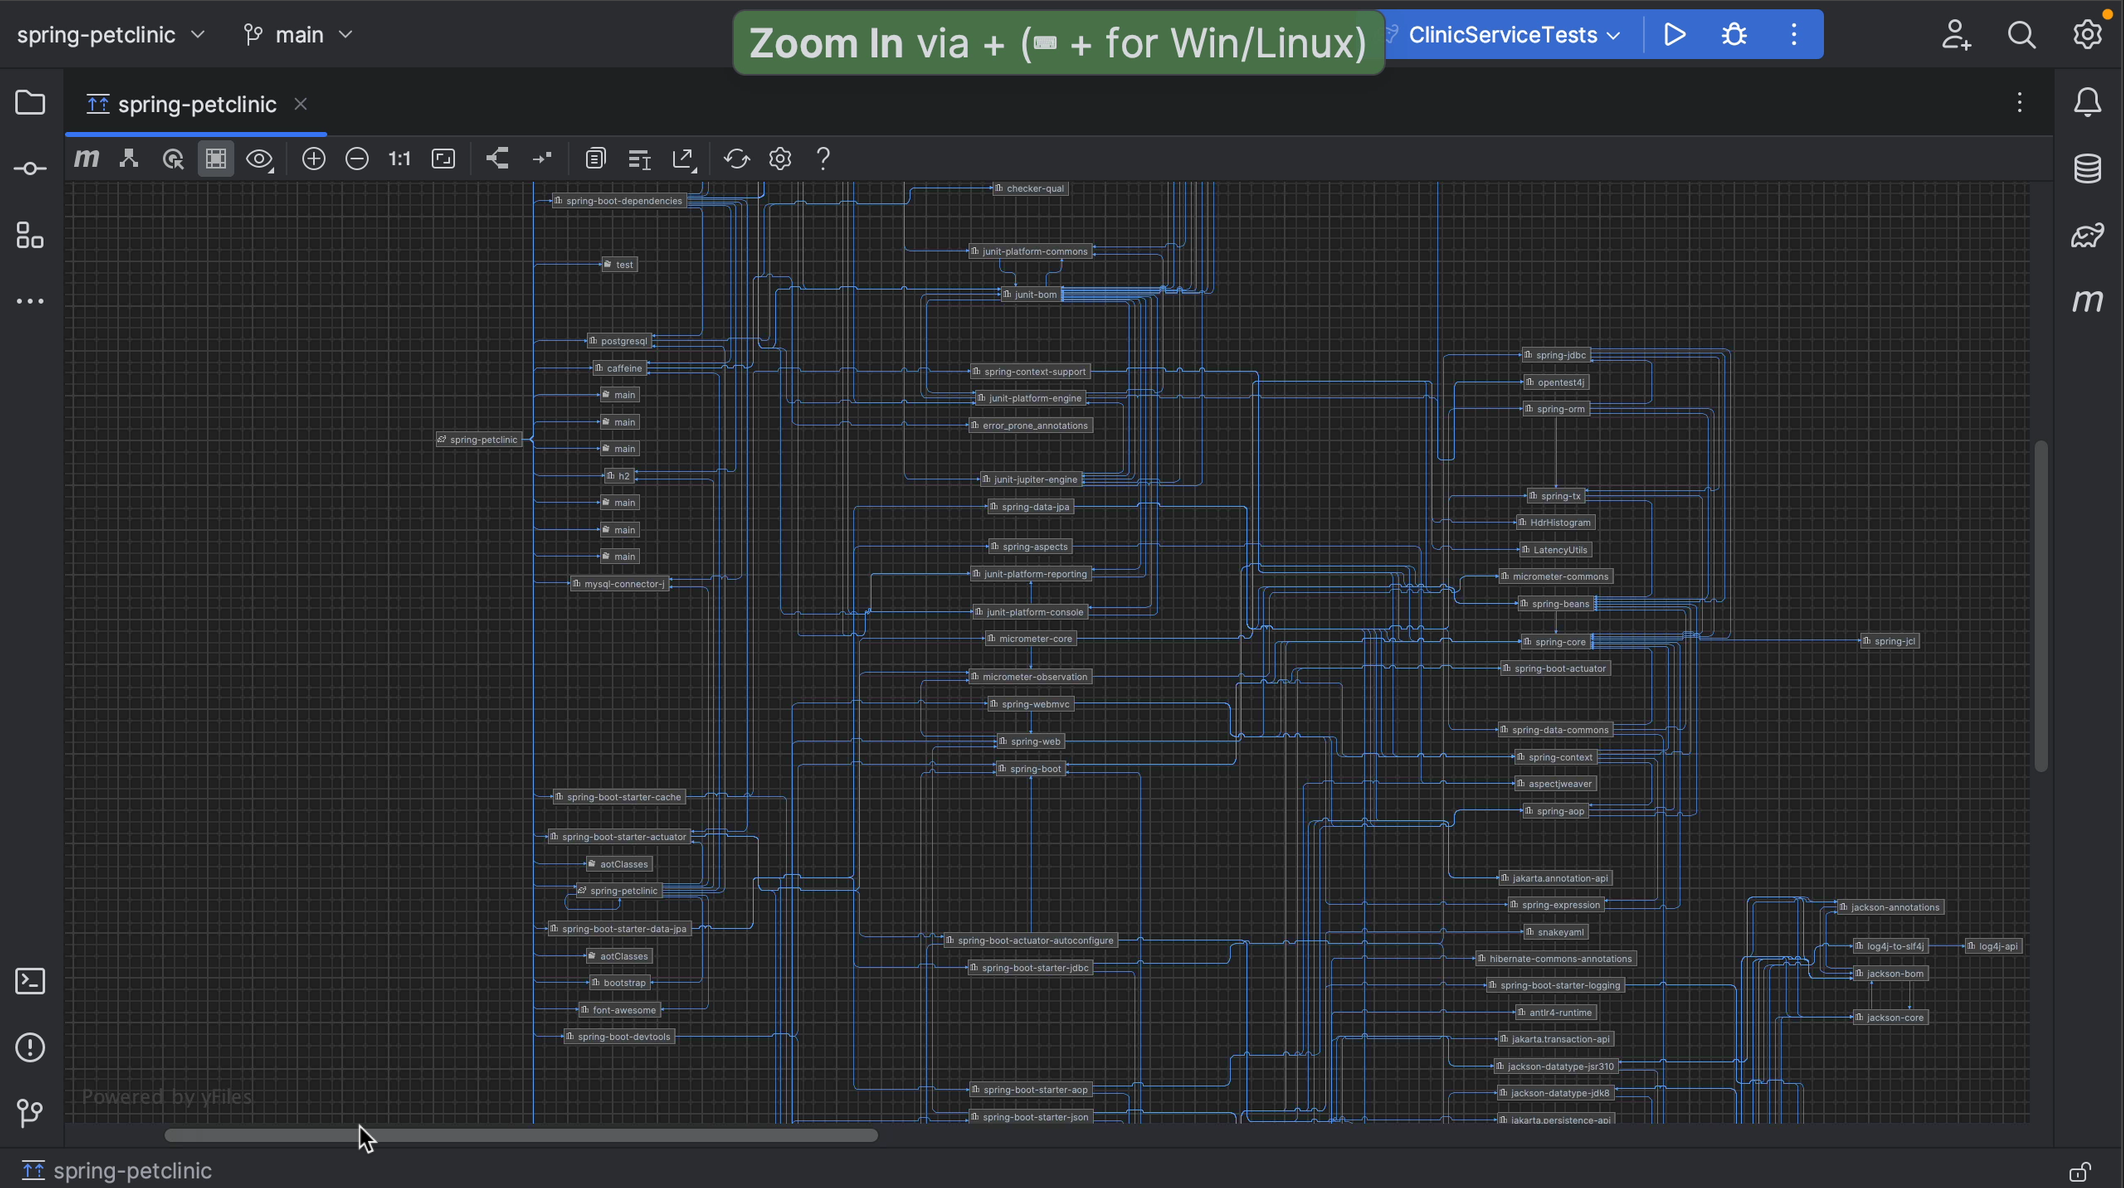
If the project we're looking at pulls in a lot of transitive dependencies, like this example, the diagram can be quite large. We can zoom in and out using the + and - keys, or the + and - buttons in the diagram window.
Finding a specific dependency
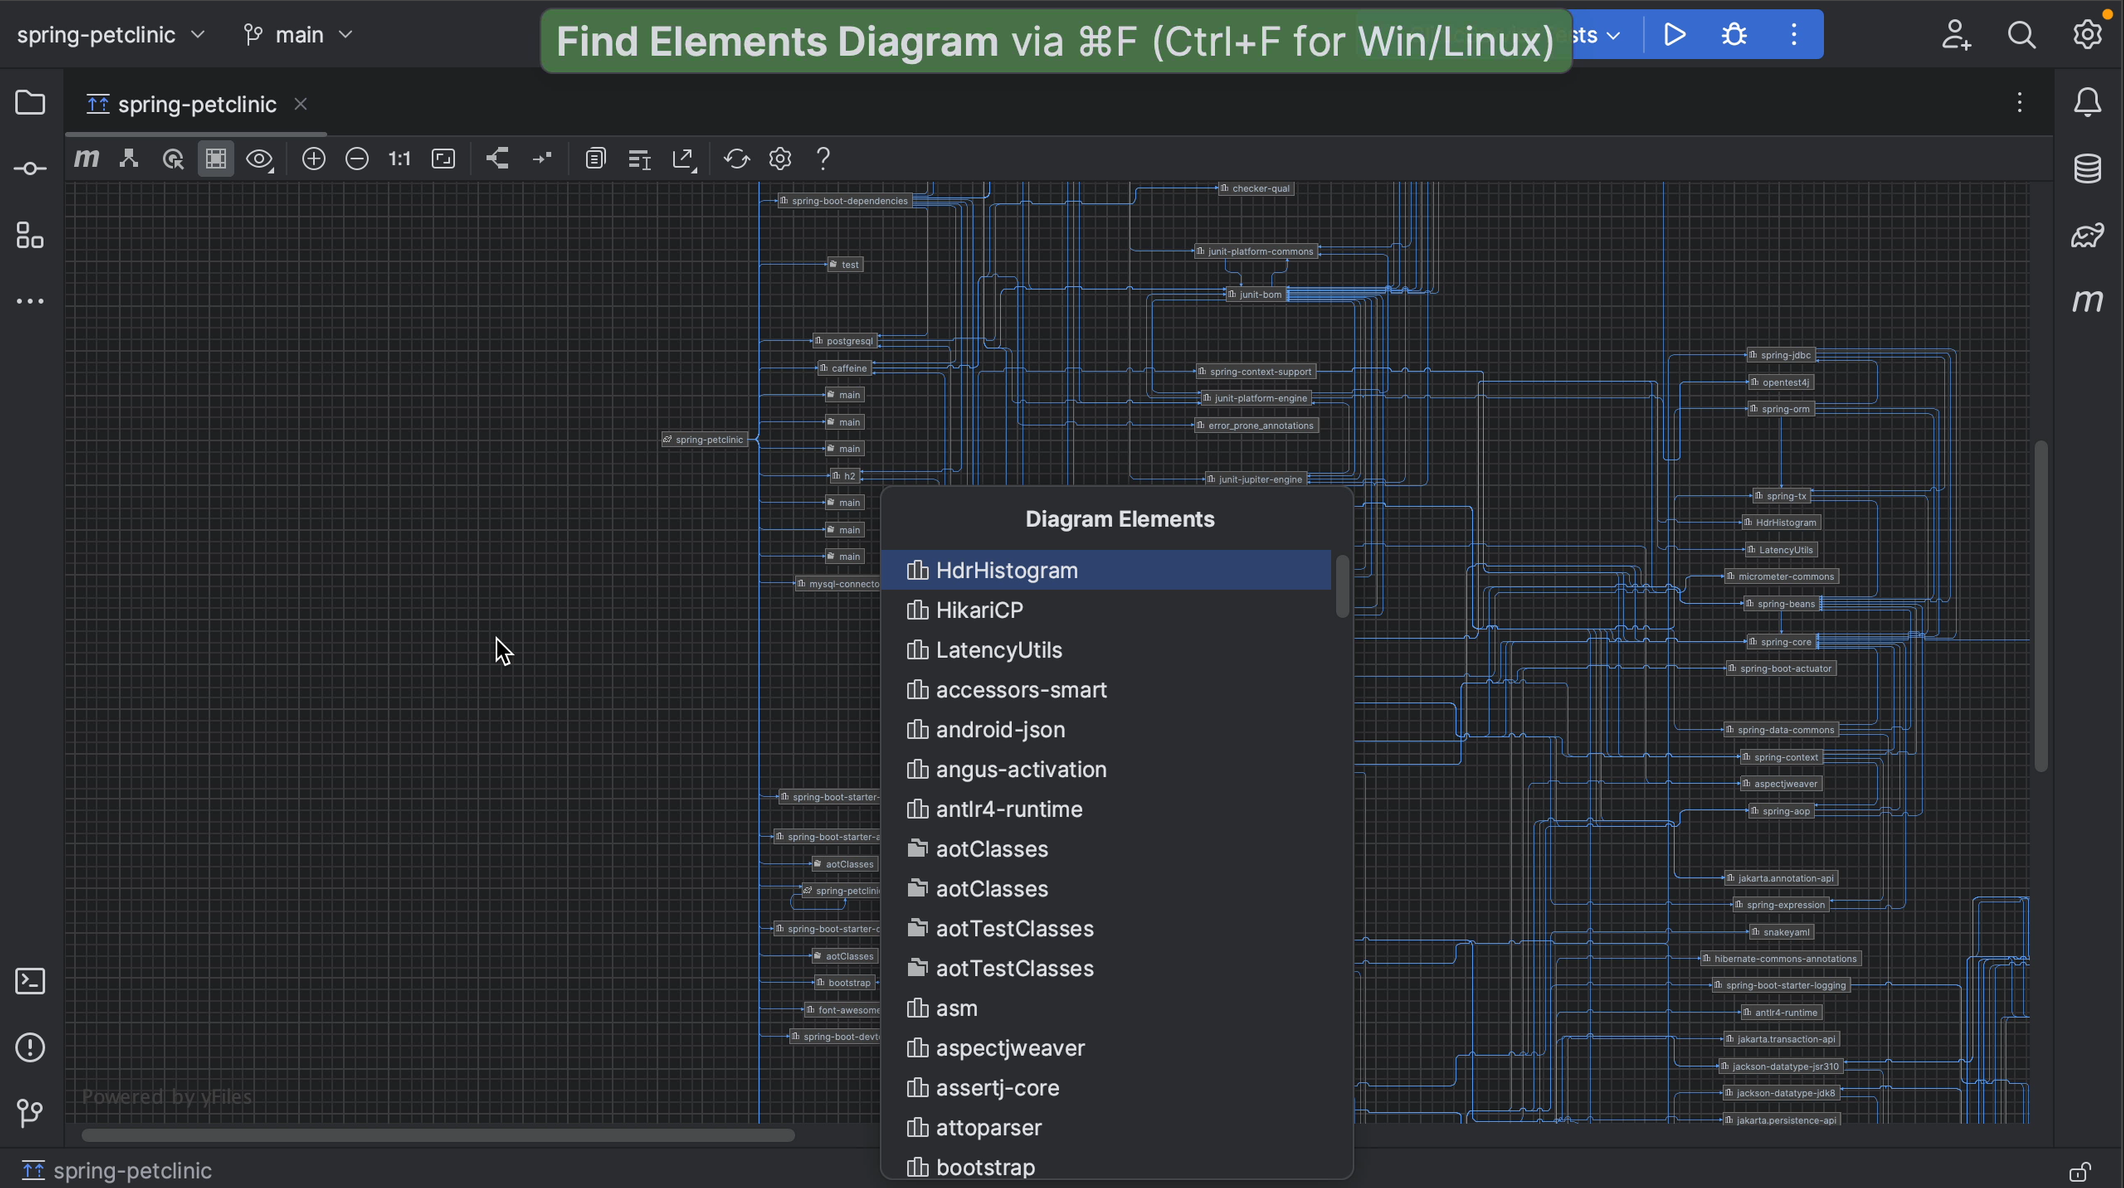
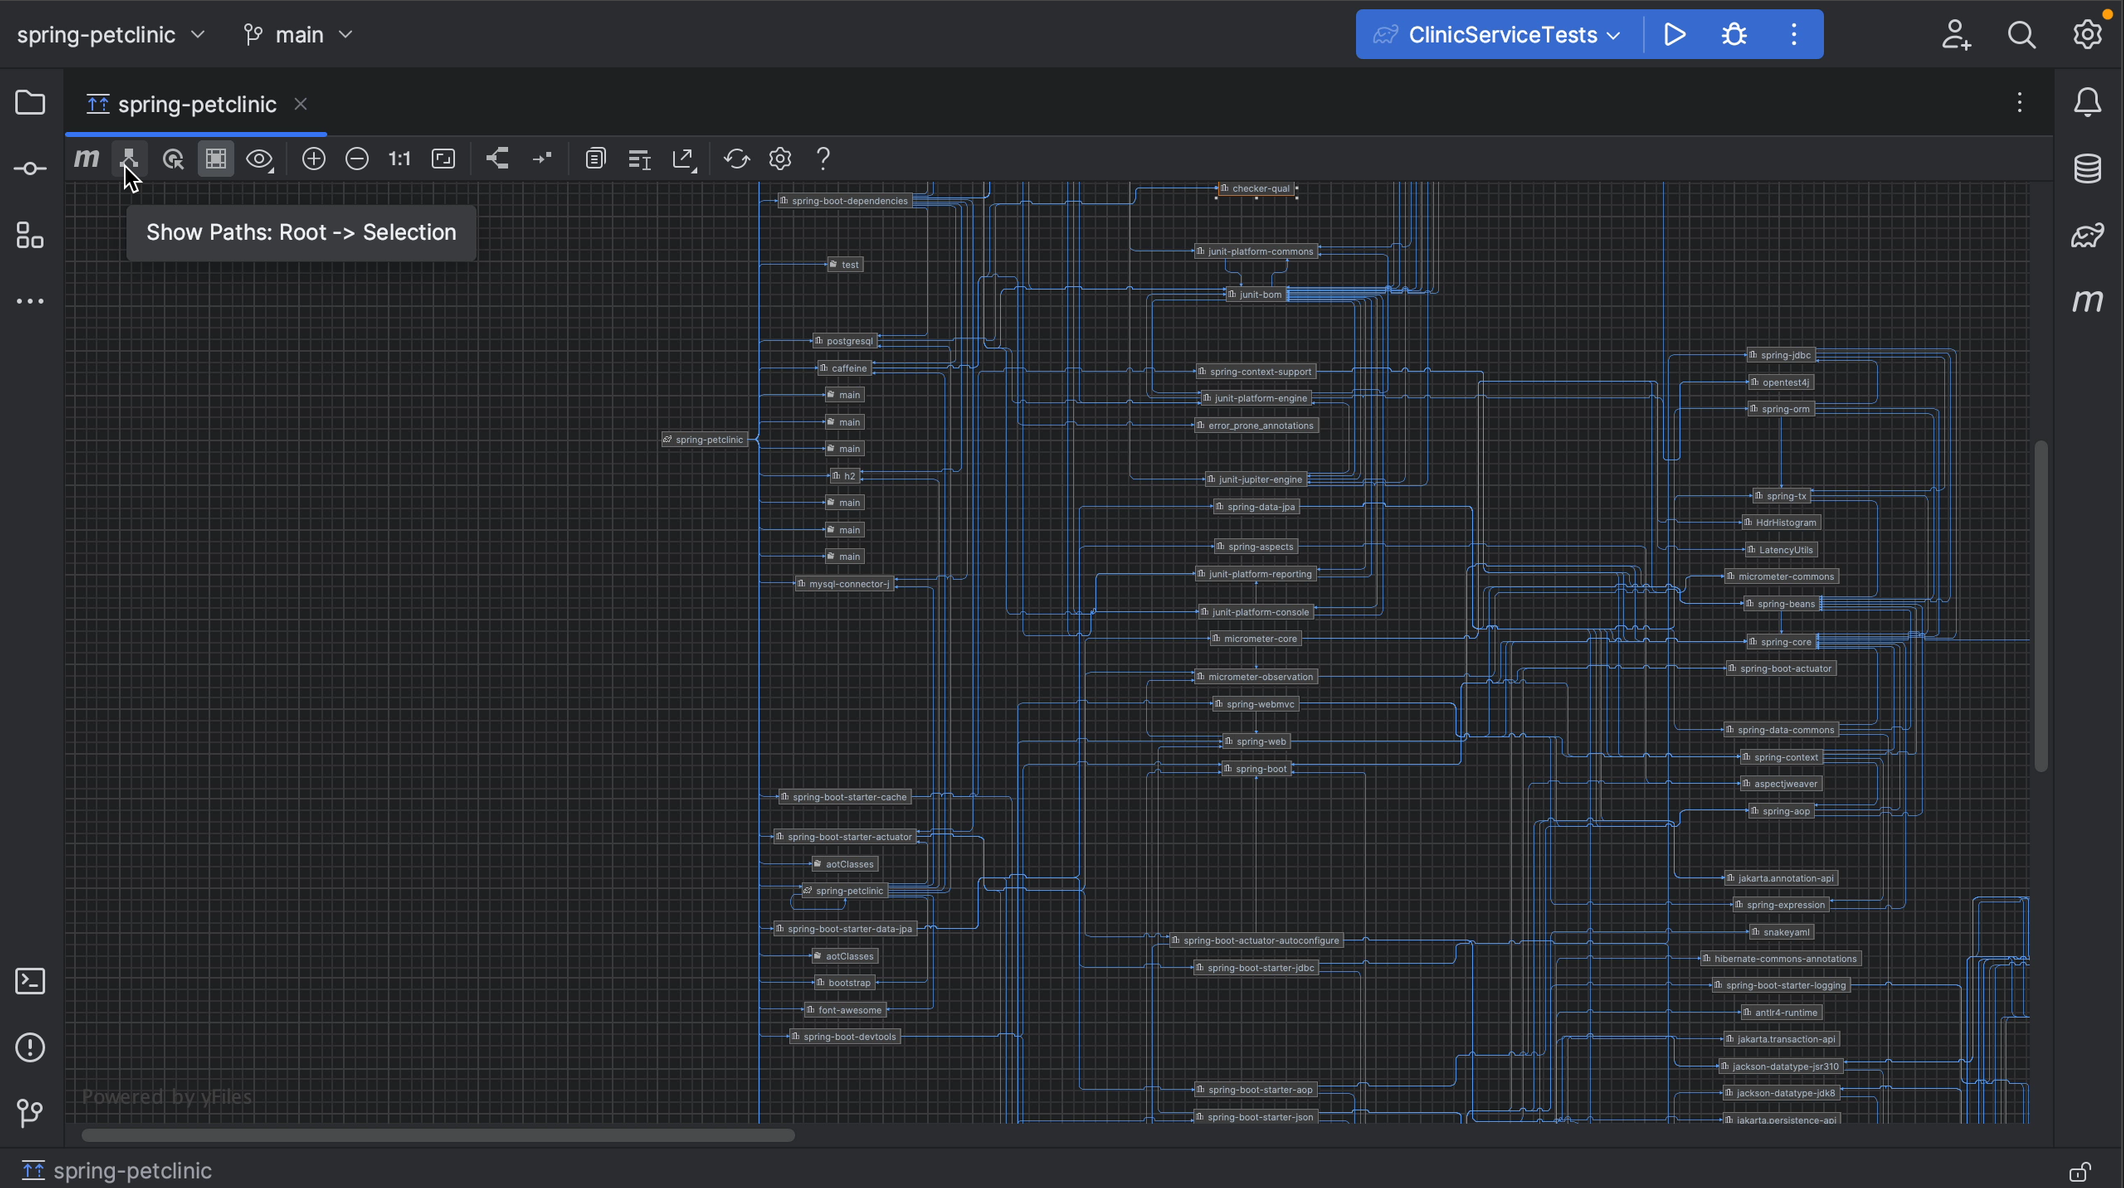
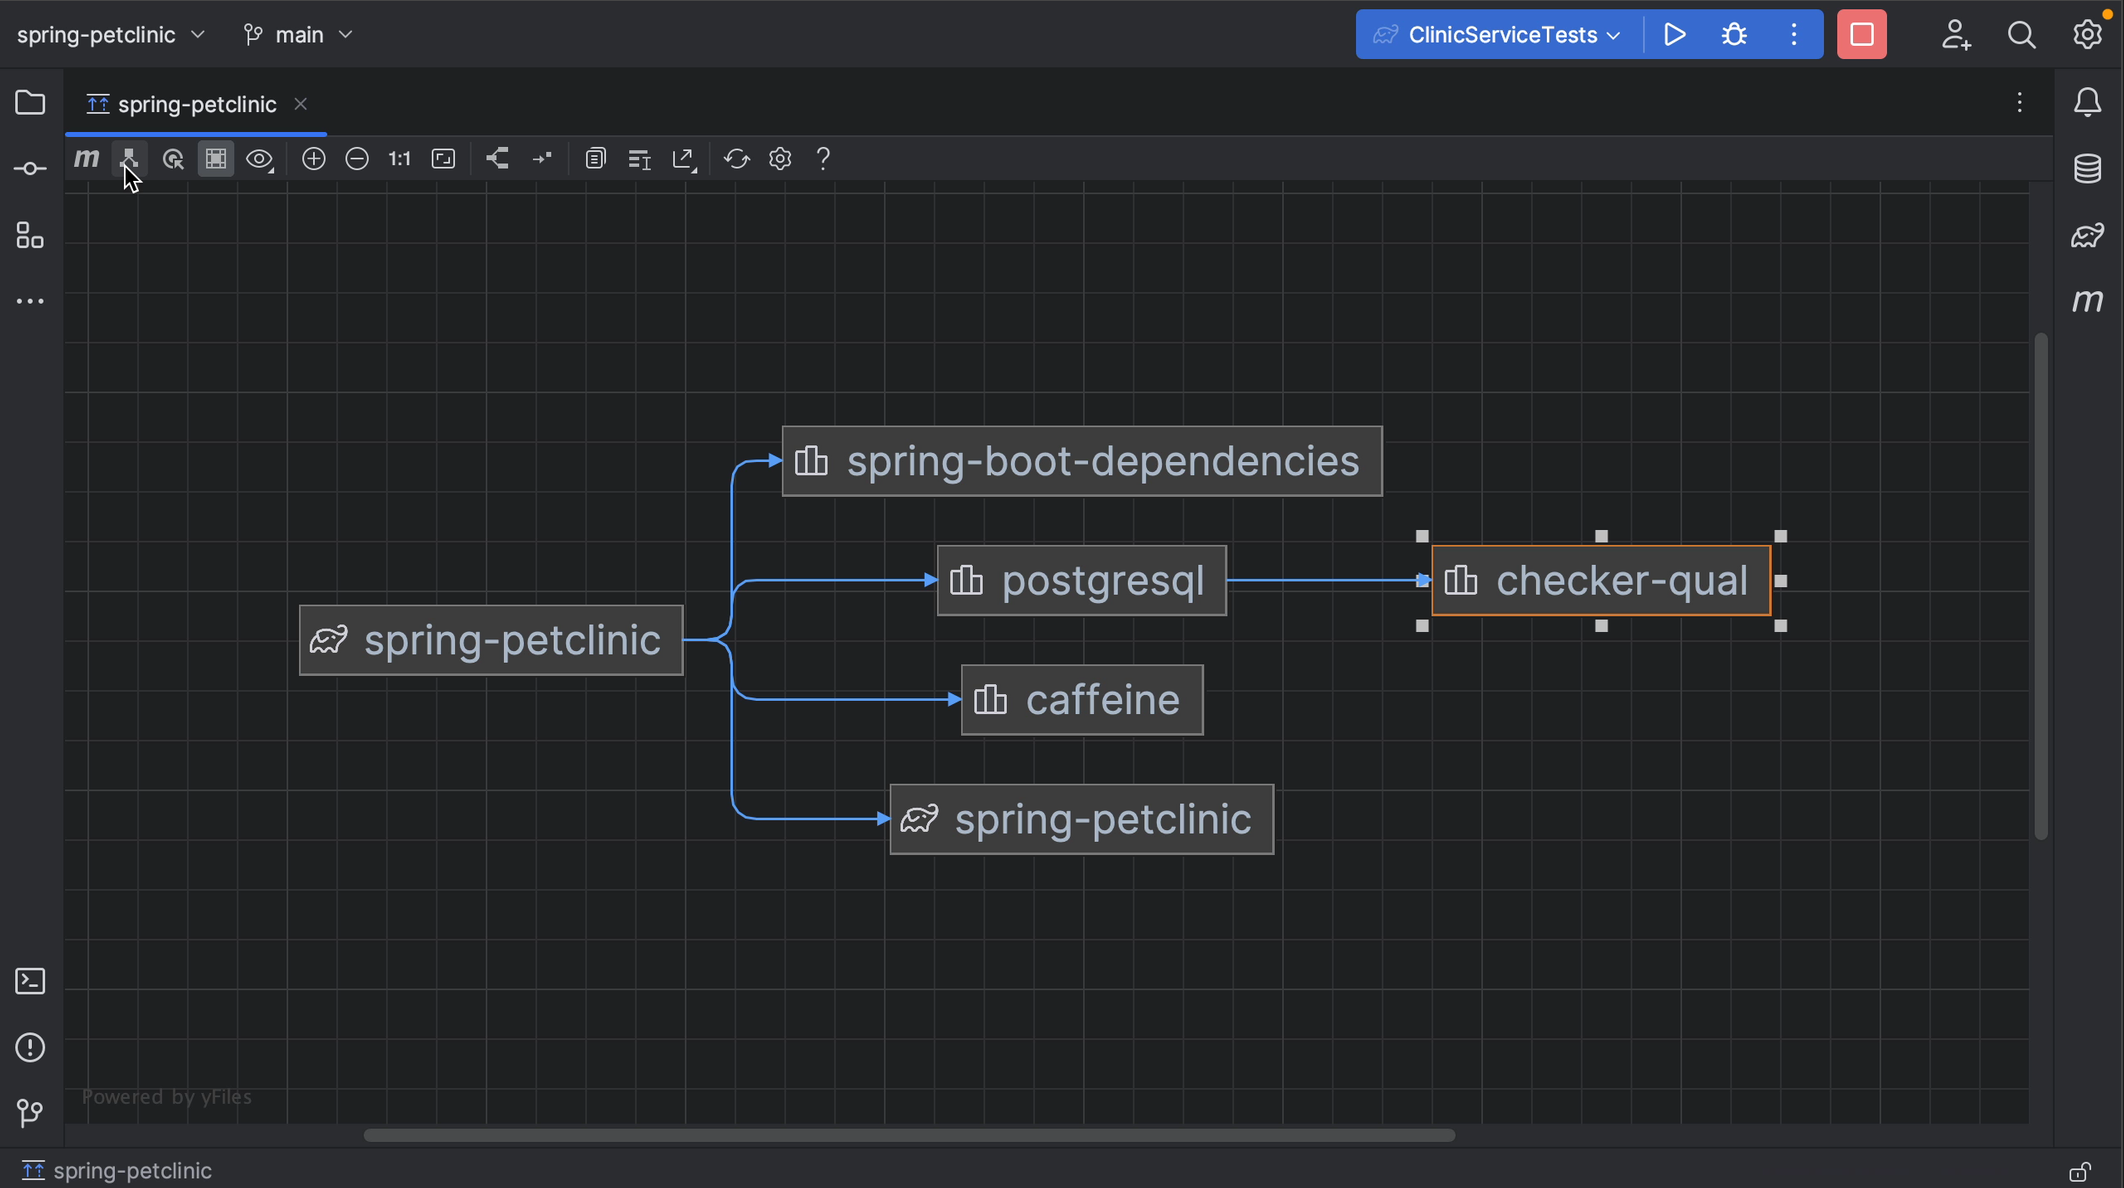
To look for a specific dependency and see where we get it from, we can search for this dependency using ⌘F (macOS) / Ctrl+F (Windows/Linux) to find it in the diagram. Using Show Paths: Root -> Selection, we can check the path for this dependency and click related dependencies to follow the path to the root.
Focus on related nodes
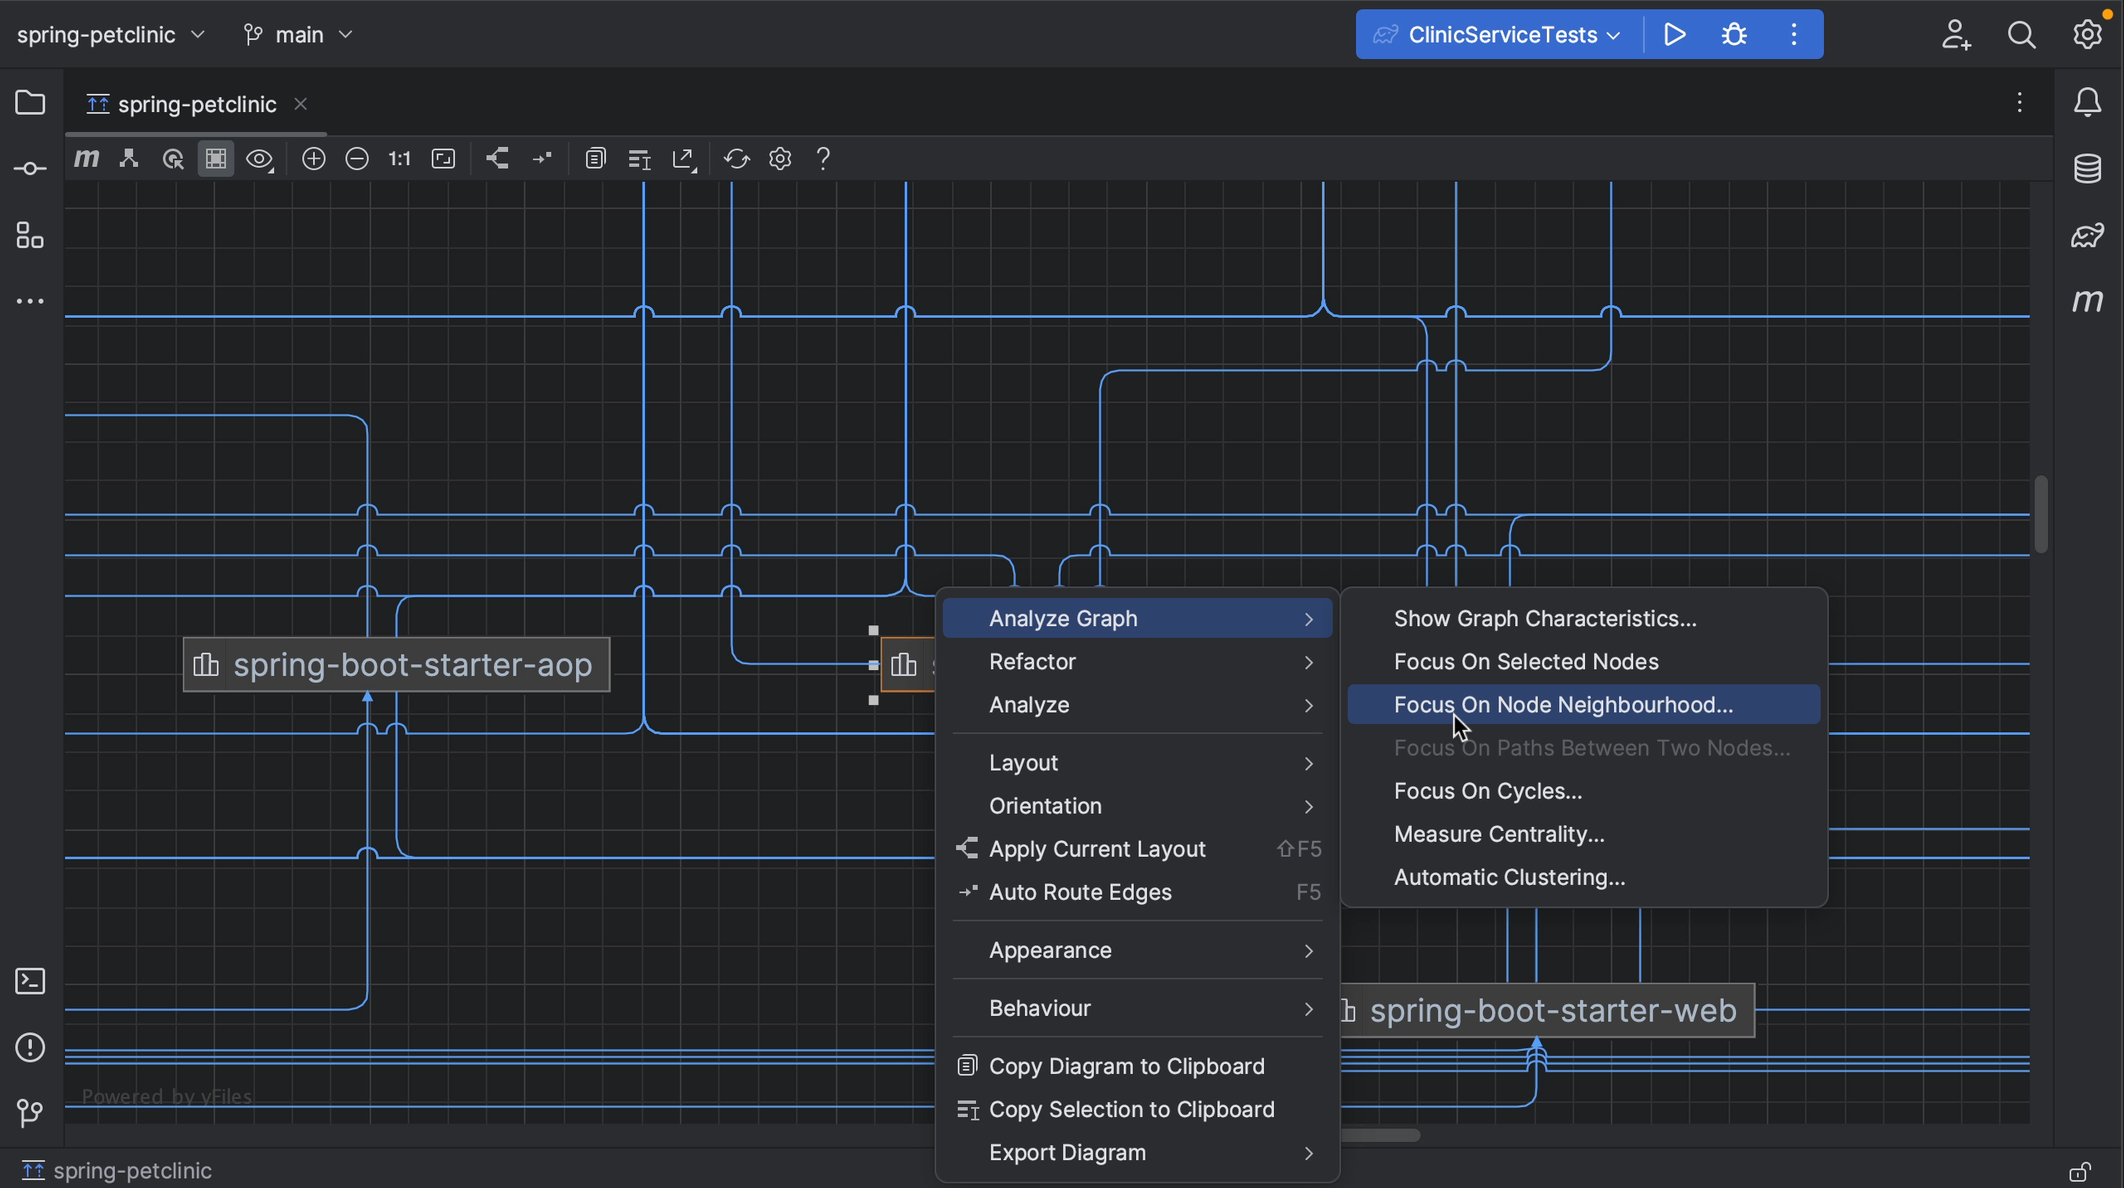
We have other options to look into specific dependencies. For example, we can zoom in on a specific dependency and the related nodes. Right-click the dependency you're interested in, and from the context menu, select Analyze graph | Focus on Node Neighbourhood. This will give you several options. In this example, we'll look at both directions. When we are done, we can reopen Analyze graph context menu and select Drop focus.


Select scopes
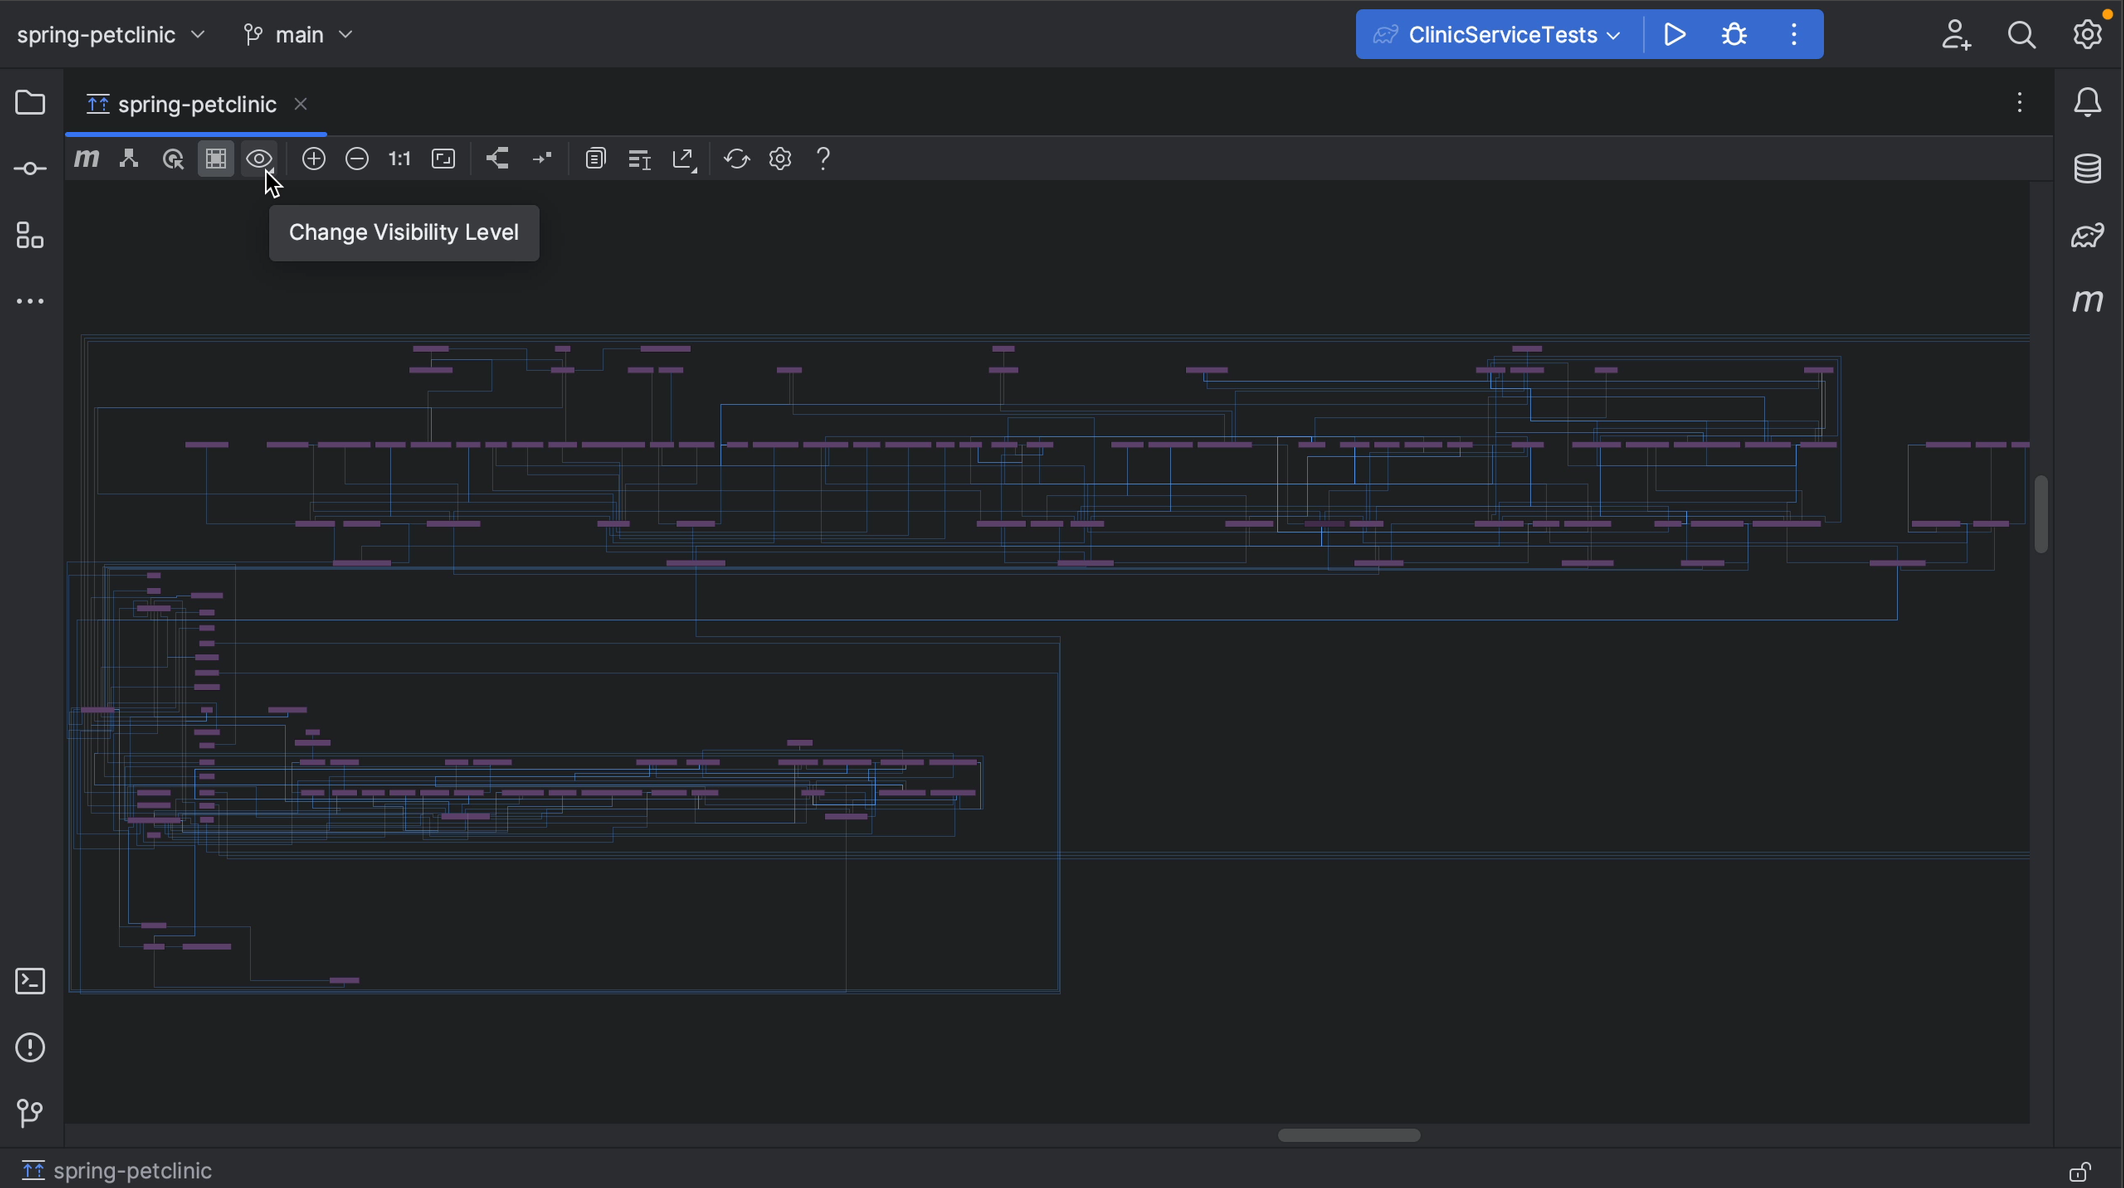
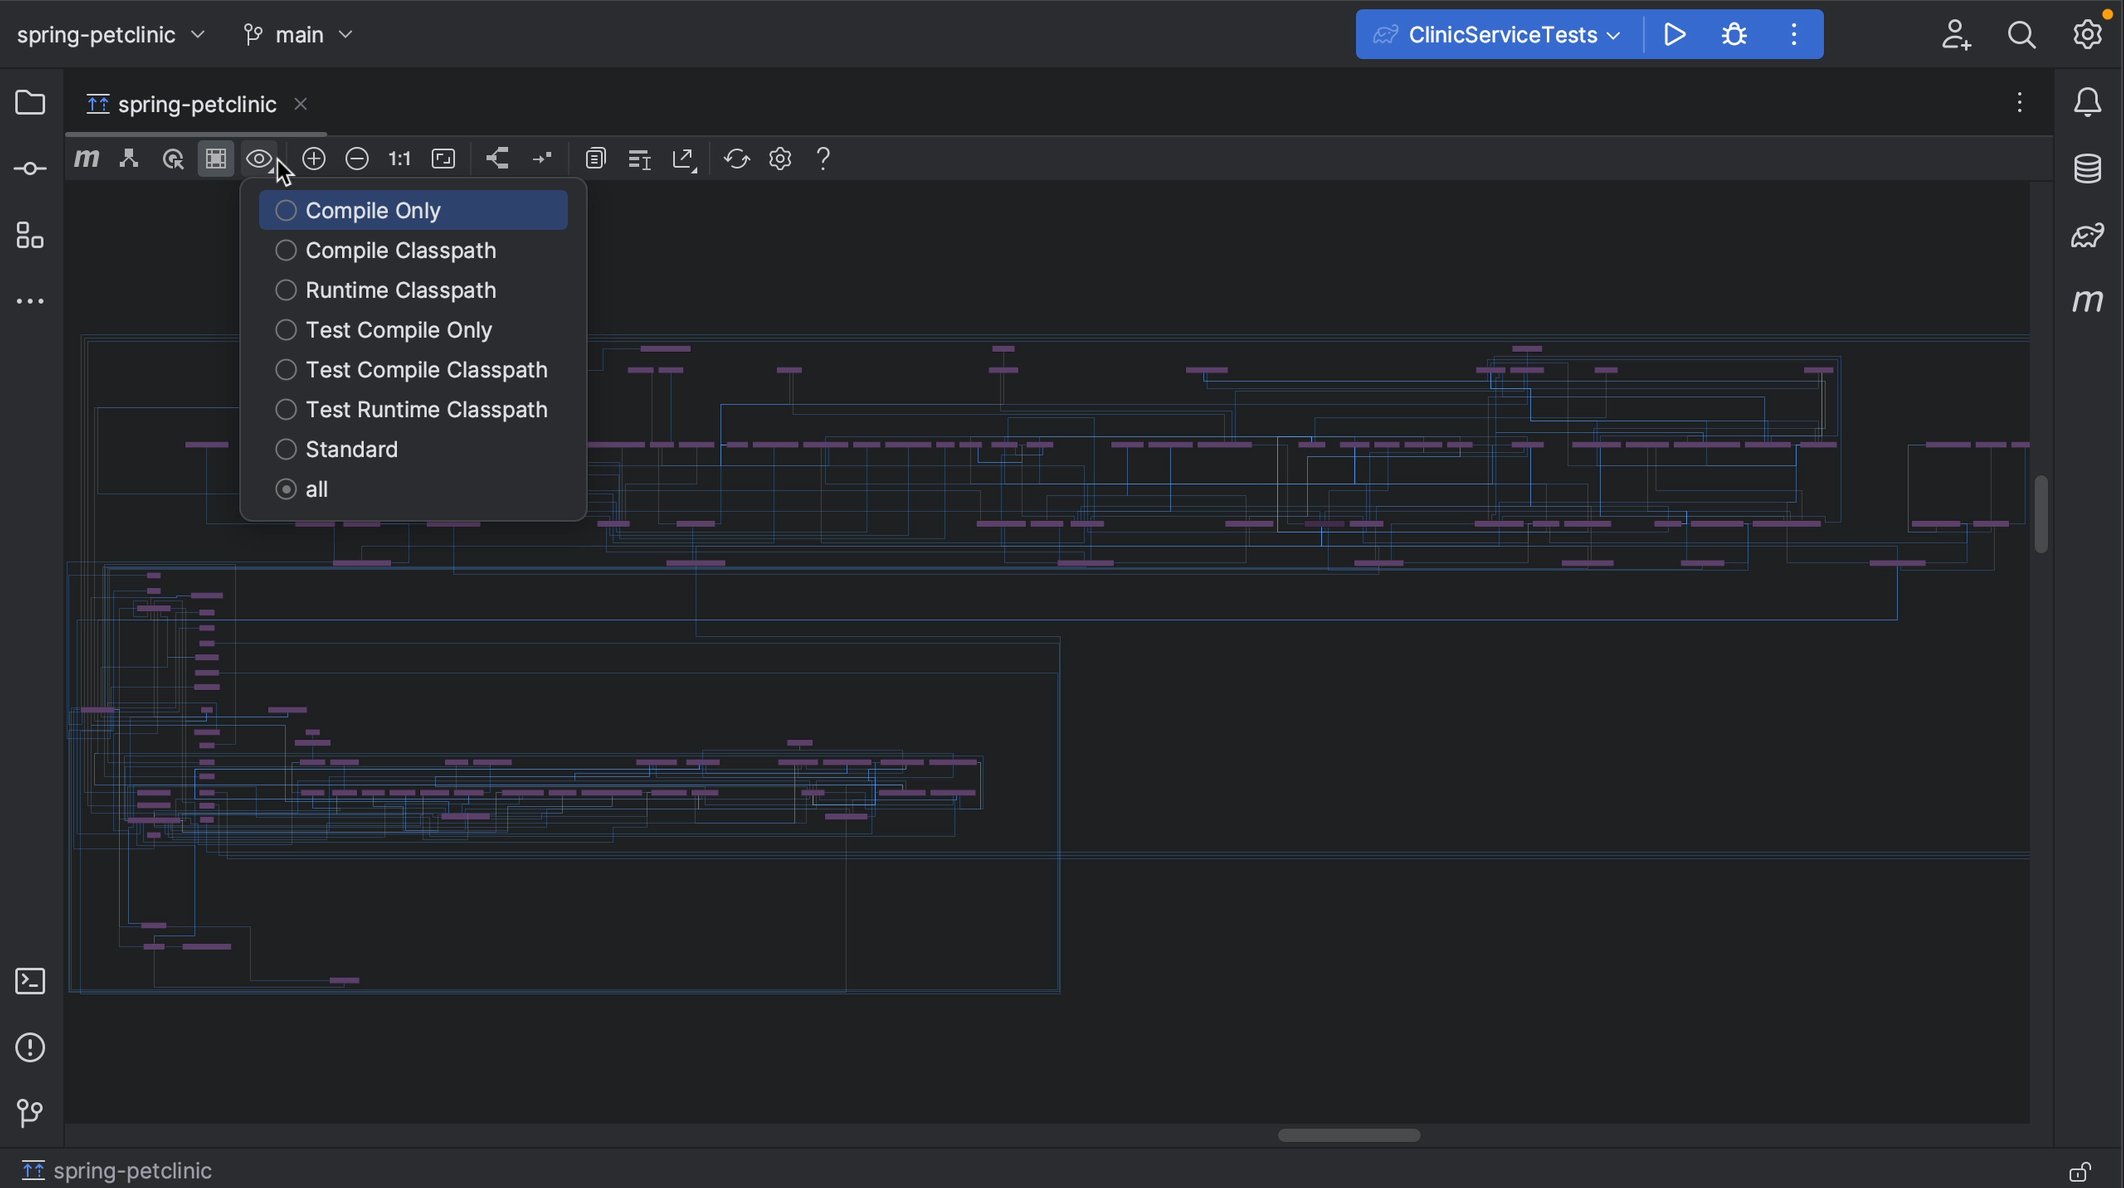
We can change the visibility level, by clicking Change Visibility Level for example if we want to focus on compile or runtime dependencies only.
