Running Docker through PyCharm
Build and run a Docker container from your IDE.
Let’s start running the Docker application through PyCharm.
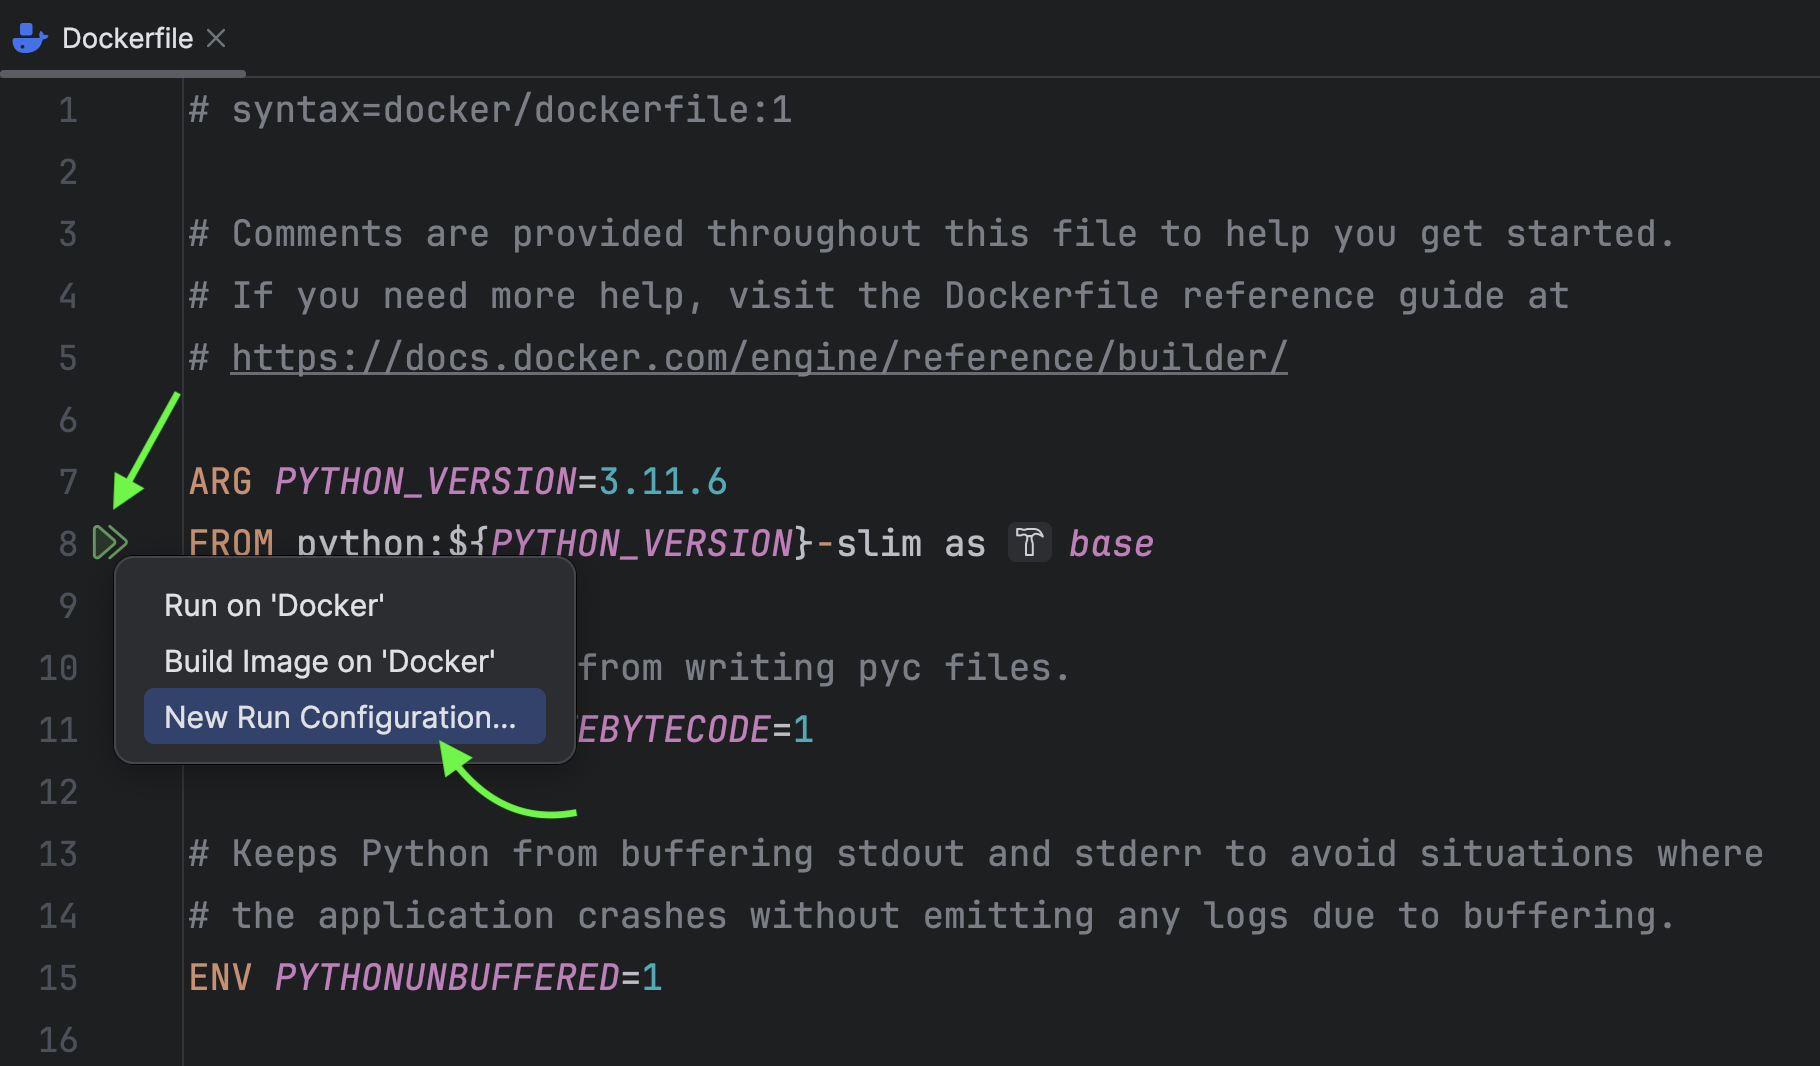
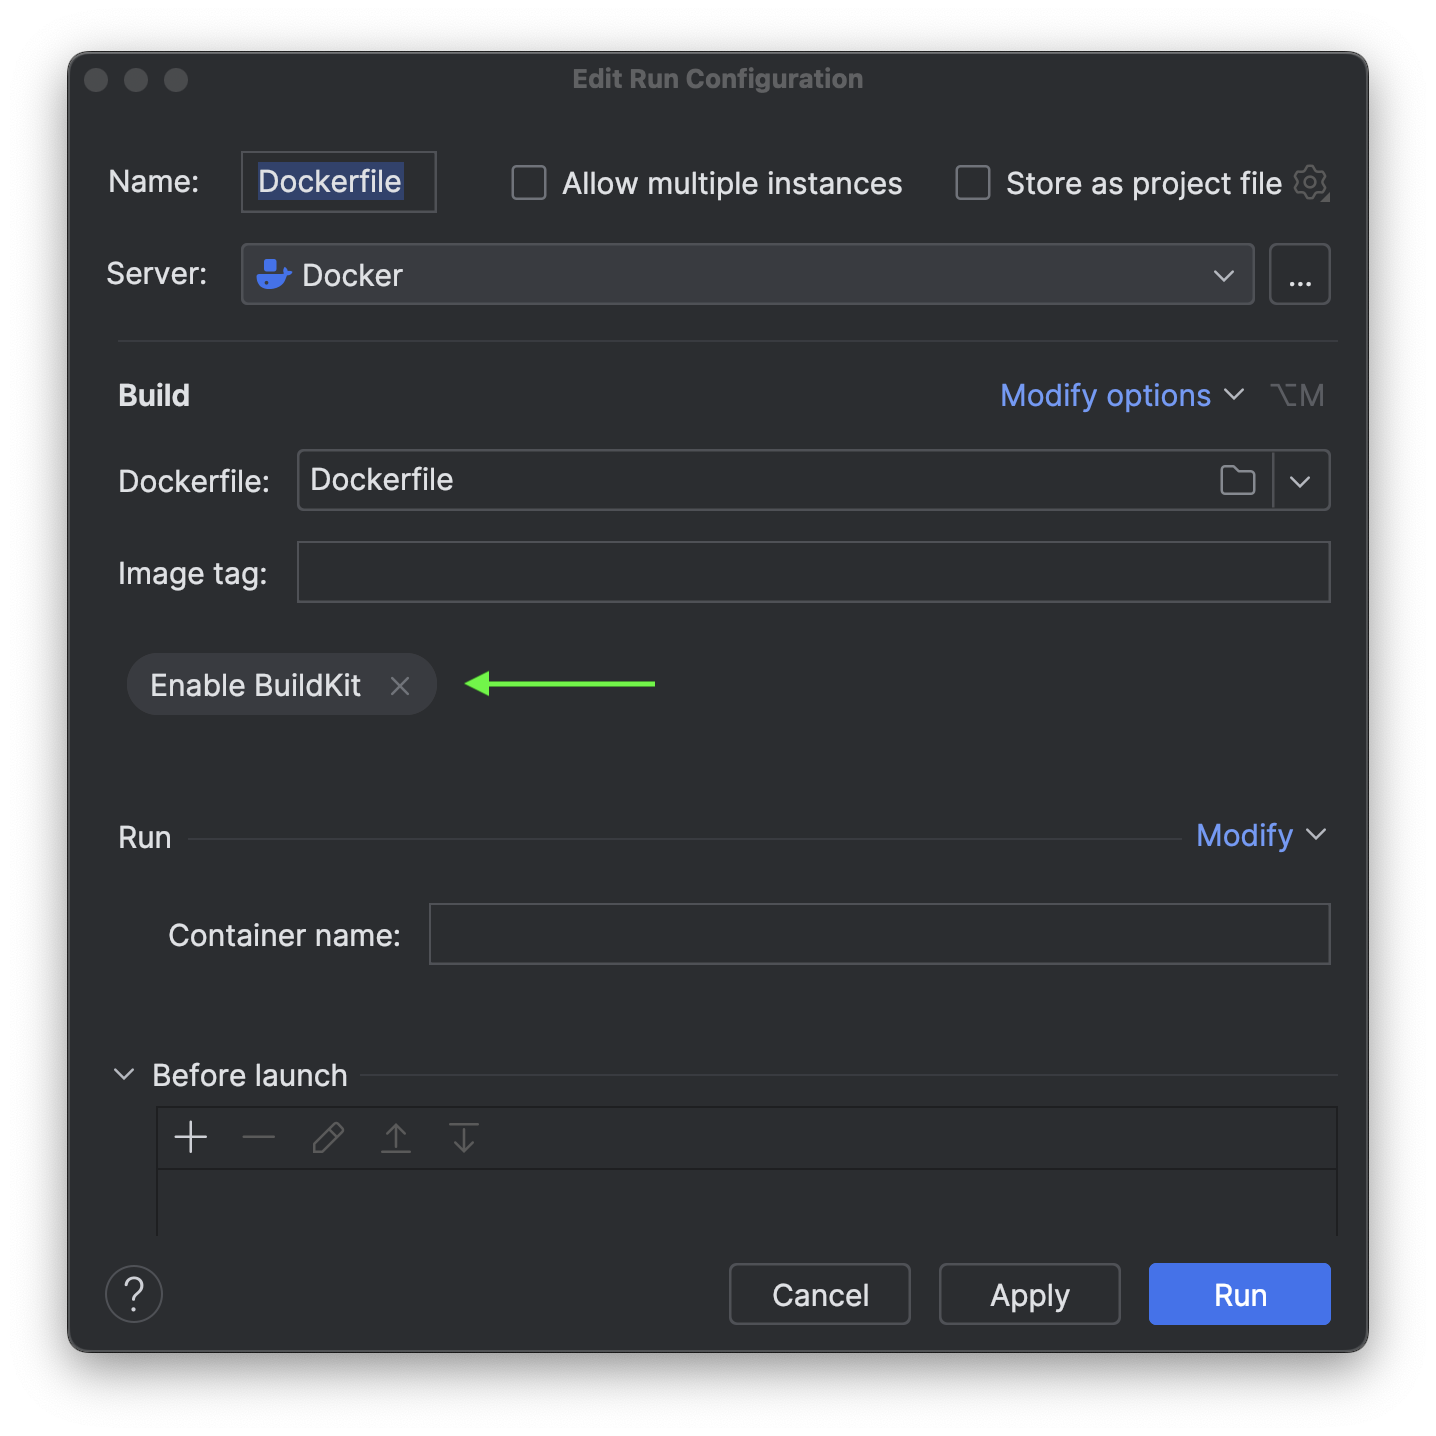
Open the Dockerfile and click on the Run icon → New Run Configuration
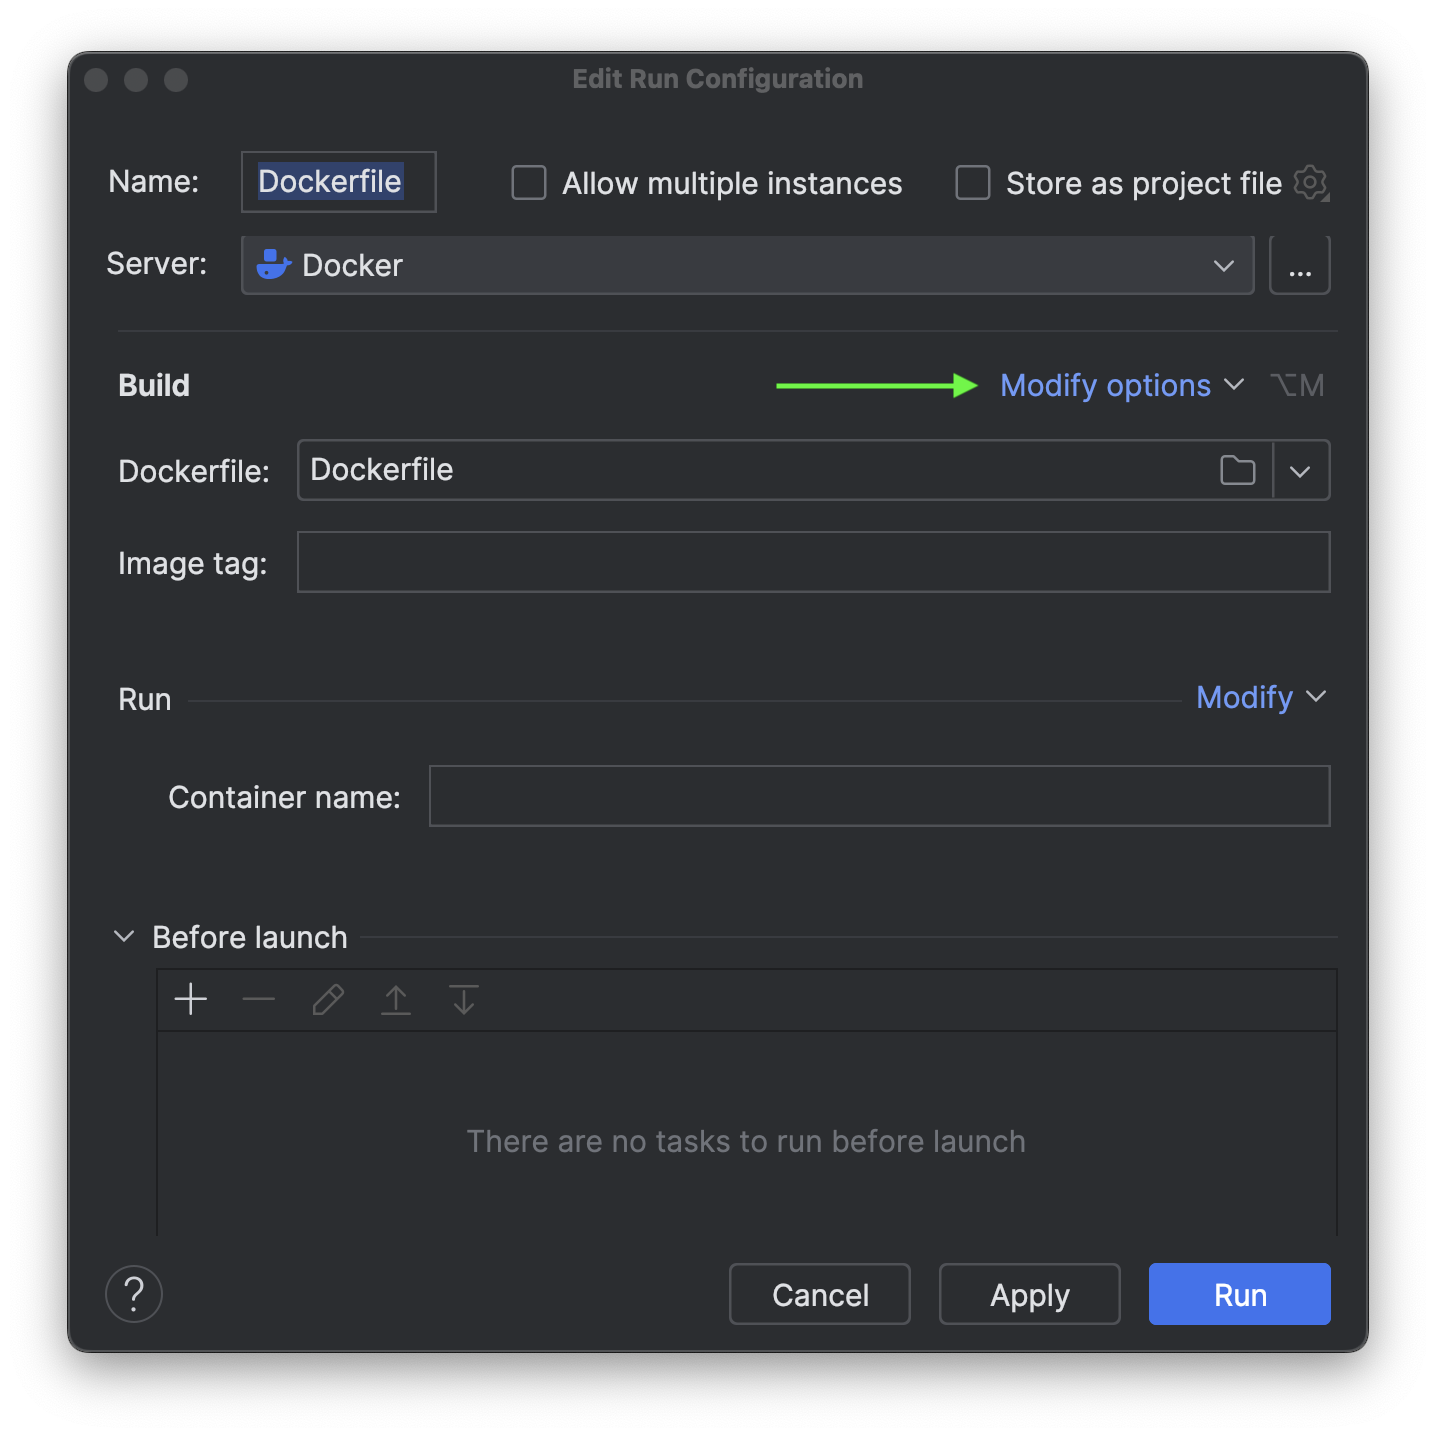
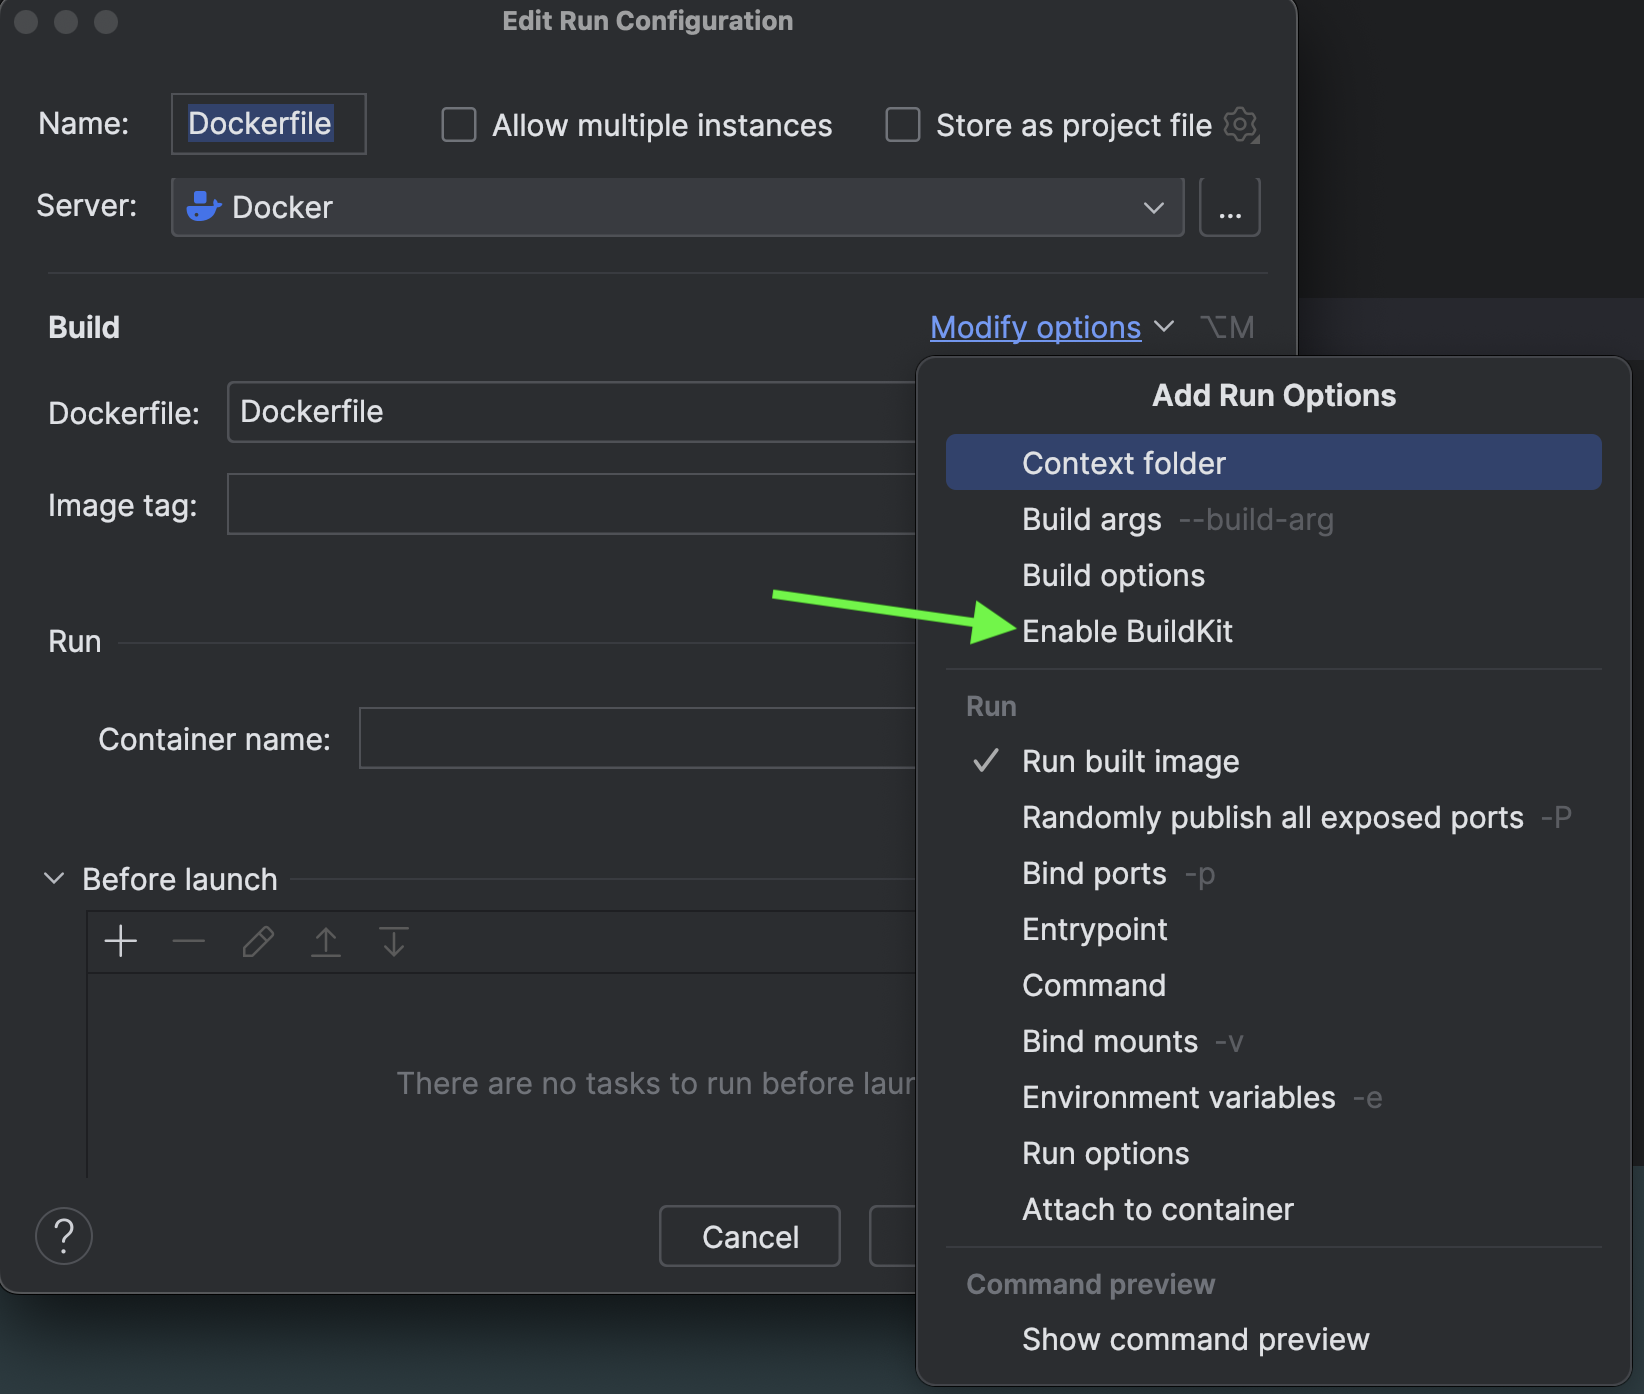
Under Modify options, click Enable BuildKit. According to the official documentation, BuildKit serves as an upgraded backend designed to supersede the traditional builder. As the default builder in Docker Desktop and Docker Engine starting from version 23.0, BuildKit introduces new features and enhances the performance of your builds.
IMPORTANT:
- There is a chance that you won't see the option of Enable BuildKit under Modify options if you are using the latest version of PyCharm Professional. If you're using the latest version of Docker Desktop, it's already pre-equipped with BuildKit so there will be no change required for enabling the BuildKit separately. However, if you’re using Docker Engine versions earlier than
23.0, you can activate BuildKit by setting the environment variableDOCKER_BUILDKIT=1.
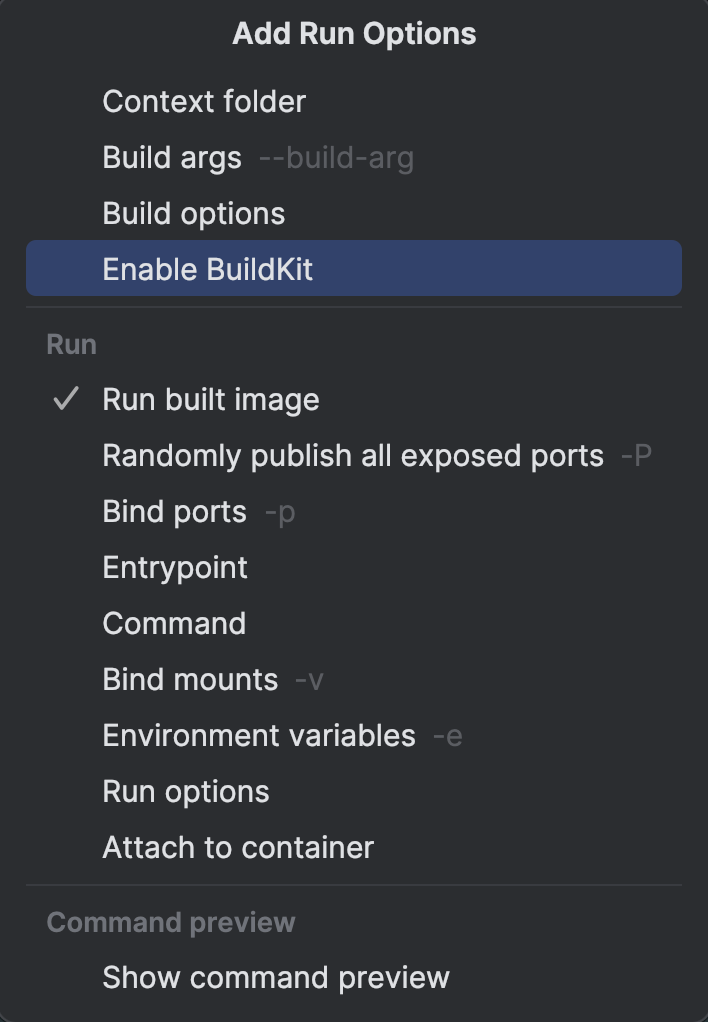
Next, we should set up port binding. This function enables Docker to map a port on your machine to a corresponding port inside the container.
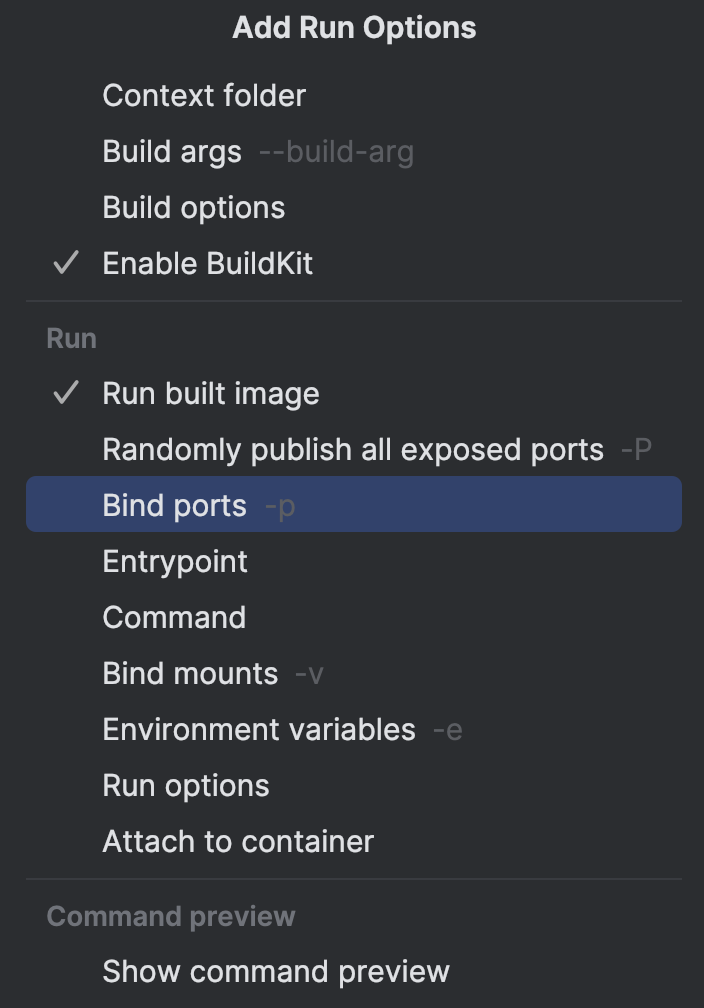
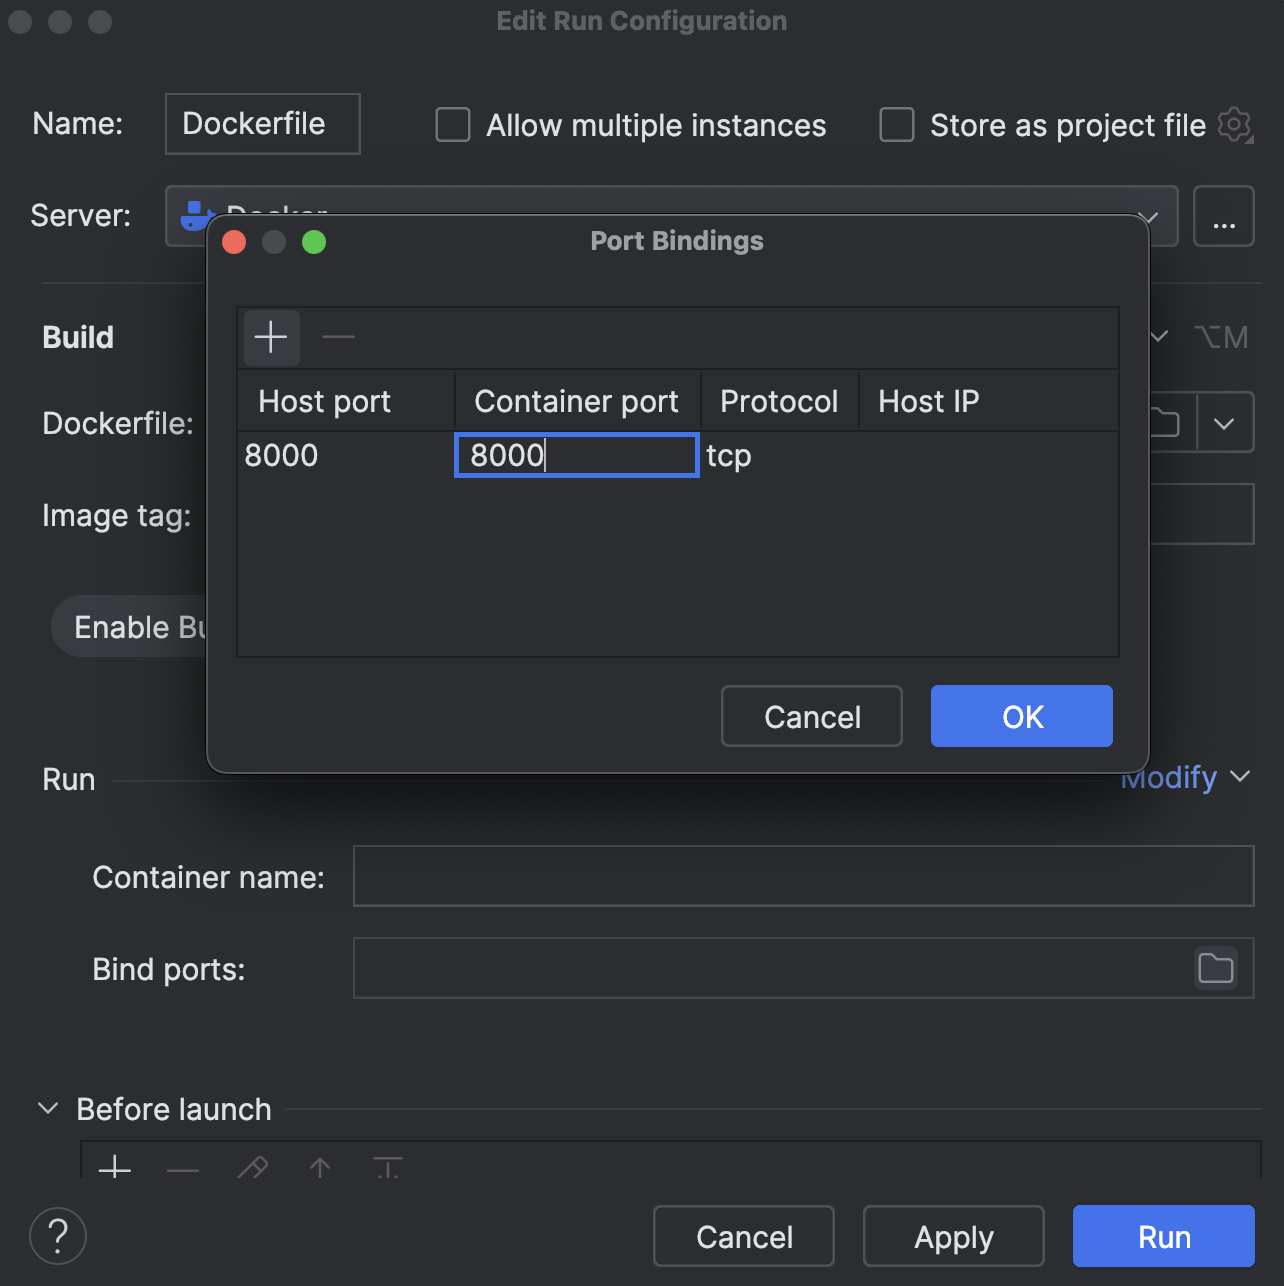
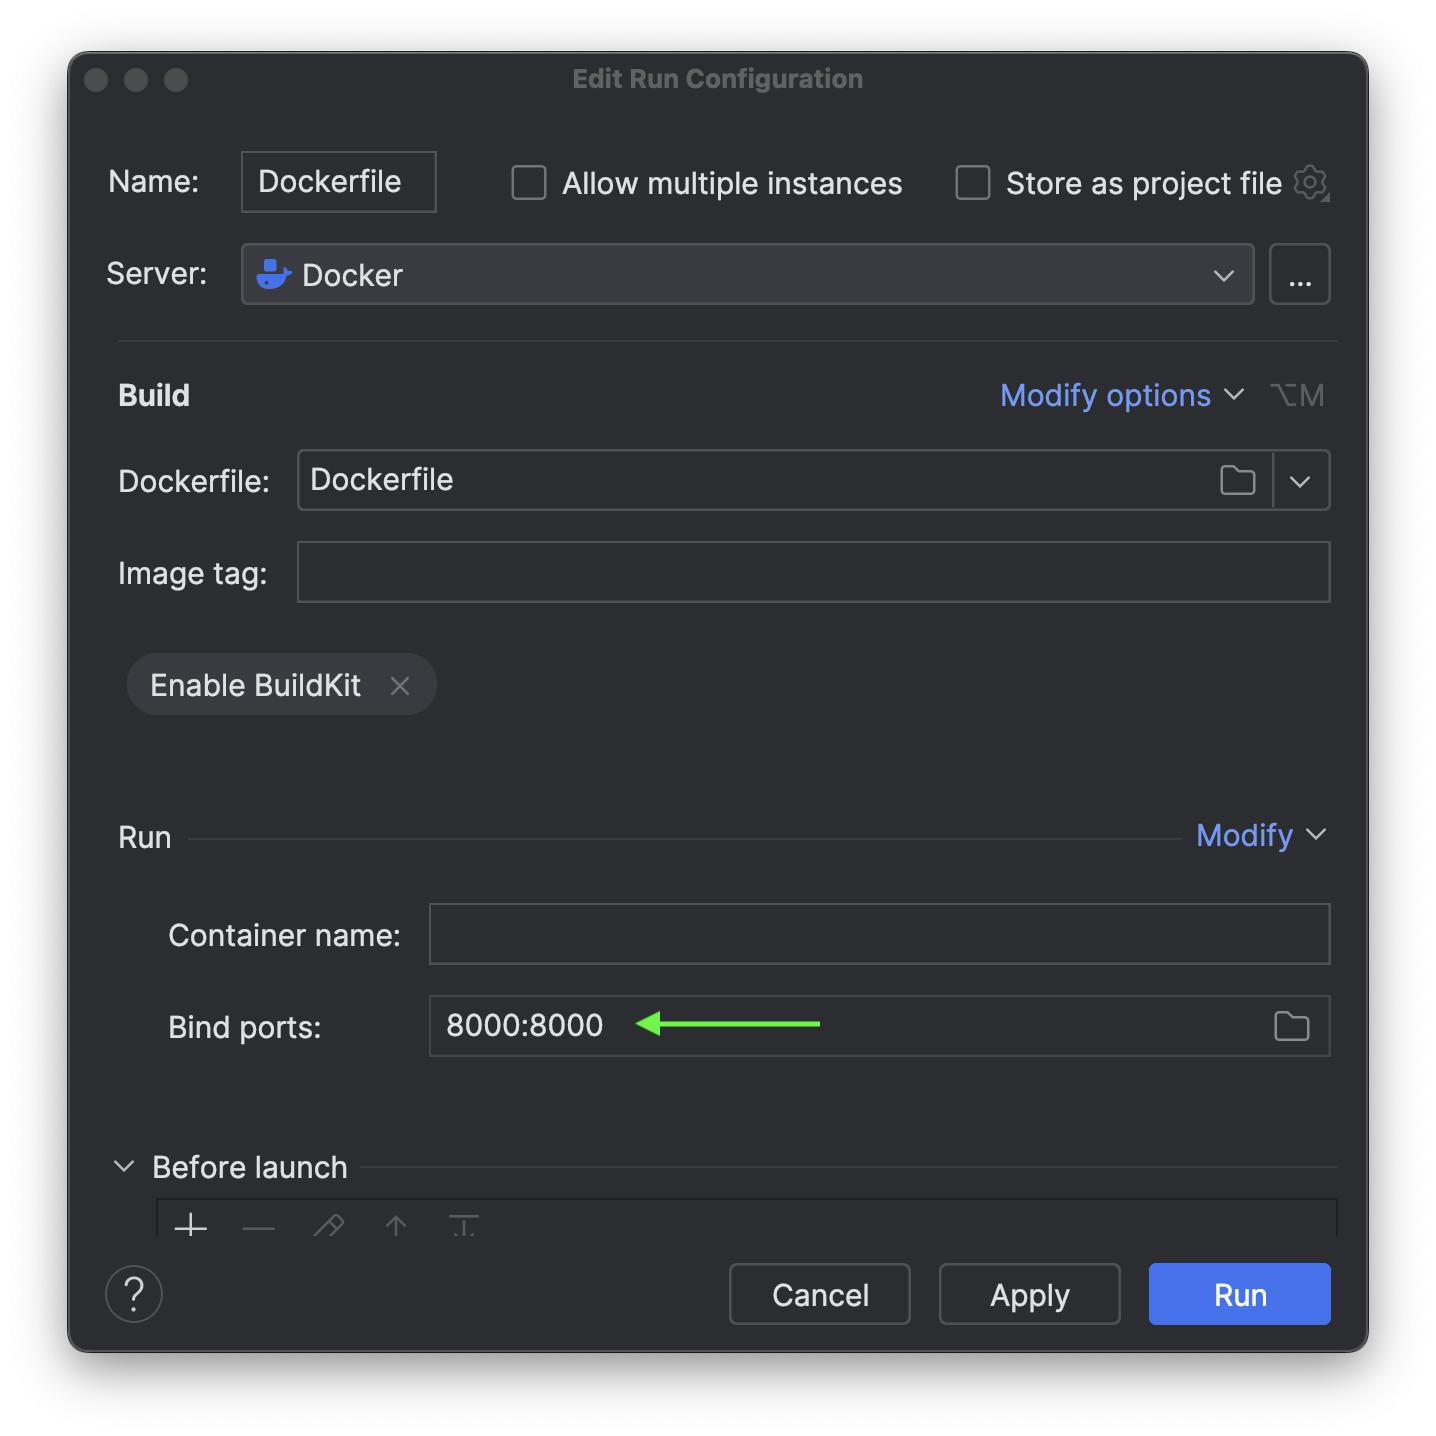
We will bind the container port and host port to 8000.
Once you are done with the configuration, go ahead and apply the changes and click Run.
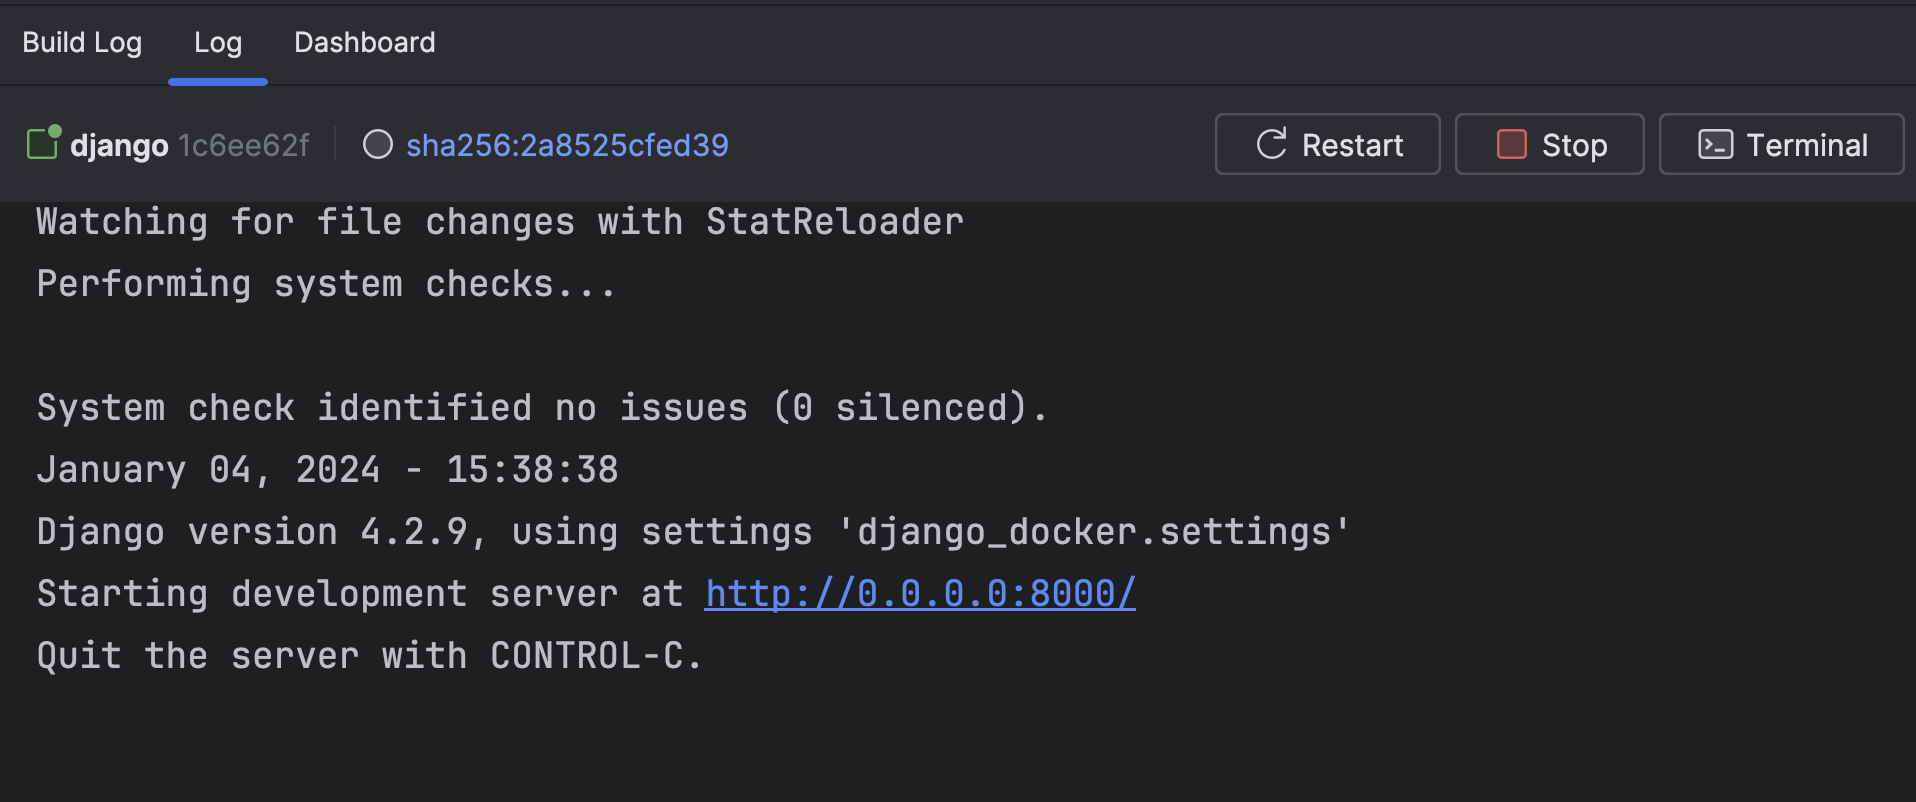
Starting the application may require a few seconds. The image displayed below is the Service tool window.
The Services tool window helps you manage services such as run/debug configurations, database sessions, and Docker connections.

Once the application is up and running, you can easily manage it through PyCharm.
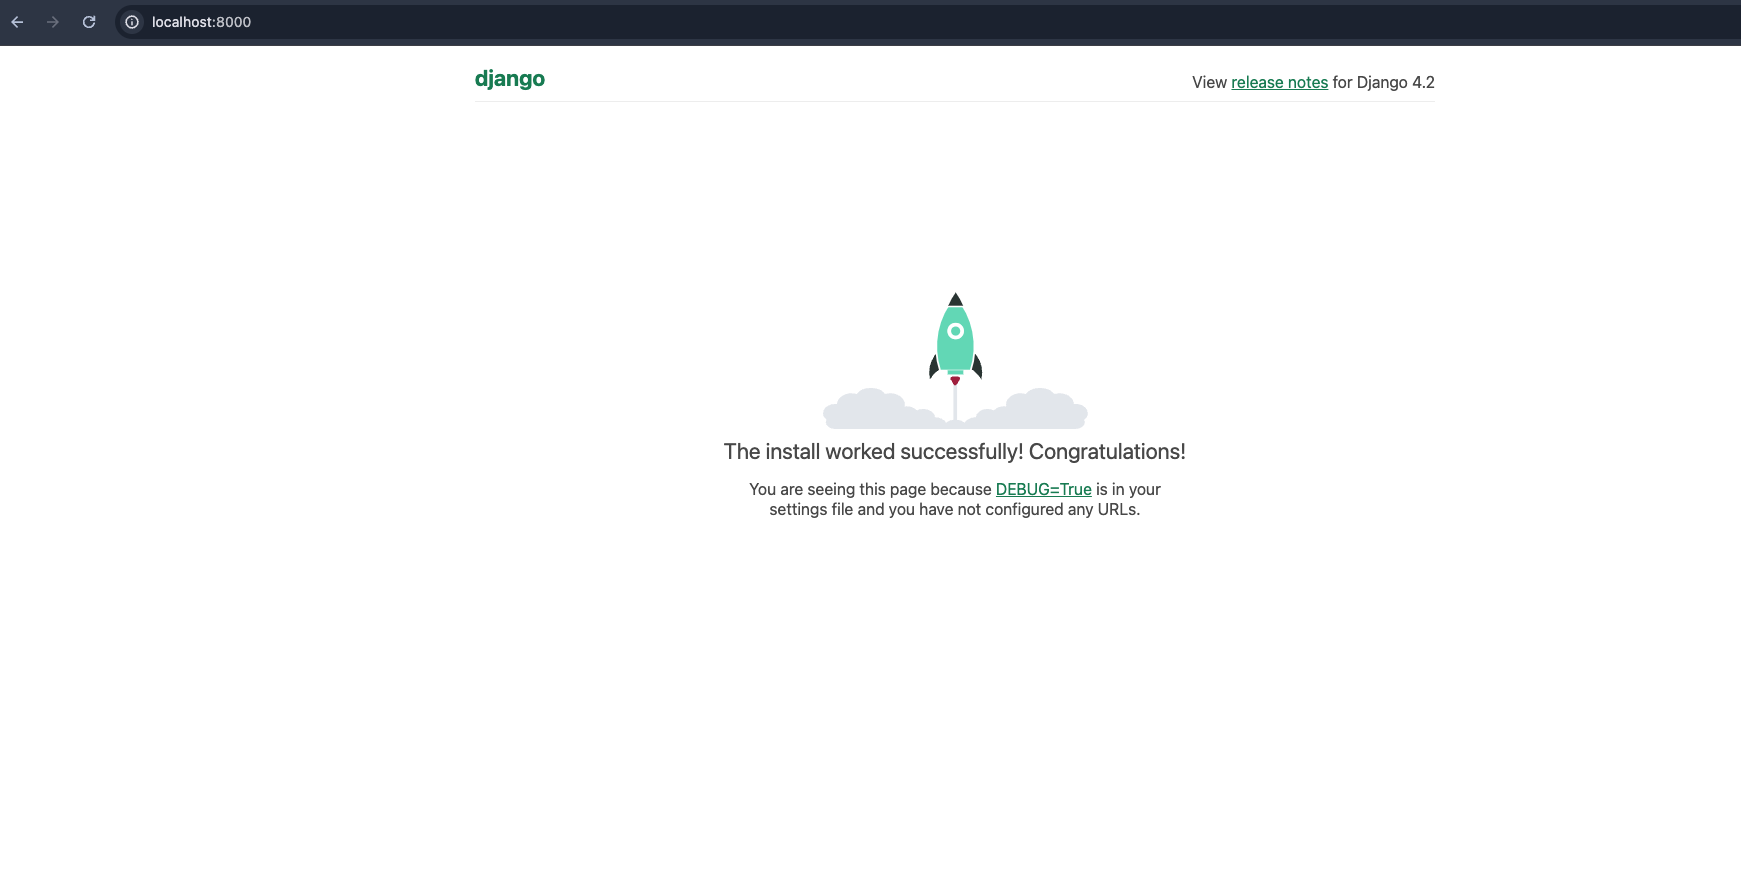
Let’s check in the browser by visiting localhost:8000
Woo Hoo! The app is running.
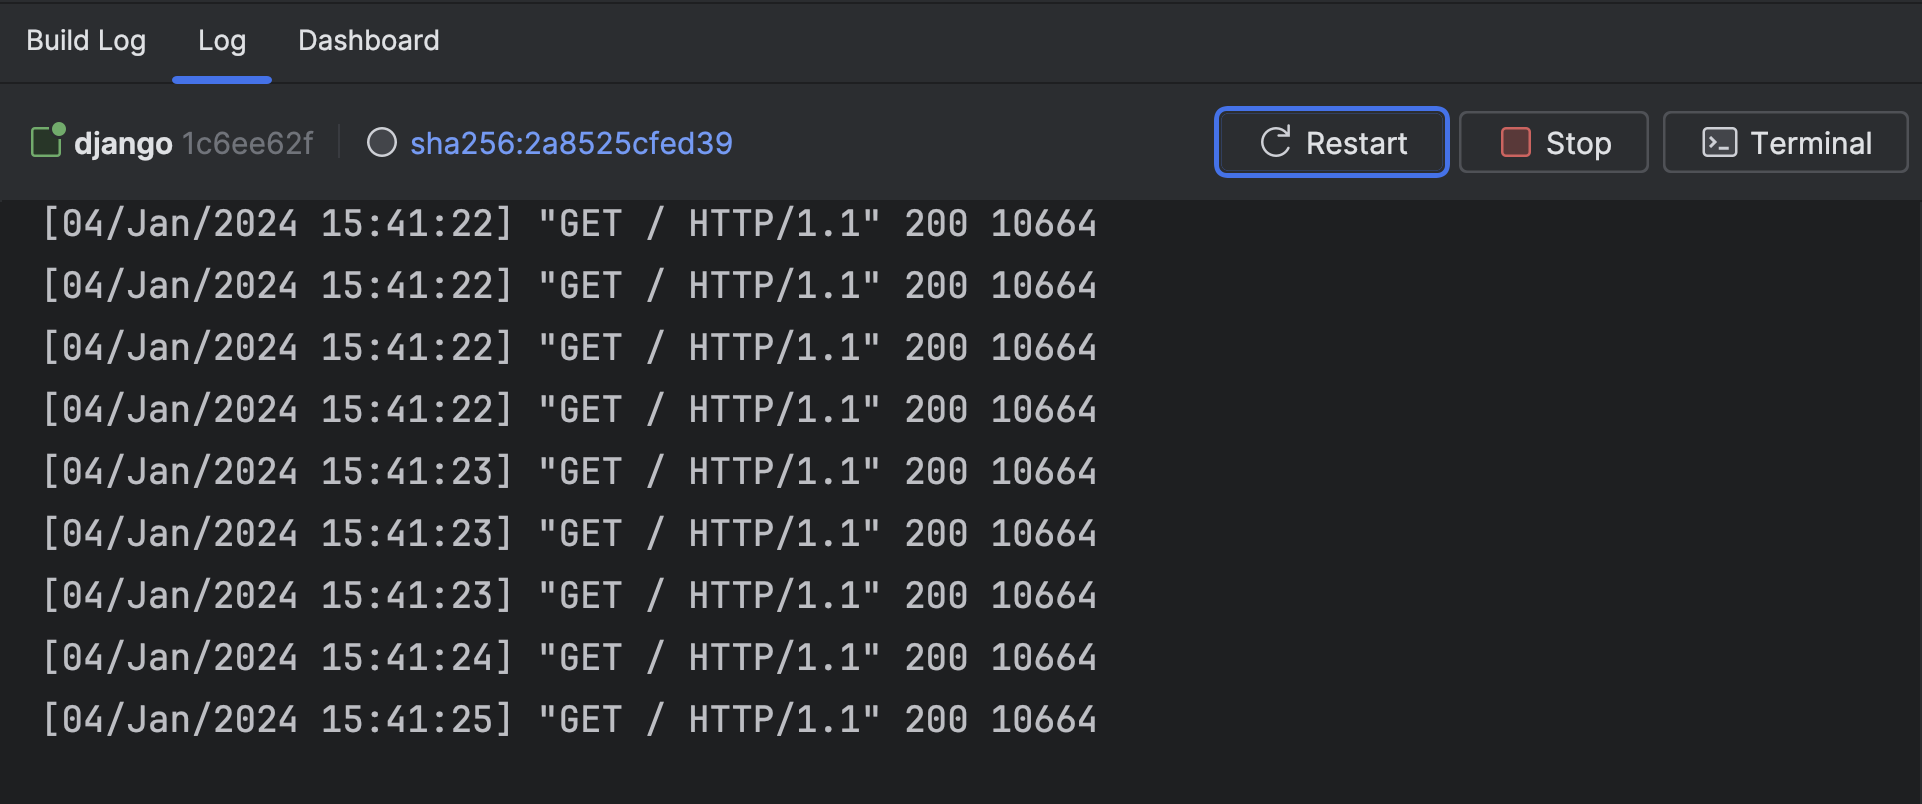
You can now easily view live logs inside the container.
The same goes for the compose.yaml.
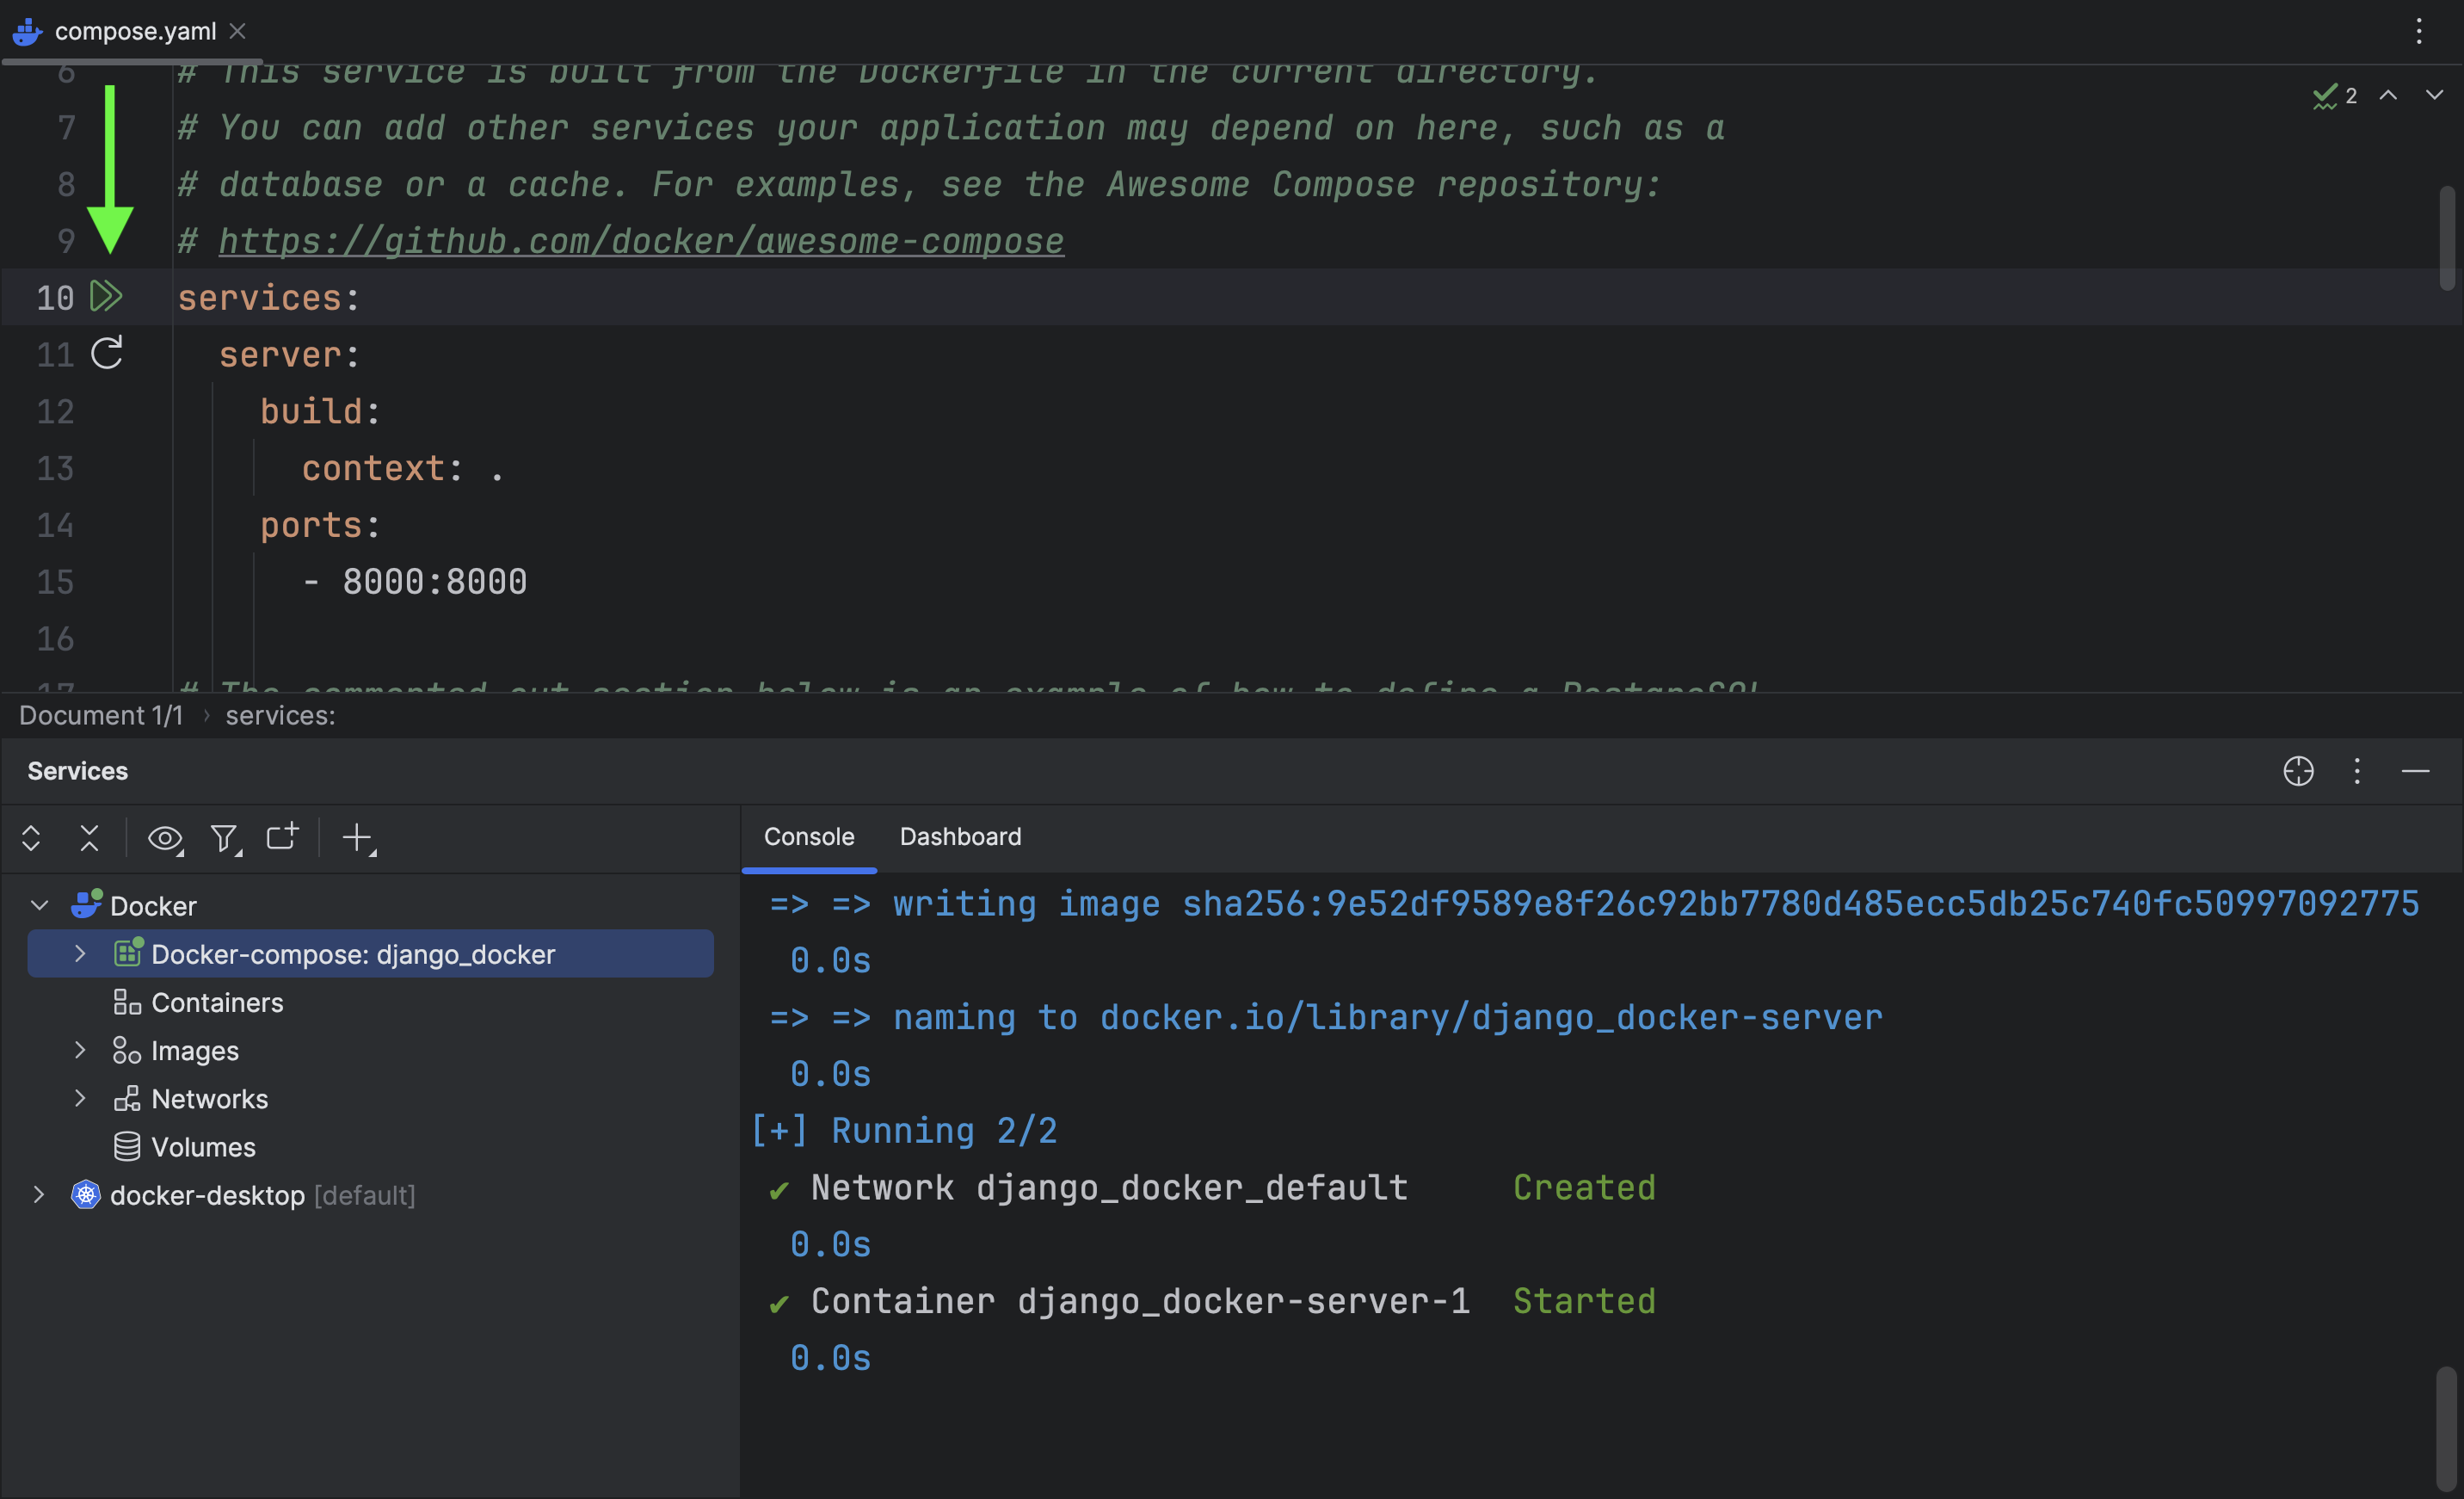
Amazing! Well, that wasn't so tough to run Docker inside the IDE. Next up is planning for production and preparing your application.
