Manage Apps
Apps give you the power to extend YouTrack with additional functionality tailored to your specific needs. You can integrate with other tools, add widgets to display important data, and share workflows. As a project administrator, you can attach existing apps to your projects or install and attach additional apps. You can access these settings on the Apps page in the Project Settings.
Apps may also have global-level extension points or global-level HTTP handlers. Apps working at a global level do not need to be attached to specific projects and can be used in all projects.
System administrators can create apps and attach them to any project in the system. As a user with Read Project and Update Project permissions, you can also access the Apps administration page and create your own apps. For more information, see Manage Apps.
The following actions are available in the header of the Apps page in the Project Settings:
Action | Description |
|---|---|
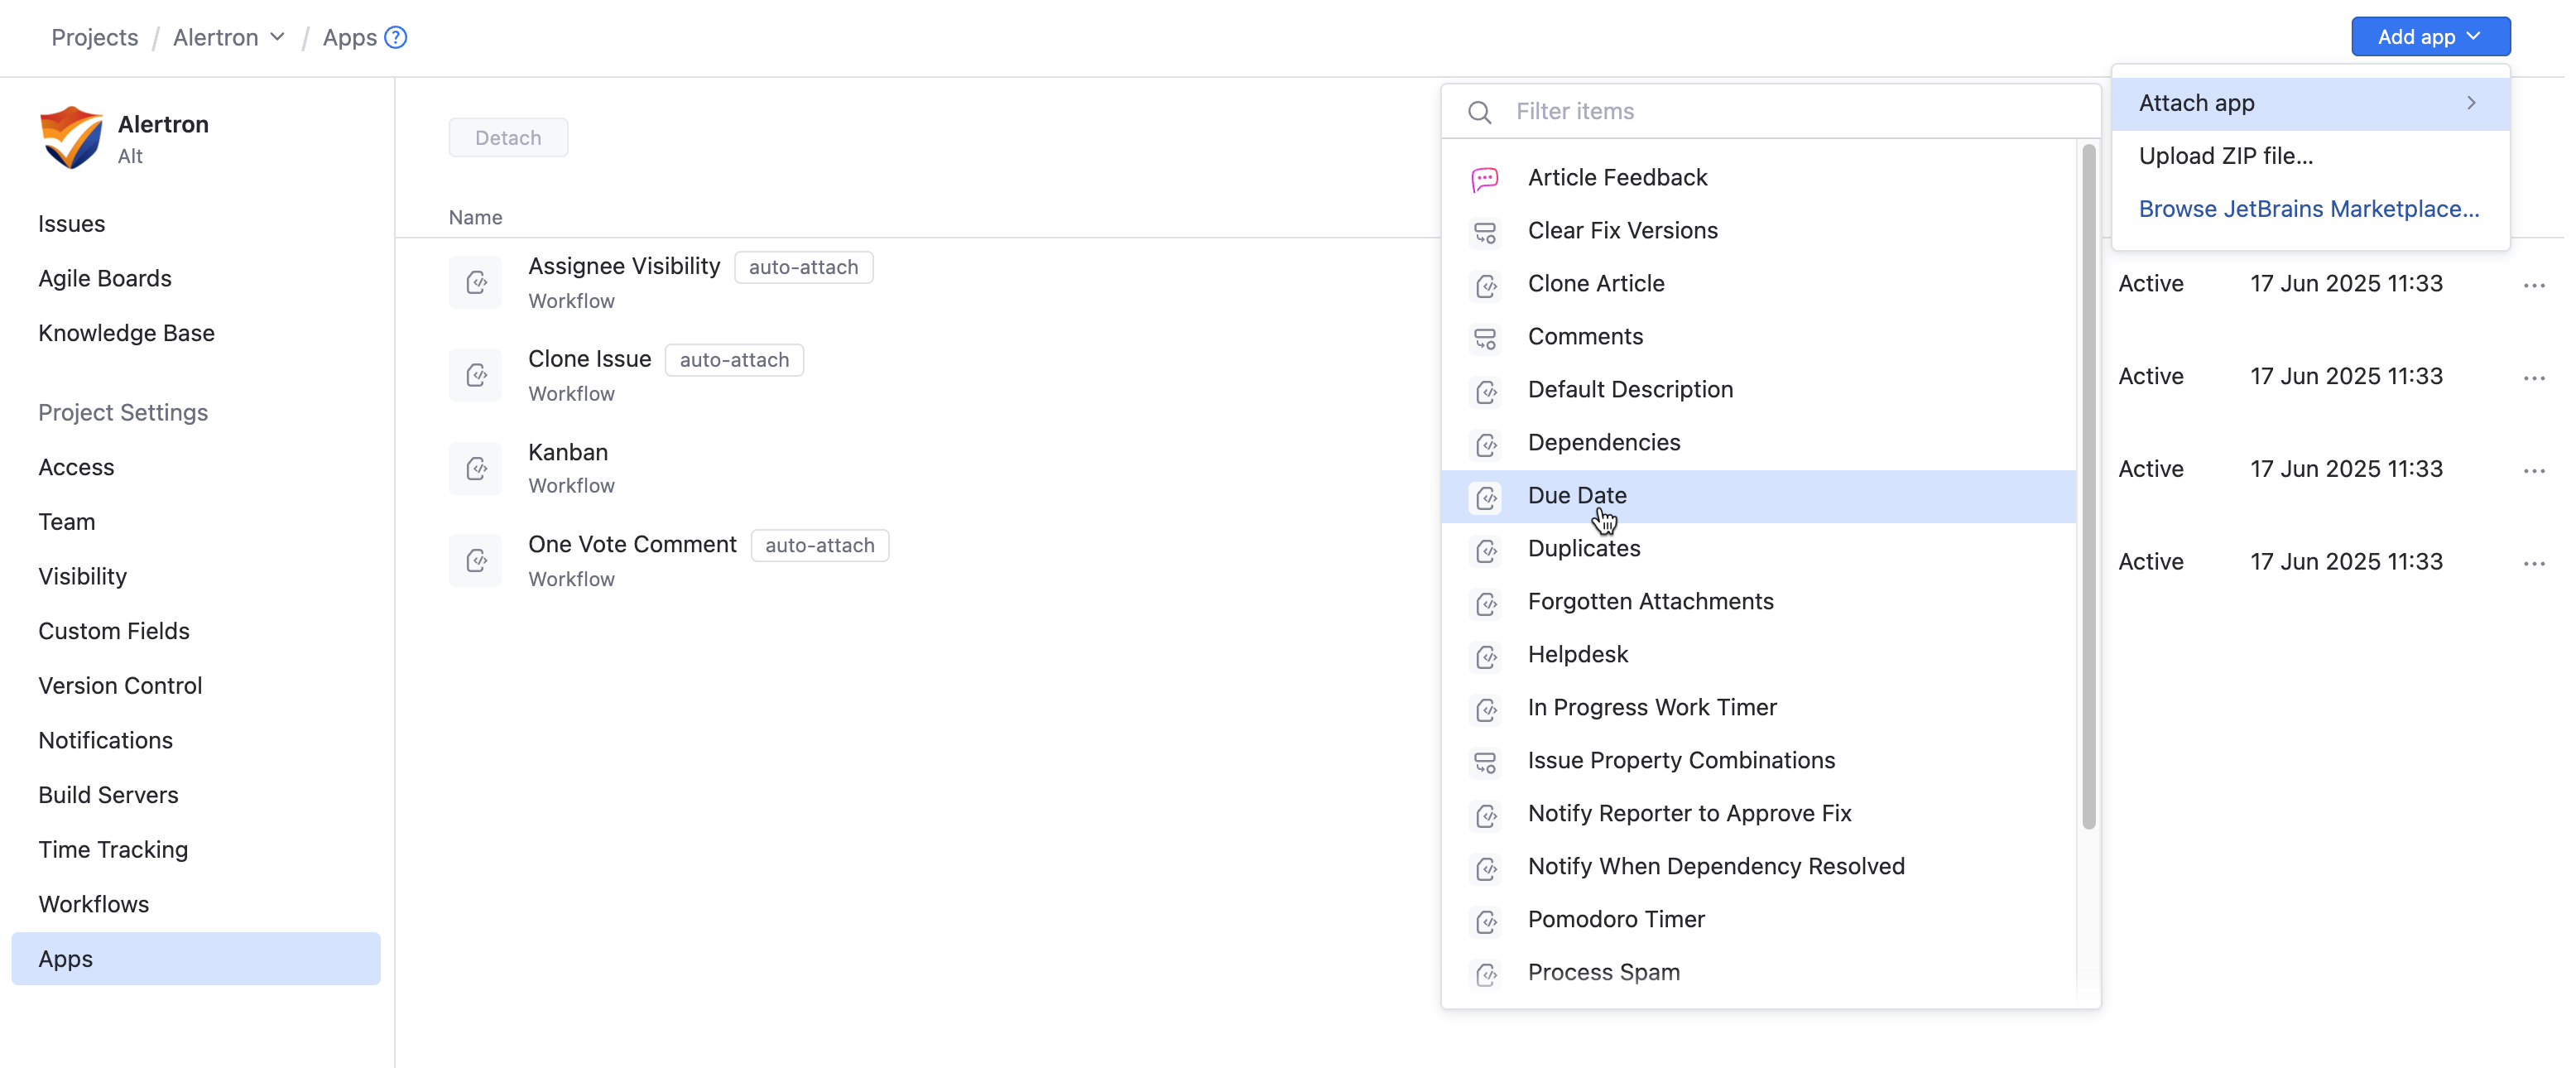
Add app... | Opens a drop-down menu where you can select:
|
Detach | Removes the app and all app project data from the project. The app remains installed on the YouTrack and can be accessed on the Apps administration page. |
Filters | The following filters are available to display apps in the list.
Multiple filters can be used at the same time. |
App List
The app list displays all apps installed and attached to the YouTrack project.
The following attributes are displayed for each app in the list:
Attribute | Description |
|---|---|
Icon | The image that is shown for the app. |
Name | The name of the app. |
Category | The app category is located under the app name. |
Status | Displays if the installed app is available for use on the YouTrack project.
|
Last Update | The date of the most recent update to the app. |
Show more | Click the
|
App Details Sidebar
The app details sidebar contains information and tools for each app installed on the YouTrack project.
Attribute | Description |
|---|---|
Active toggle | Use this toggle to activate or deactivate the app within the project. |
App name | The name of the app. The app author is listed below. |
Description | A description of the app. |
Settings | App settings including visibility restrictions. |
Technical Details | Displays the app version number. Additional technical information about the app depends on the app type.
|
Attach an App to a Project
All non-global apps need to be attached to a project before the project can use the app.
Attach an Existing App to a Project
Attach an app to your project that has already been installed on your YouTrack site.
To attach an existing app:
Install and Attach an App to a Project
You can also add apps to your project not yet installed to your YouTrack site. There are two procedures for installing apps to YouTrack that can then be attached to your projects.
To install an app from the marketplace and attach it to a project:
From the main navigation menu, select
Projects.
From the project list, select a project.
From the project navigation menu, select Apps.
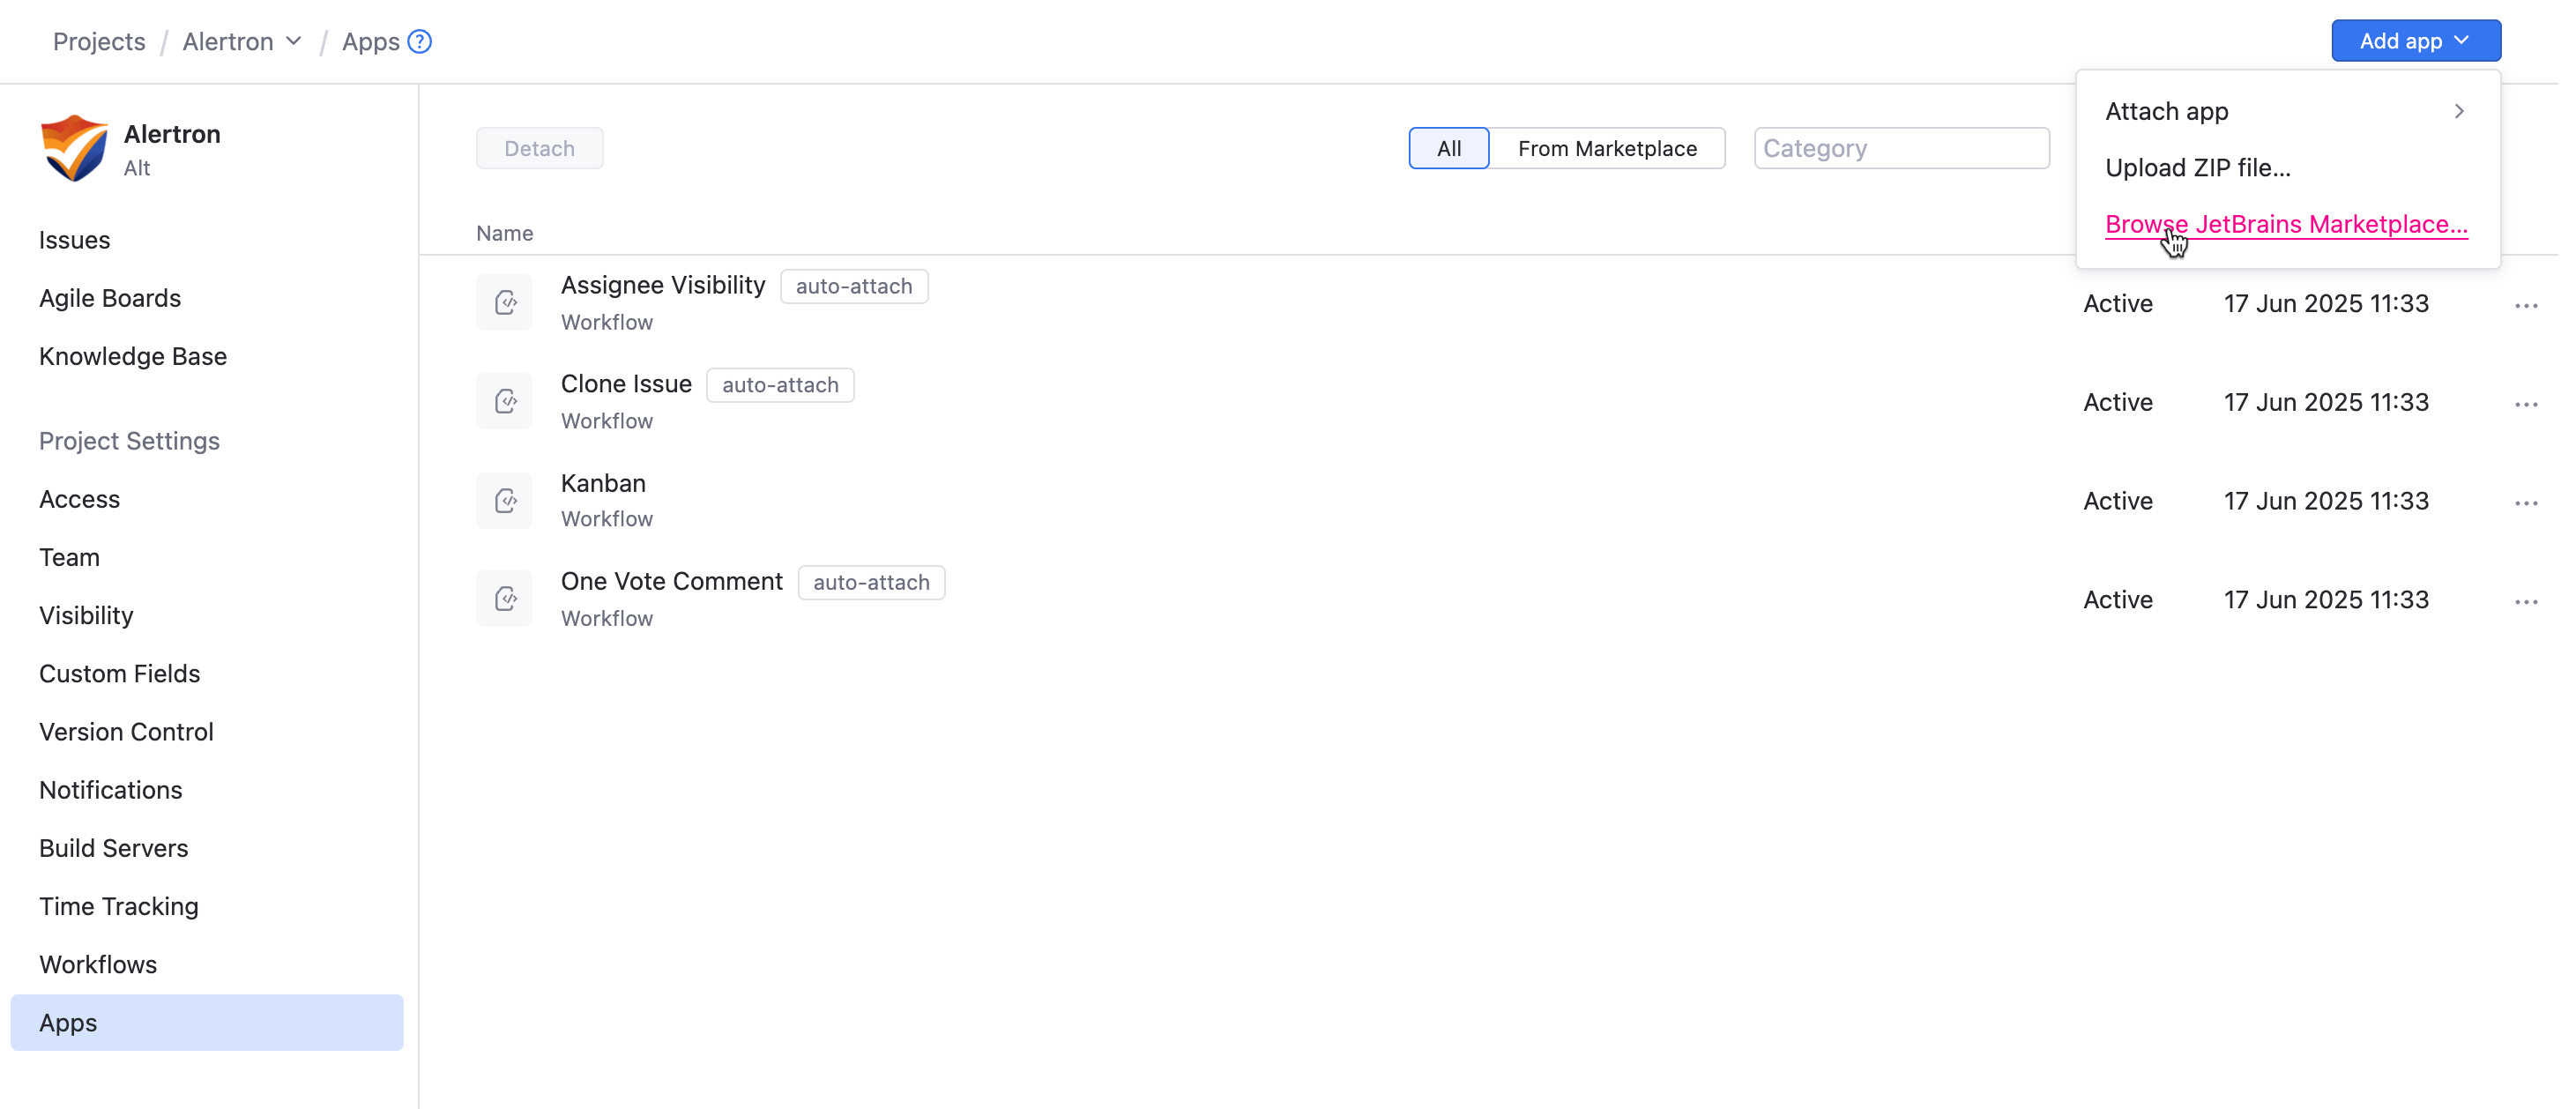
Click the Add app button and select Browse JetBrains Marketplace....

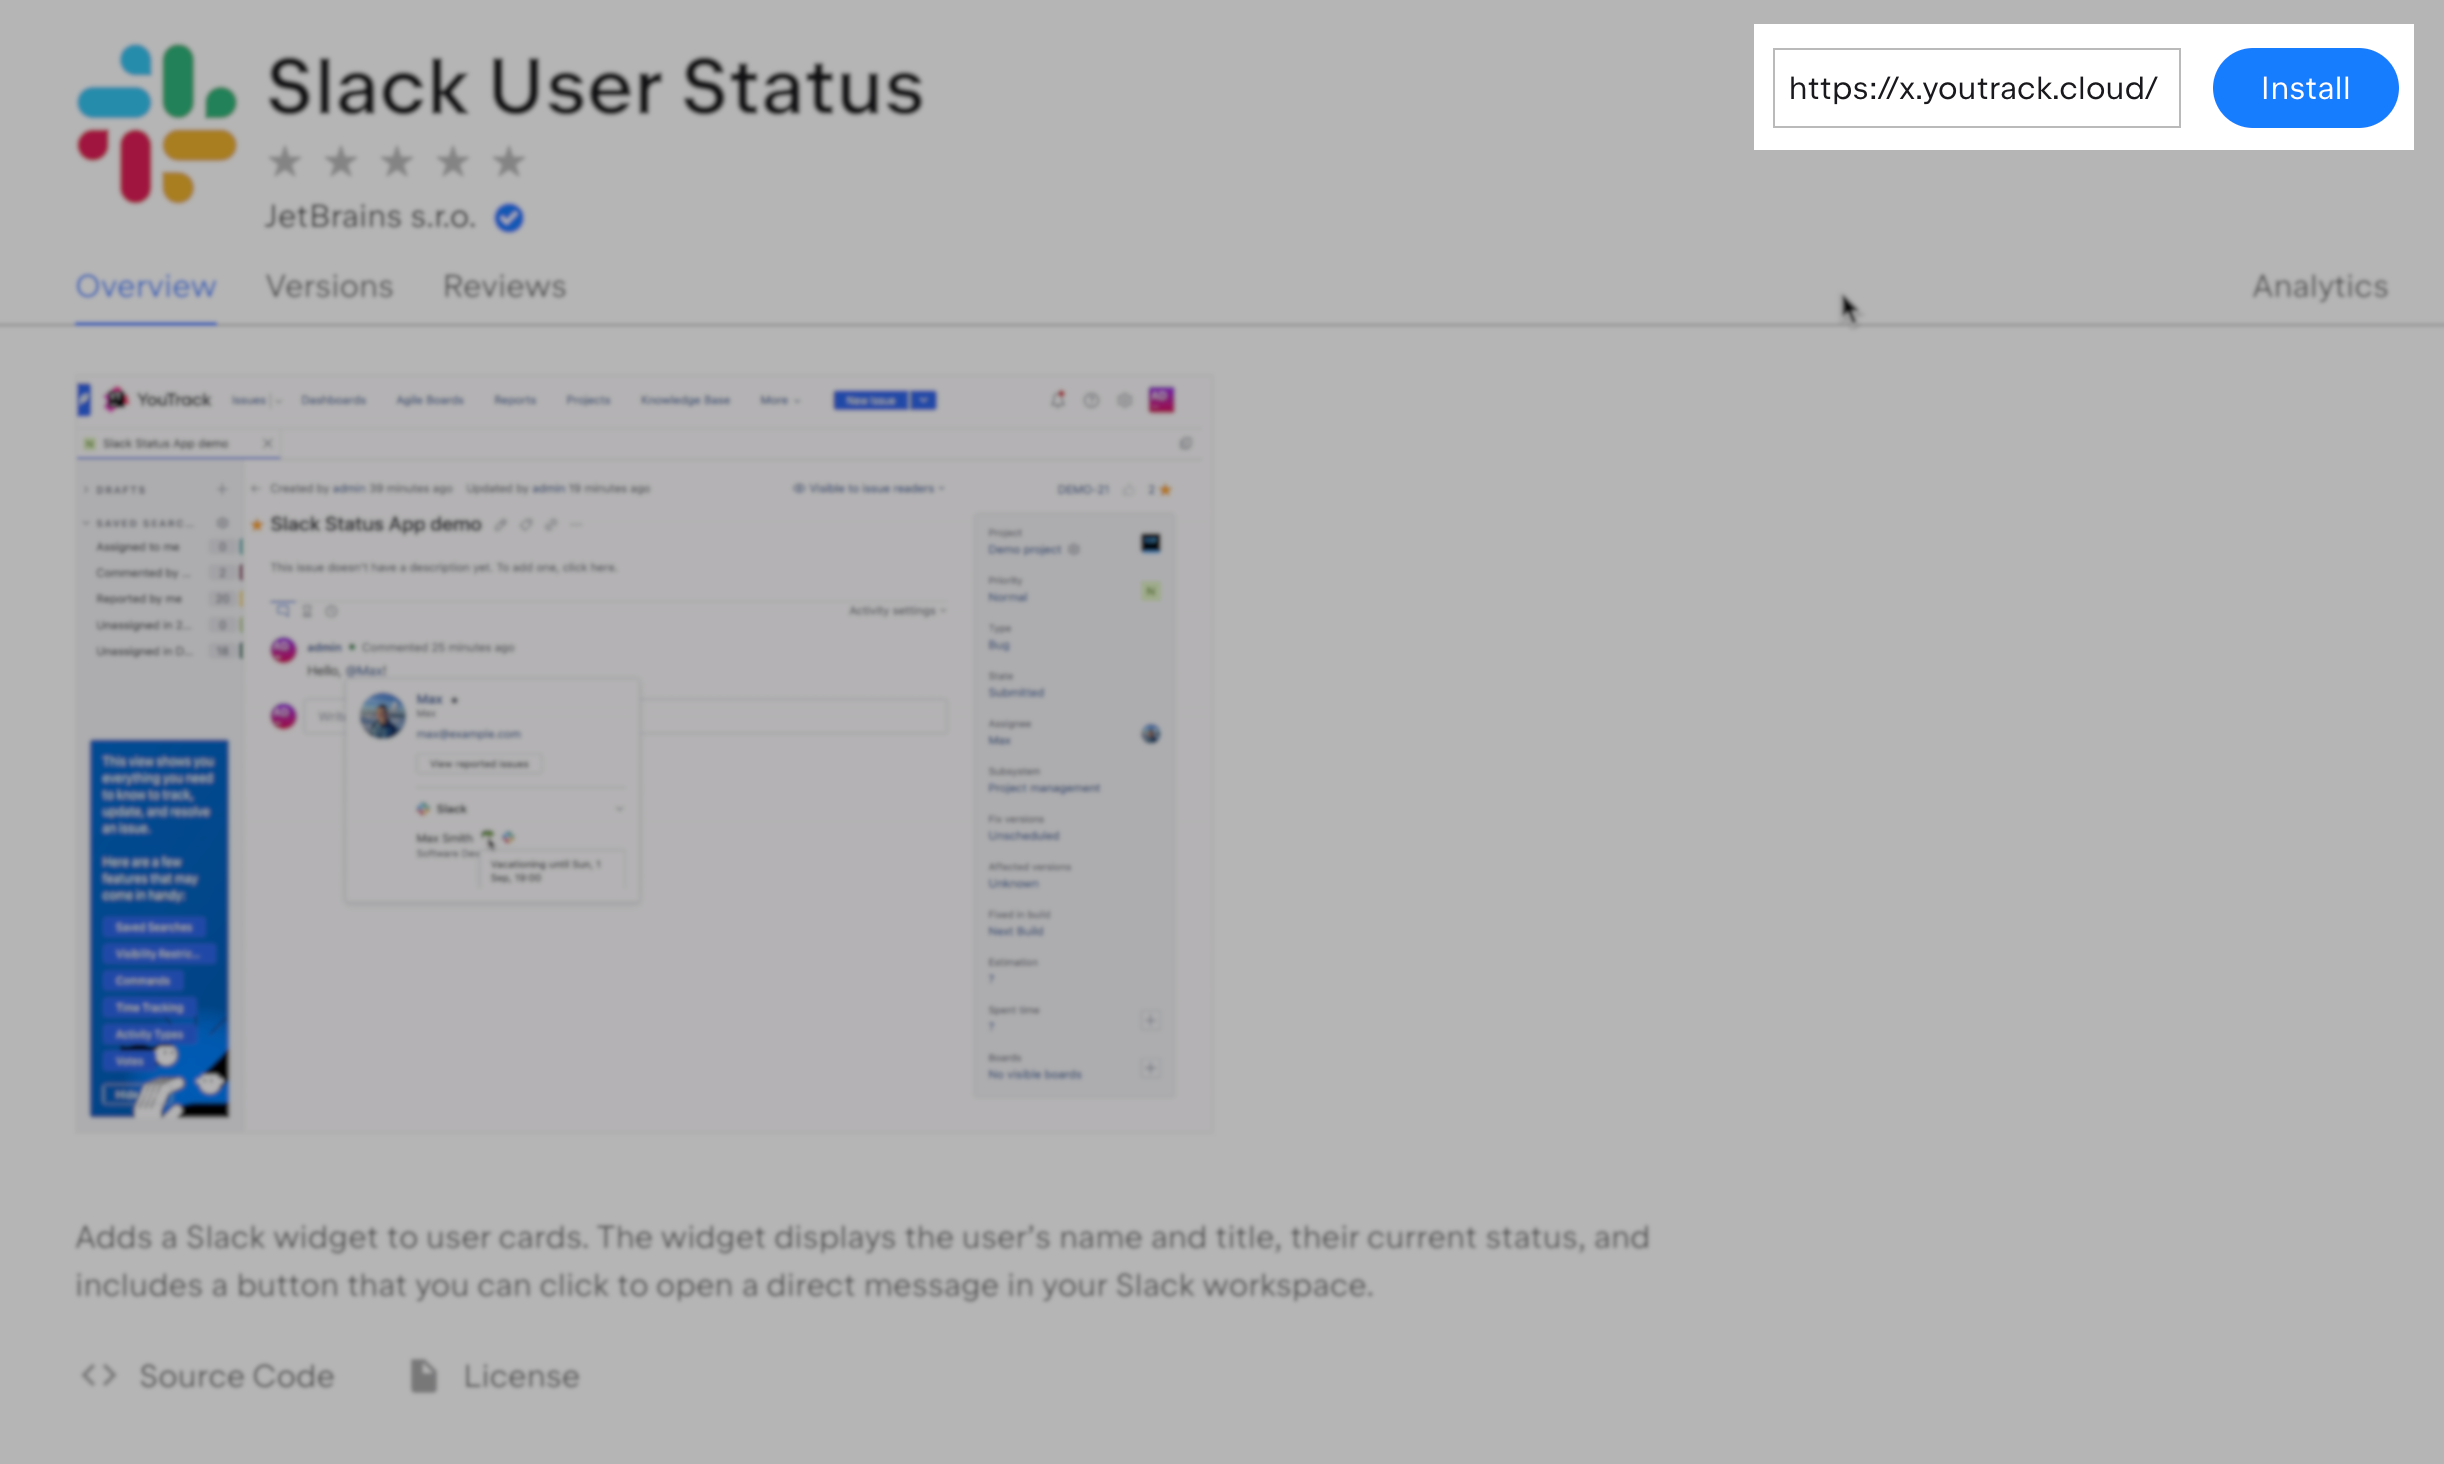
Your web browser opens a page on JetBrains Marketplace
Browse the JetBrains Marketplace for YouTrack apps.
Click the app you want to add to your YouTrack site.
Enter your YouTrack base URL and then click the Install button.

Your YouTrack site is opened in a new browser window on the Apps page in administration.
A dialog box opens with a description of the app.
Click the Install button to begin installing the app on your YouTrack site.
If the app was successfully installed, a successful conformation notice is displayed, and the details sidebar of the newly installed app opens.
If the app was unsuccessfully installed, an error message is displayed.
The app newly installed app can now be attached to your project as an existing app.
To upload a new app to a project:
From the main navigation menu, select
Projects.
From the project list, select a project.
From the project navigation menu, select Apps.
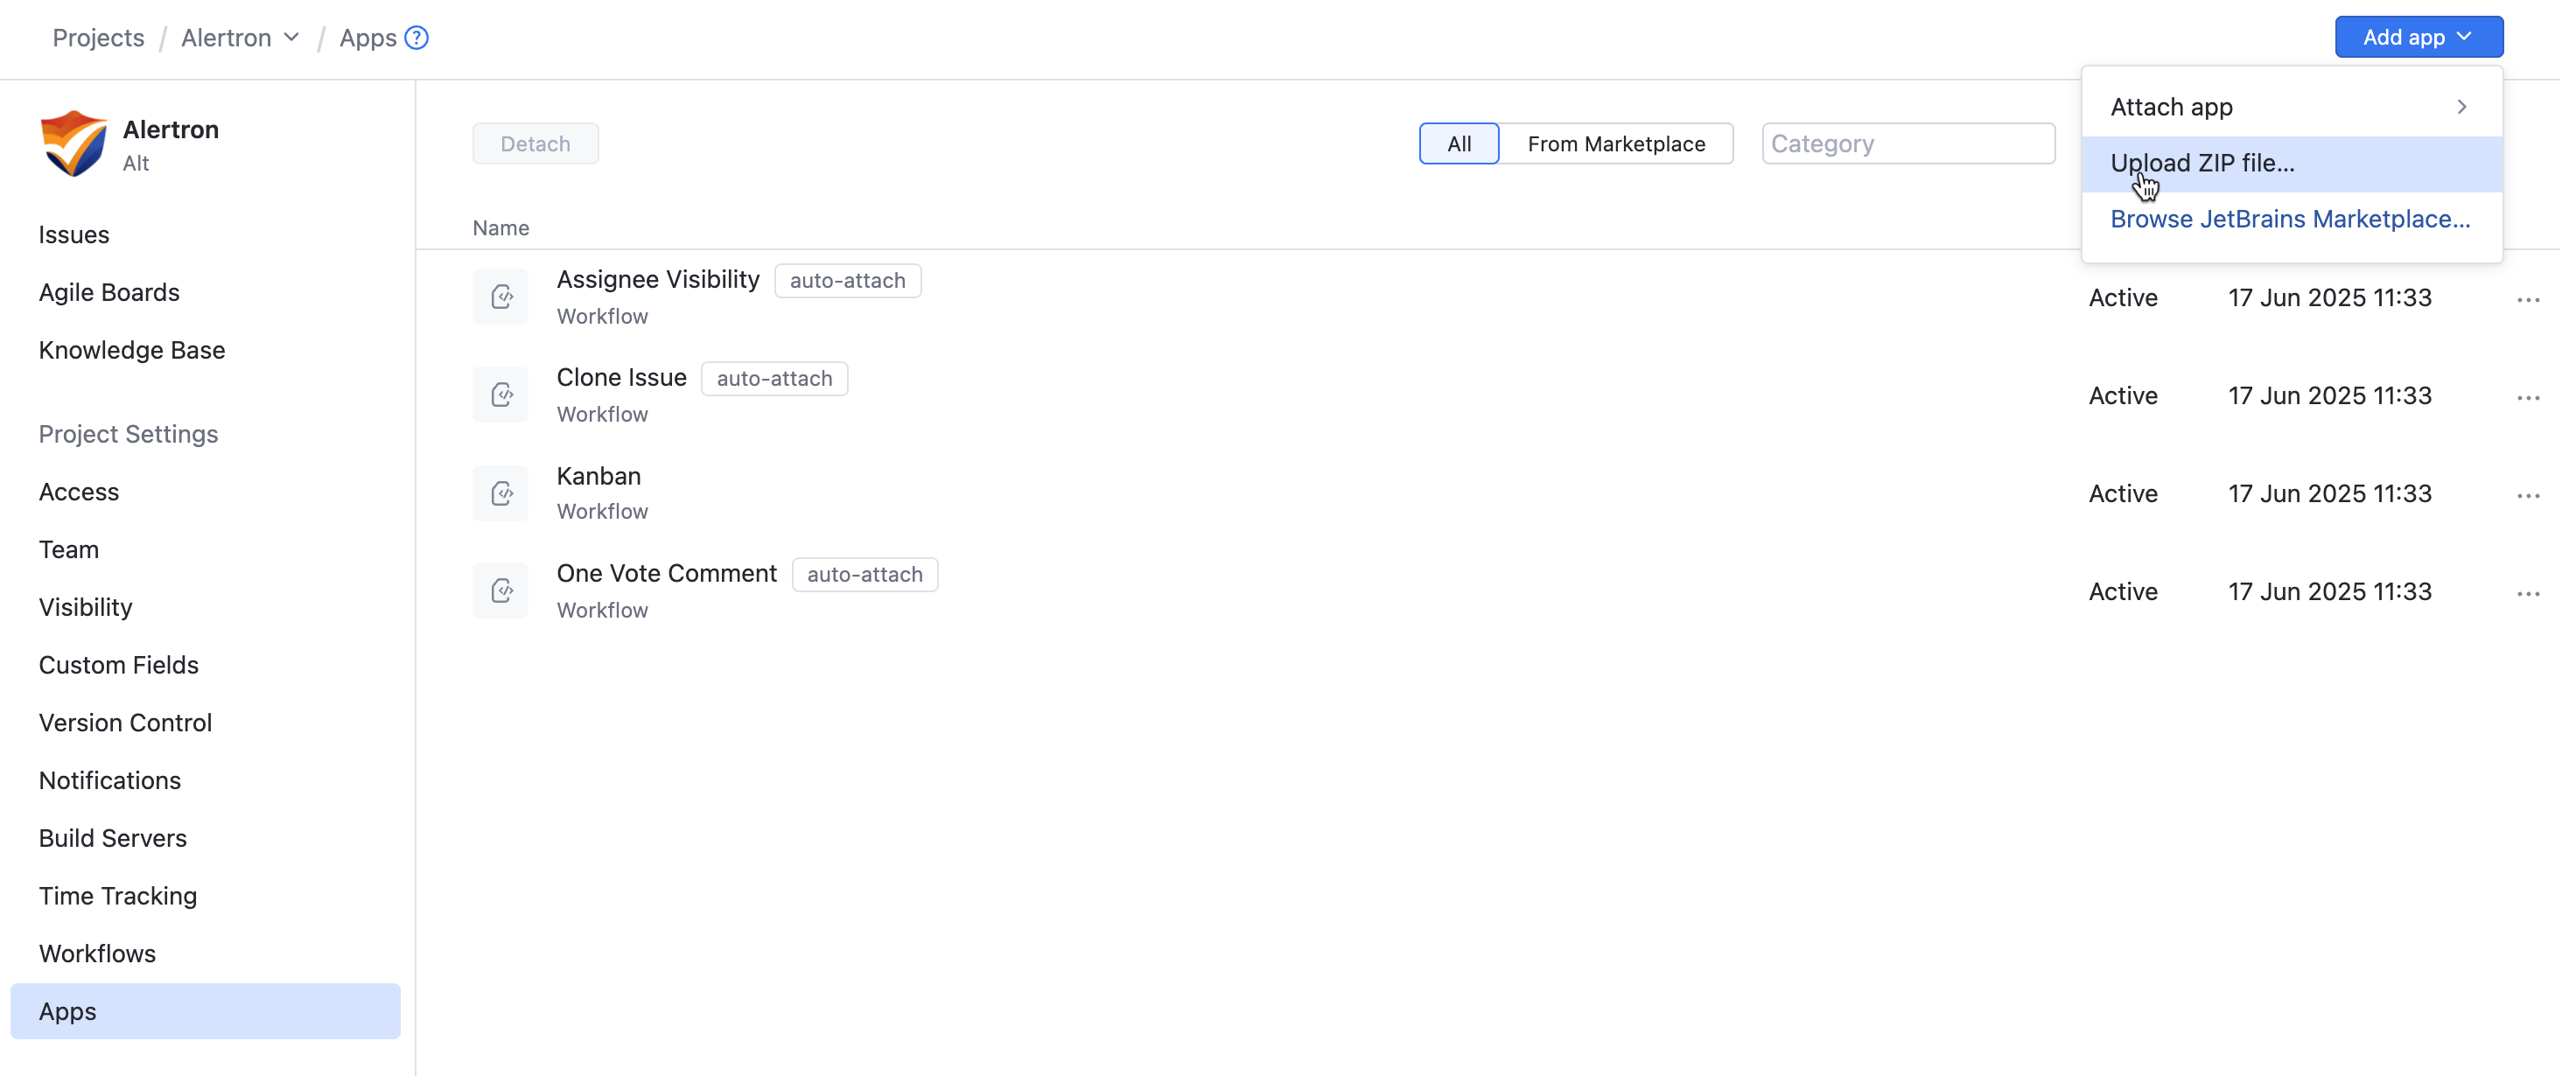
Click the Add app button and select Upload ZIP file....

Select a ZIP file containing a YouTrack app.
The ZIP archive is checked to make sure that it conforms to the size limitations. For details, see Size Limitations
If the app was successfully installed, a successful conformation notice is displayed, and the details sidebar of the newly installed app opens. The app is attached to the project and is ready to configure and use.
If the app was unsuccessfully installed, an error message is displayed.
Deactivate and Activate Apps
If you no longer want project users to work with an app but don't want to detach it from your project, you can deactivate the app indefinitely. For example, there are problems or bugs with an existing app that the developer would like to fix.
You can disable the app so project users don't experience problems with the current behavior and enable the app when the problems have been fixed in an updated version.
When an app is inactive, users who have installed the app on their dashboards see a message that the app was not found in the system. The edit and refresh controls are not visible. Instead, users see the option to remove the app.
To deactivate an app in a project:
From the main navigation menu, select
Projects.
From the project list, select a project.
From the project navigation menu, select Apps.
Select the app that you want to deactivate in the list.
Click the Active toggle switch in the details sidebar.
When the toggle switch is gray, the app is inactive.
Deactivated apps can be reactivated using the same control.
To activate an app in a project:
From the main navigation menu, select
Projects.
From the project list, select a project.
From the project navigation menu, select Apps.
Select the app that you want to activate in the list.
Click the Active toggle switch in the details sidebar.
When the toggle switch is blue, the app is active.
Detach Apps
If you no longer want to use an app, you can detach it from your project. Detaching an app removes from the list and deletes all data the app stored for the project. This action can't be undone.
The app remains installed on the YouTrack and can be accessed on the Apps administration page.
To detach an app:
From the main navigation menu, select
Projects.
From the project list, select a project.
From the project navigation menu, select Apps.
Select the app that you want to activate in the list.
Click the Detach button.
The detach action can also be found in the
Show more menu of an app.
