WireMock
IntelliJ IDEA provides support for WireMock, a tool for stubbing HTTP services. Stubbing involves creating stubs or set responses to API calls that mimic real API behavior without the need for actual server communication.
Install the WireMock plugin
This functionality relies on the WireMock plugin, which you need to install and enable.
Press Ctrl+Alt+S to open settings and then select .
Open the Marketplace tab, find the WireMock plugin, and click Install (restart the IDE if prompted).
Create WireMock stubs
Create basic WireMock stub from scratch
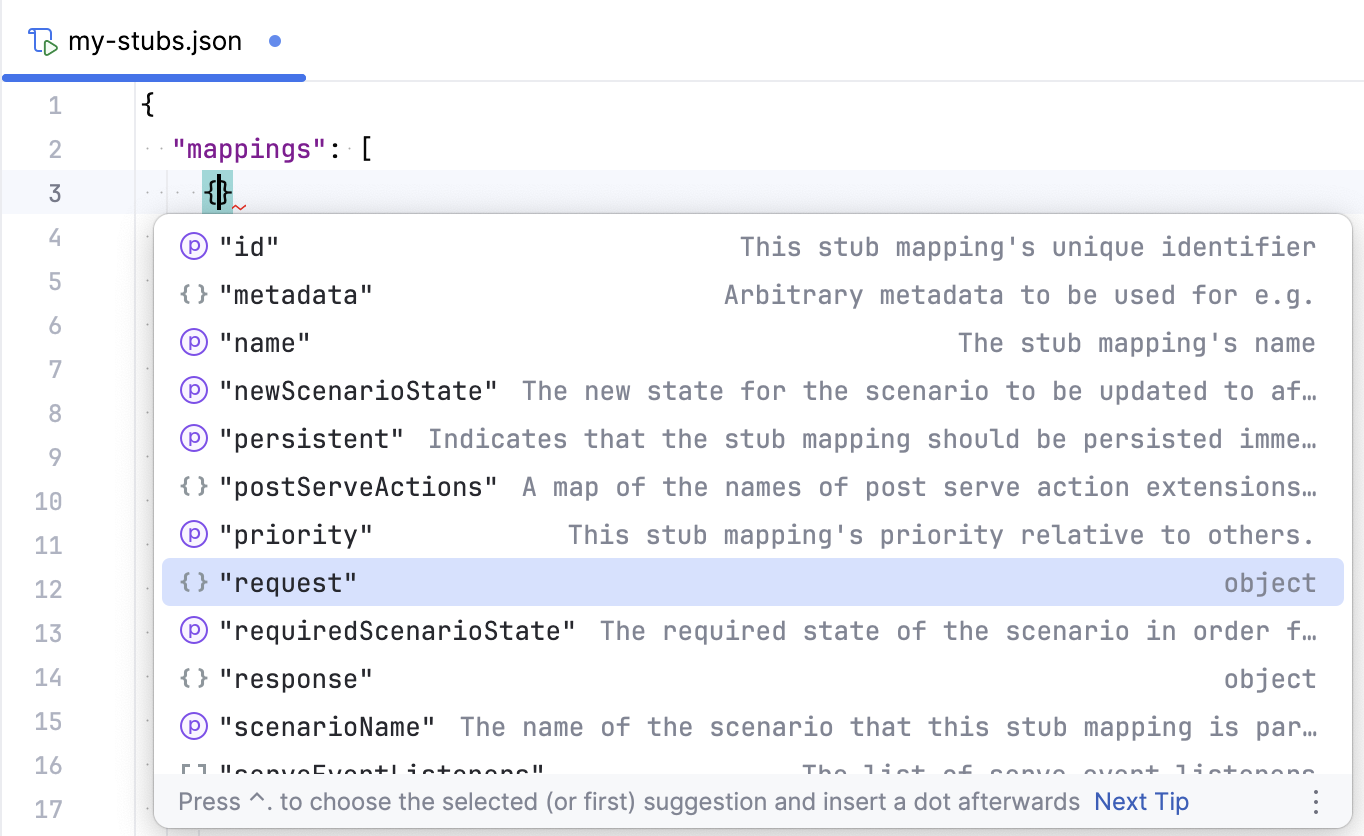
If a JSON file is placed in the mappings folder or contains the "mappings" key, IntelliJ IDEA recognizes it as a WireMock stub file and provides appropriate coding assistance.
In the Project tool window, right-click a folder (or press Alt+Insert) and select .
In the New File dialog that opens, enter a name of the file. For example, you can enter
mappings/my-stub.json, and IntelliJ IDEA will create the mappings folder and place the new file within it.Start typing a key to get suggestions for applicable keys and their quick documentation.
Create WireMock stubs from Endpoints tool window
Open the Endpoints tool window ().
Right-click an endpoint and select Generate WireMock Stubs.
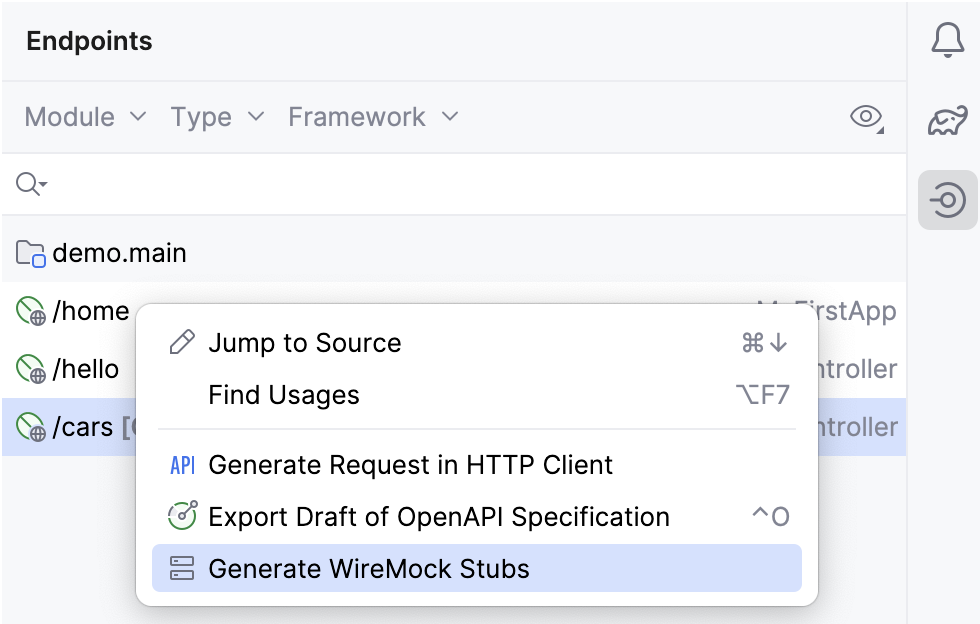
The new stub file is saved as a scratch under .
Create WireMock stubs from OpenAPI specification
Open an OpenAPI specification file.
Click
and select Generate WireMock Stubs.
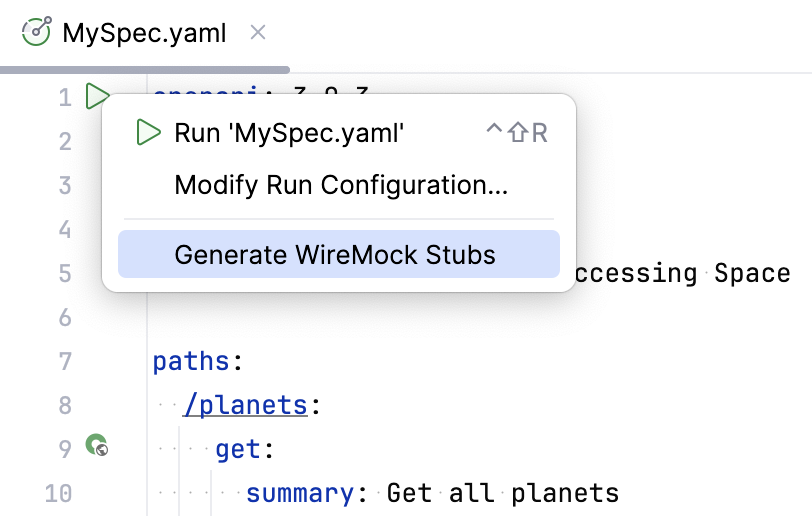
The new stub file is saved as a scratch under .
Run WireMock server
Open your stub file.
Click
in the upper-right part of the editor.

This will start the WireMock server, and you can see it running in the Services tool window ( or press Alt+8).
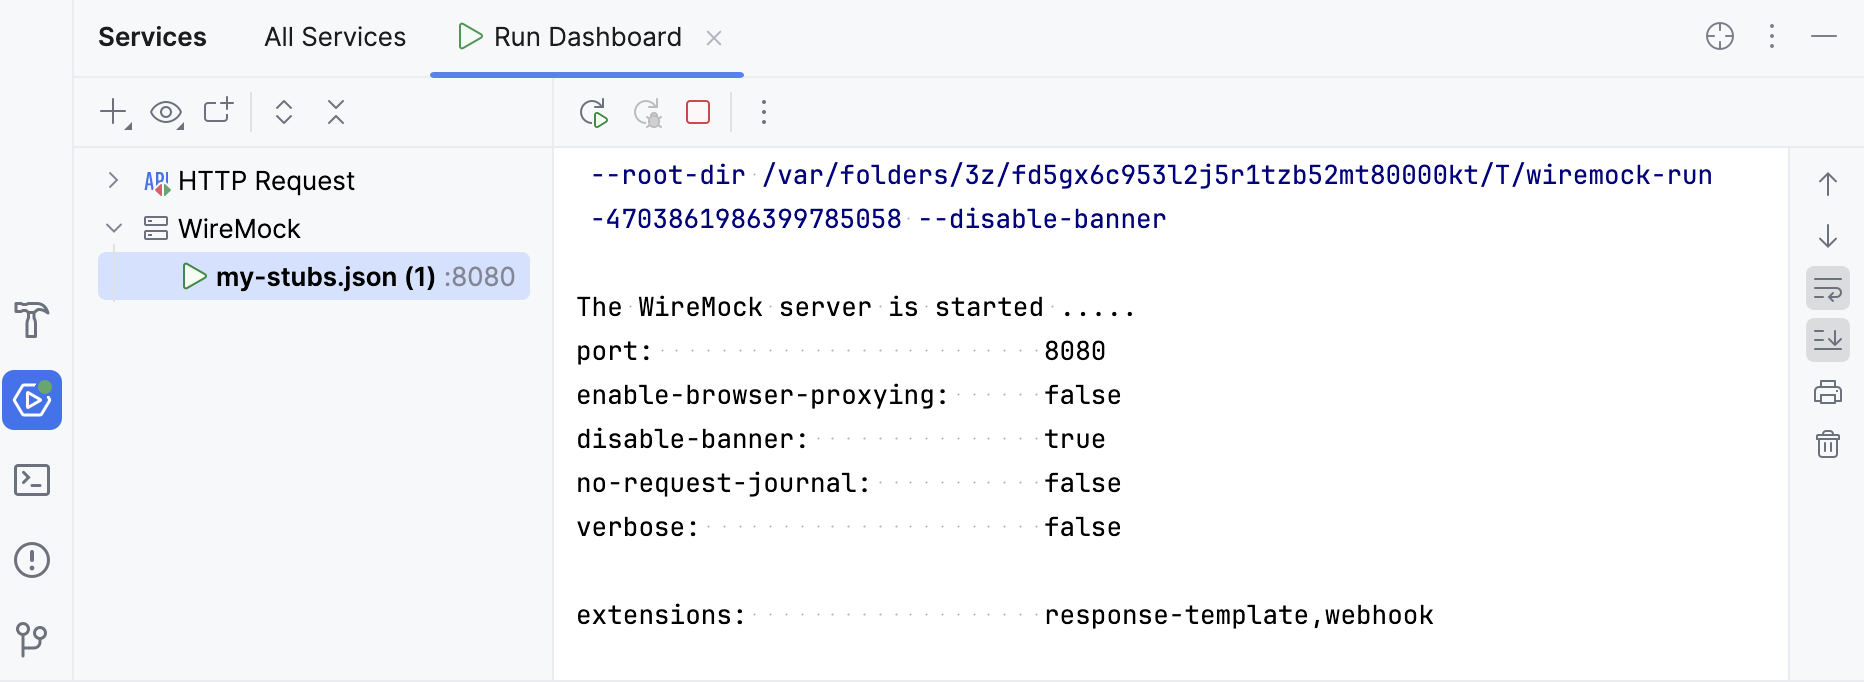
To customize how IntelliJ IDEA starts the WireMock server, you can modify the WireMock run configuration or create a new one.
Send HTTP requests
Use the IntelliJ IDEA HTTP Client to send HTTP request to the WireMock server and preview responses.
Open your stub JSON file.
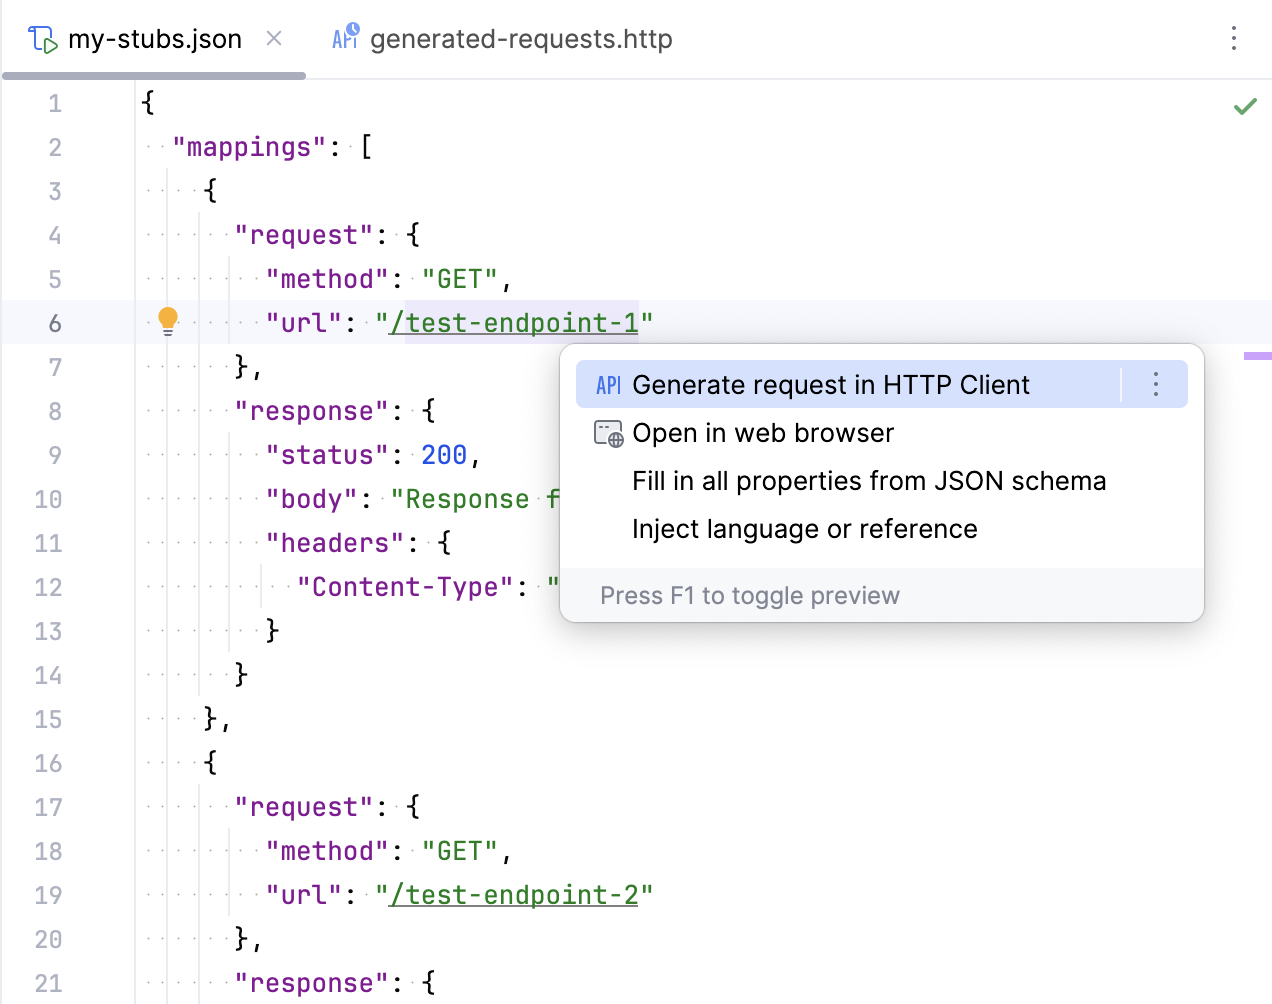
Place the caret at your endpoint URL, press Alt+Enter (Show Context Actions), and select Generate request in HTTP Client.
You can view the stub response in the Services tool window.
Enable support for Handlebars templates
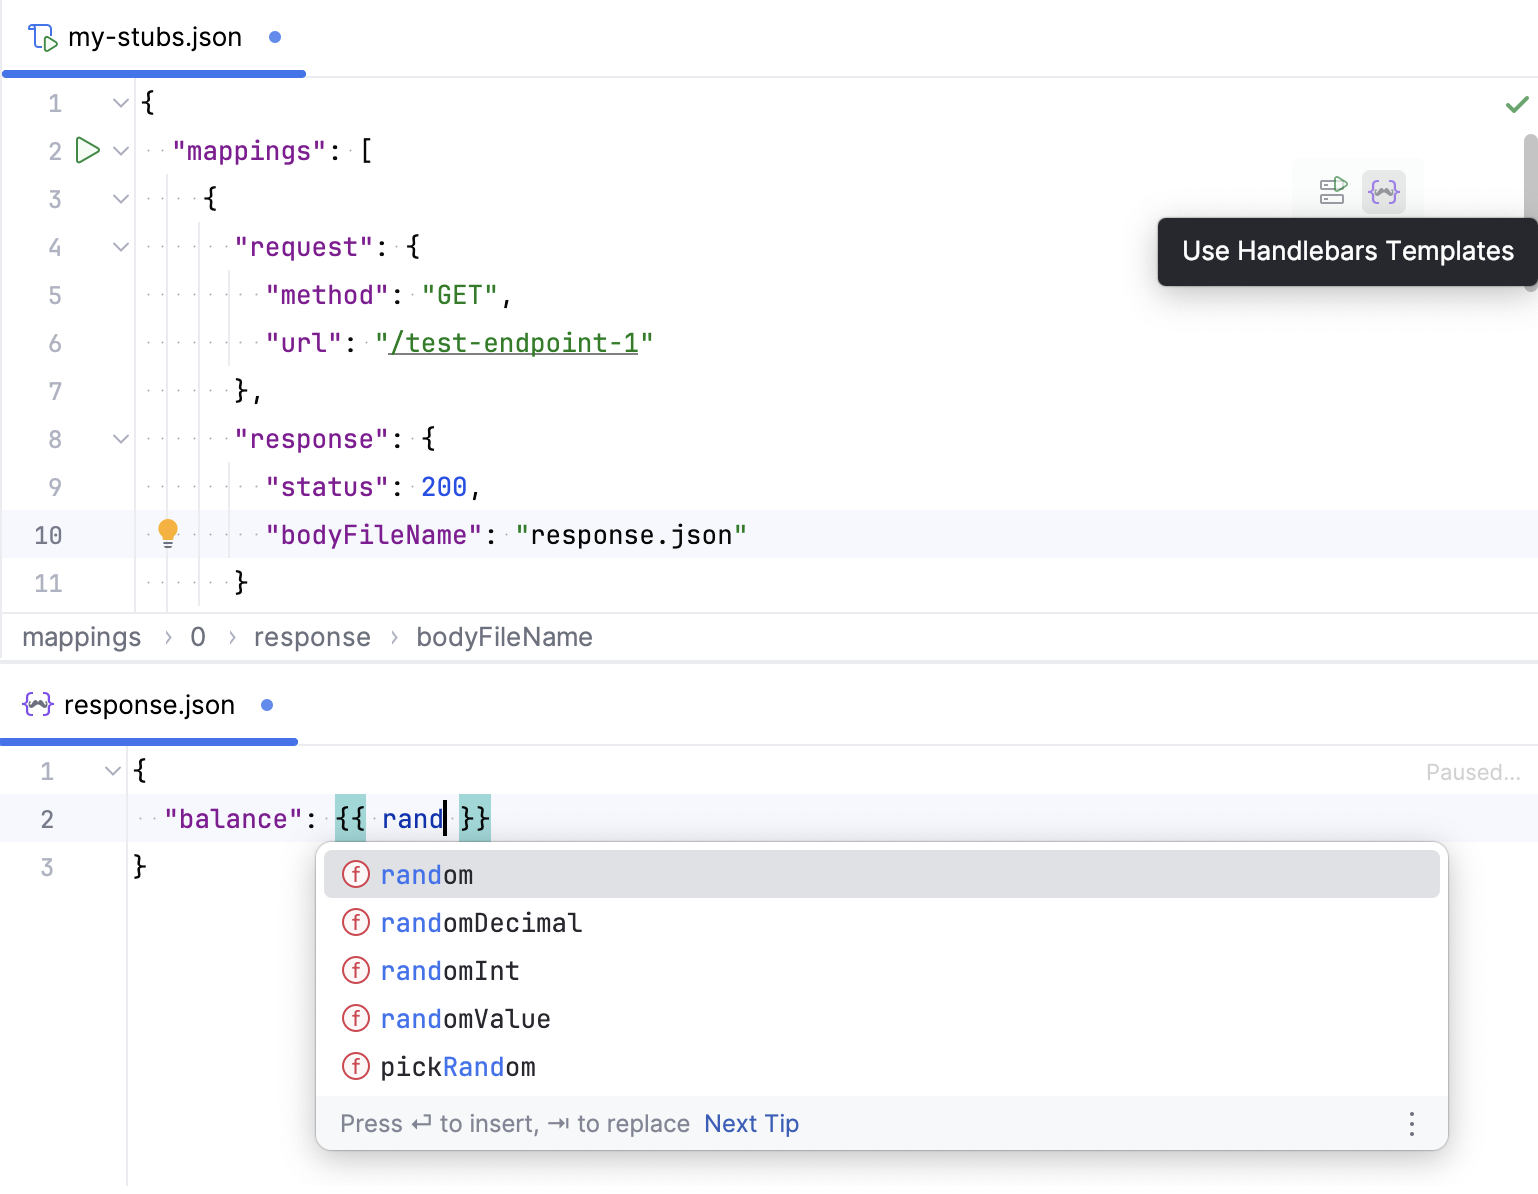
IntelliJ IDEA provides coding assistance for templating language used in WireMock response templates. To use this feature, you need the Handlebars/Mustache plugin to be installed and enabled.
Open your stub JSON file.
In the upper-right part of the editor, click
(Use Handlebars Templates). If the Handlebars/Mustache plugin is not installed, the action will install it.
This will make IntelliJ IDEA treat JSON files placed in the __files directory as response templates and provide appropriate Handlebars coding assistance including completion for Handlebars helpers.
WireMock run configuration
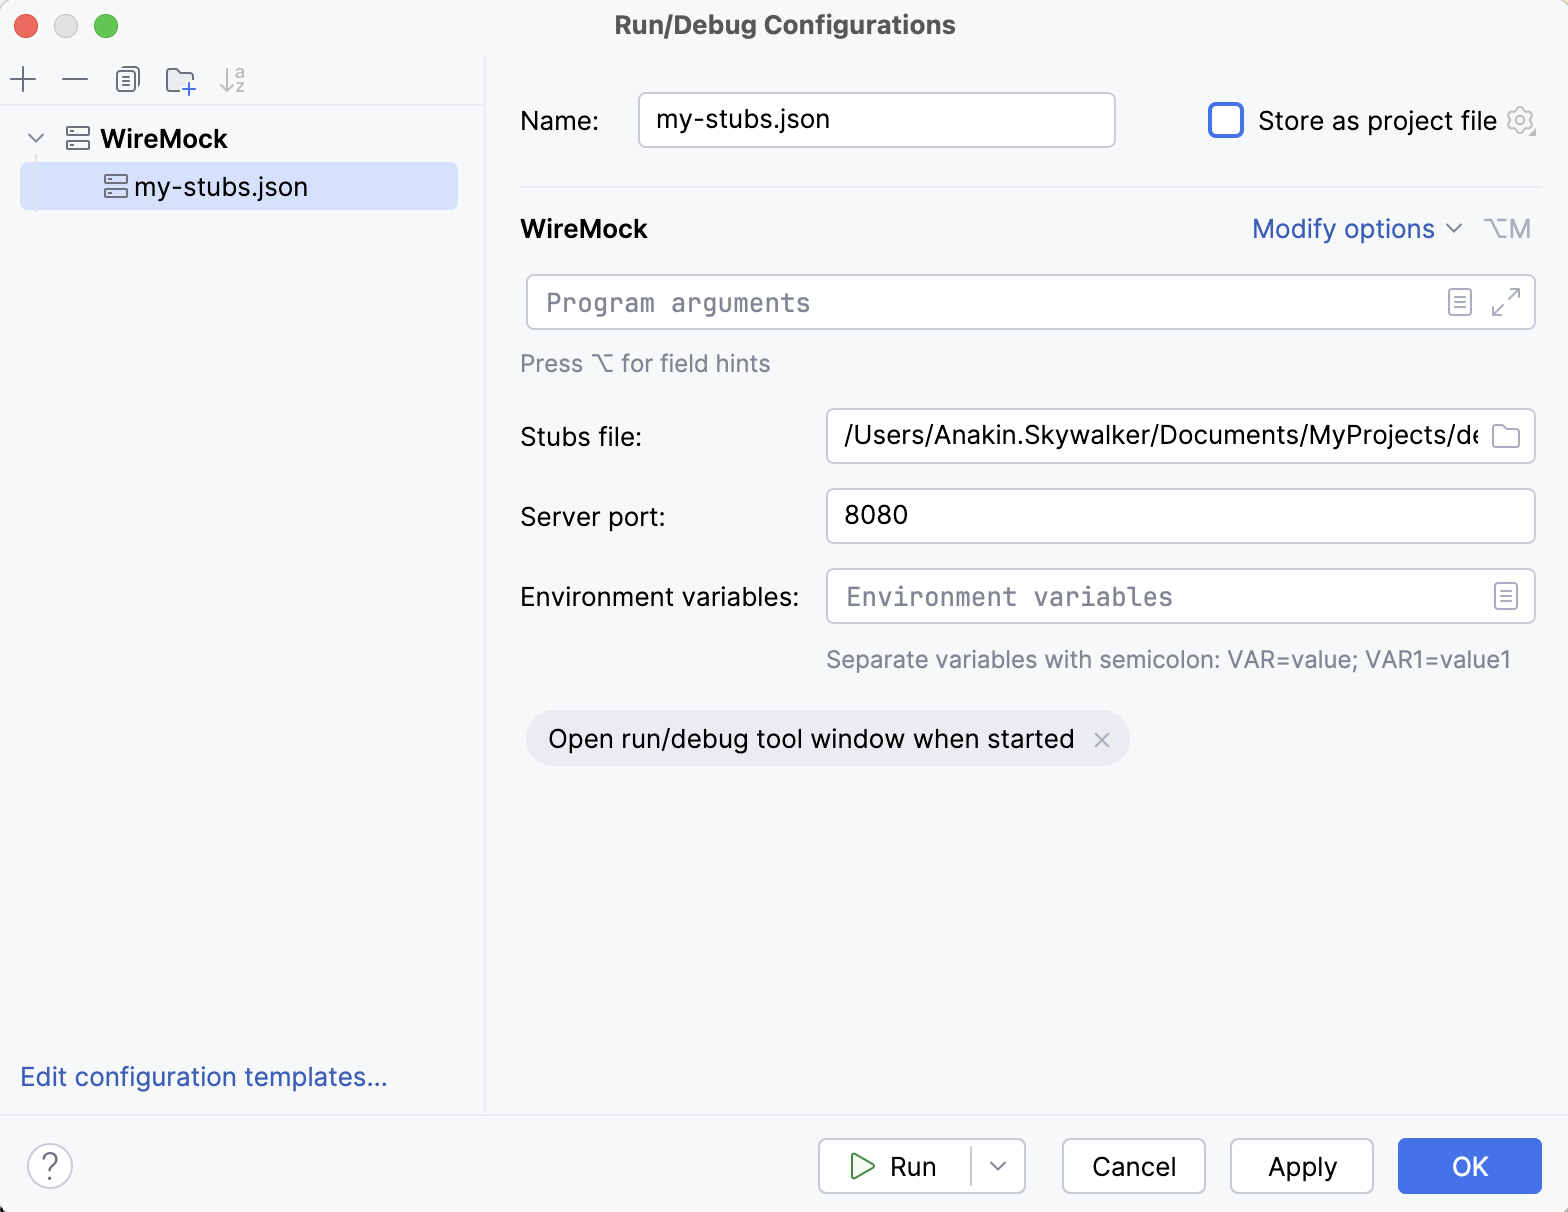
IntelliJ IDEA comes with a dedicated WireMock run configuration, which allows you to customize how to start the WireMock server.
Main parameters
- Name
Specify a name for the run configuration.
- Stubs file
Location of the JSON file with WireMock stubs to run.
- Server port
HTTP port number for the WireMock server. Enter
0to dynamically determine a port.
Modify options
- Verbose output
Turn on verbose logging to stdout (equivalent for the
--verboseoption).- Enable global Handlebars templating
Render all response definitions using Handlebars templates by passing the
--global-response-templatingWiremock command line option.- JRE
Select a JRE if you wish to run WireMock in a different runtime environment than JBR.
Logs
Specify which log files generated while running the application should be displayed in the console on the dedicated tabs of the Run tool window.
Before launch
Select tasks to be performed before starting the selected run/debug configuration.