Enable web service development
To develop a web service in IntelliJ IDEA, configure the corresponding module and provide all the required libraries and servlet references. This page describes how to meet these requirements.
Install the Jakarta EE: WebServices (JAX-WS) plugin
This functionality relies on the Jakarta EE: WebServices (JAX-WS) plugin, which you need to install and enable.
Press Ctrl+Alt+S to open settings and then select .
Open the Marketplace tab, find the Jakarta EE: WebServices (JAX-WS) plugin, and click Install (restart the IDE if prompted).
These instructions apply to the following types of web services:
GlassFish
JAXWS2.X RI
Netro 1.X
JWSDP2.0
Apache Axis
Create a new project with web services
Click New Project on the Welcome screen or select .
From the Generators list, select Jakarta EE.
Name the new project, select a build tool, a language you want to use, and select the Web application project template.
Select the Create Git repository option to place the new project under version control.
From the JDK list, select the JDK that you want to use in your project.
If the JDK is installed on your computer, but not defined in the IDE, select Add JDK and specify the path to the JDK home directory.
If you don't have the necessary JDK on your computer, select Download JDK.
On the next step of the wizard, select the Java EE version to be supported.
From the Dependencies list, select Web Profile.
Click Create.
Add web services to an existing module
In the Project tool window Alt+1, select the necessary module.
Press Ctrl+Shift+A and type
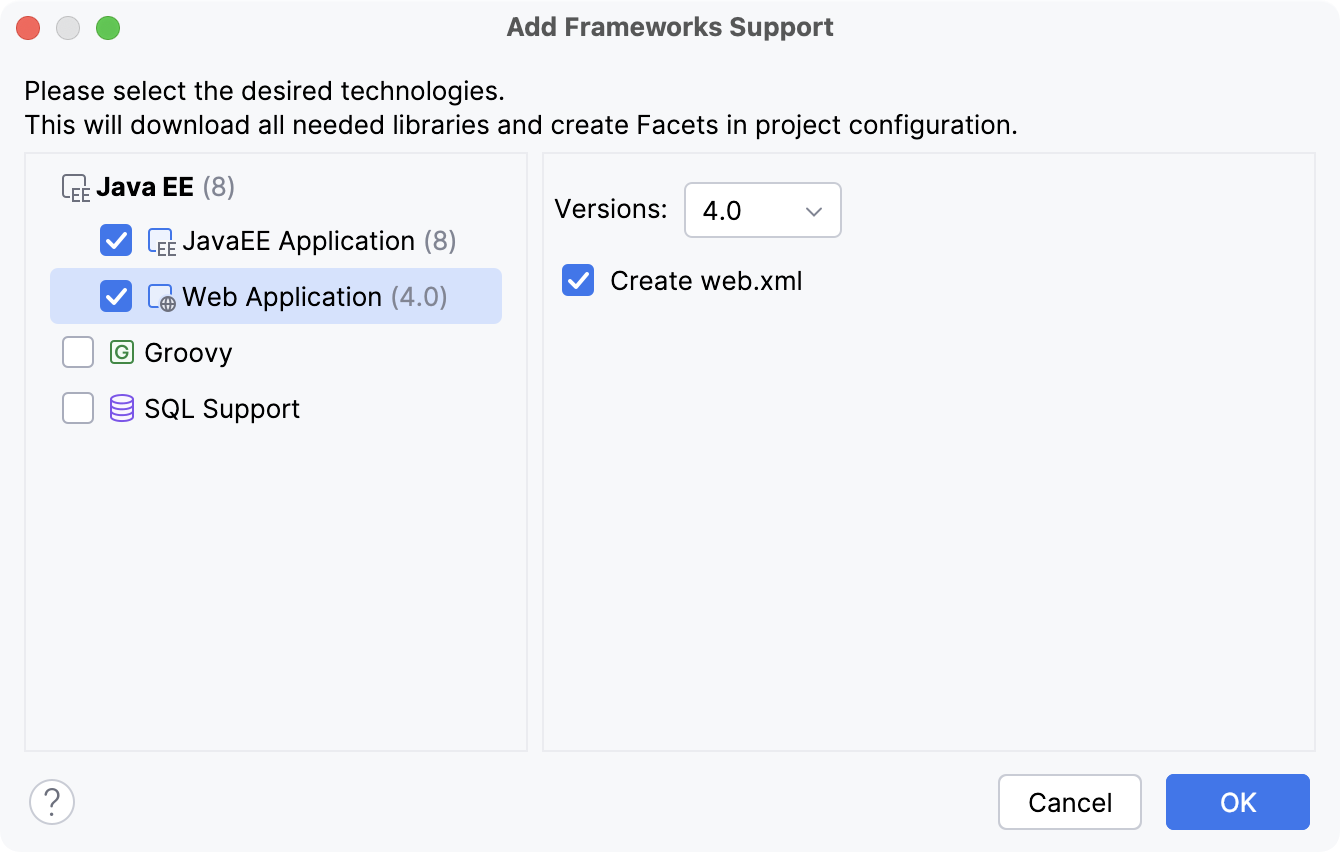
Add Framework Support.Once the action is found, click it to open the Add Framework Support dialog.
In the dialog that opens, select Web Application and select a version of the Servlet specification.
If you want the deployment descriptor web.xml file to be created, select the Create web.xml checkbox.
Click OK.

Add the necessary libraries
This approach is applicable if the necessary libraries have been previously downloaded.
In the main menu, go to or press Ctrl+Alt+Shift+S.
From the panel on the left, select Modules, select the required module and open the Dependencies tab on the right.
To enable Web development, click the Add button and select JARs or Directories... from the context menu. In the dialog that opens, select the javaee.jar library and click OK.
Click the Add button again, then select JARs or Directories... from the context menu. In the dialog that opens, select the javaee.jar library and the required web service-specific libraries.
The location of the javaee.jar library is defined during the installation of IntelliJ IDEA.
The location of the Web-service specific libraries is defined during their download.
Click OK when ready.