Create and Modify dialogs
In IntelliJ IDEA, Create and Modify have the same fields and functionality. This way, you can edit the same fields when you create a new object and when you edit an existing one.
To modify a database object, right-click the table name in the Database tool window ( ) and select Modify <database object>. Alternatively, click the table name and press Control+F6.
To create a database object, right-click a data source, a database, or a schema name in the Database tool window ( ) and navigate to .
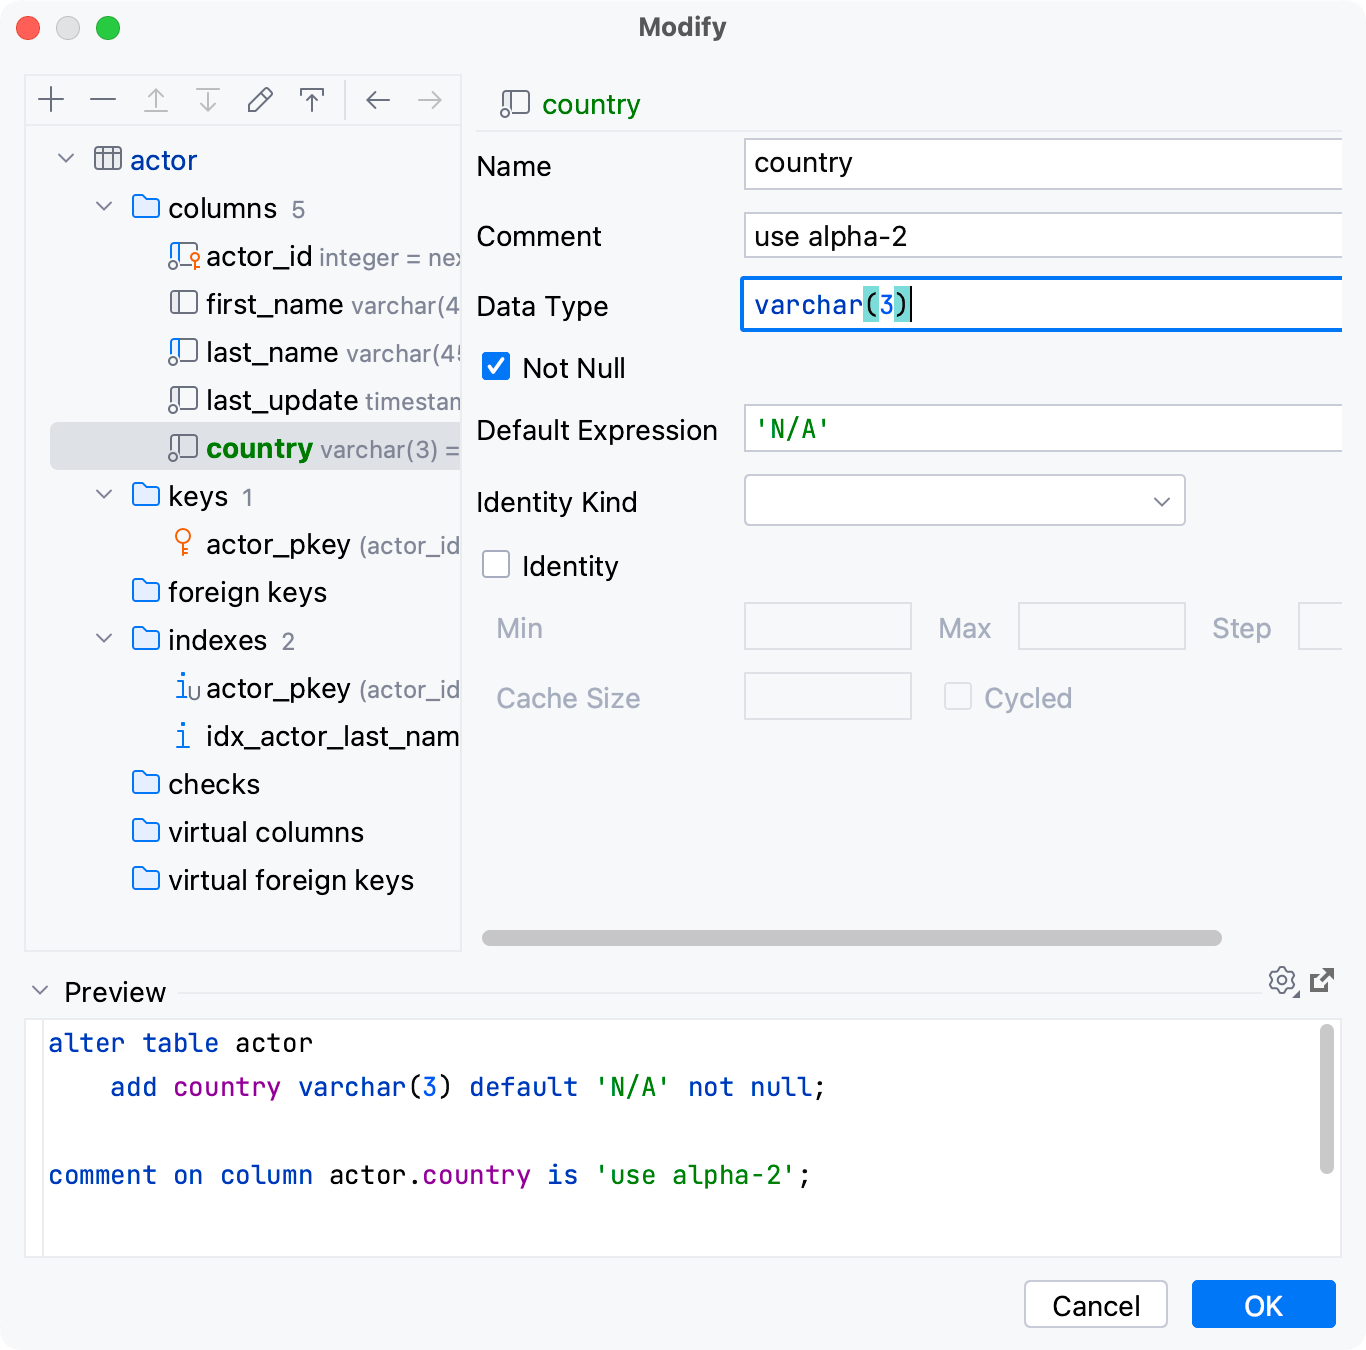
The table structure editor on the upper-left side of the dialog lets you manage the objects within the table. In the object editor on the upper right side, you can edit properties of table's objects. The preview pane on the lower part of the dialog shows the SQL script that IntelliJ IDEA will run when you close the dialog by clicking the OK button.

Table structure editor
In the table editor section, you can edit the table's structure by adding and deleting the objects.
To add a new objects, in the toolbar, click the Add button (
) and select the object. Alternatively, select the family node of the object that you want to add, or any of the existing objects of that kind, and click the Add button (
) on the toolbar.
By default, to edit the object in the Object editor, double-click it. Alternatively, select it and click the Edit button (
) on the toolbar, or press F4.
To select the object for editing by clicking it in the tree, click the Edit On Selection button (
) on the toolbar.
To delete an object, select it in the tree and click the Remove button (
) on the toolbar.
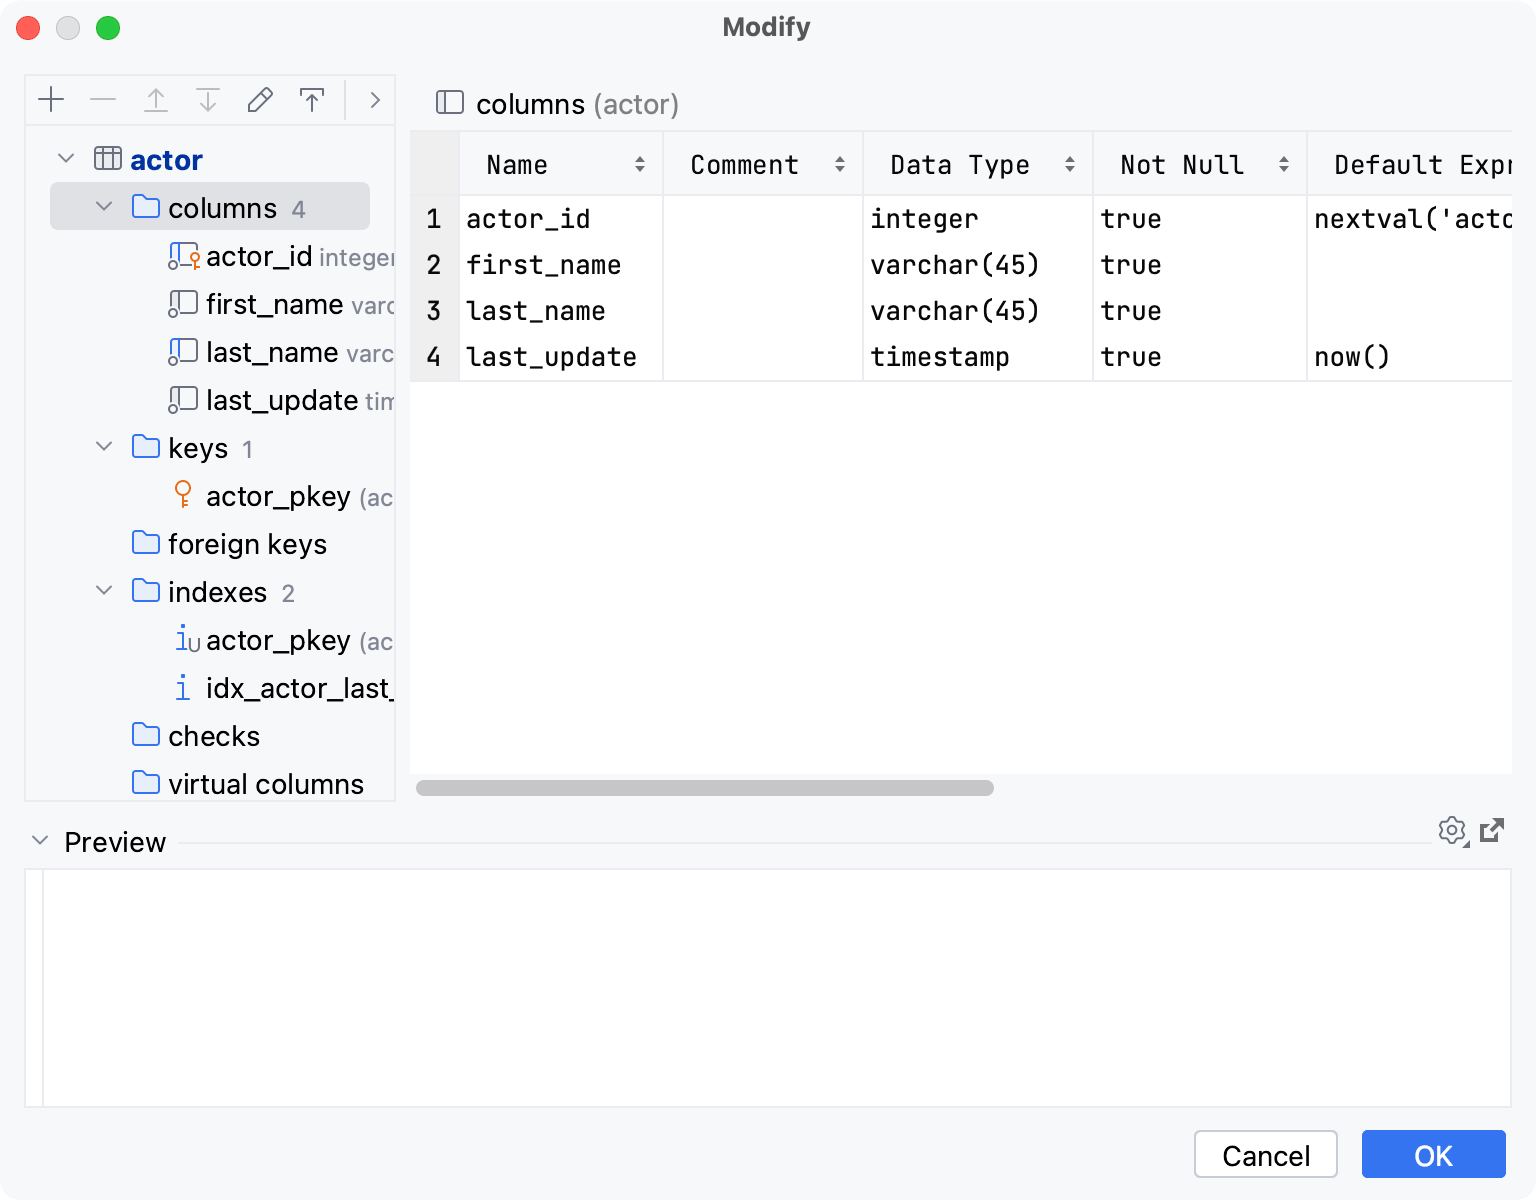
The Modify dialog can display objects of the same kind in a list. To see that list, in the left pane of the dialog, double-click on the family node.

Object editor
In the upper right pane of the dialog, you can edit properties of the object.
The set of available properties of database objects depends on the database vendor. For more information about database-specific settings, refer to the official documentation of the database that you are working with.
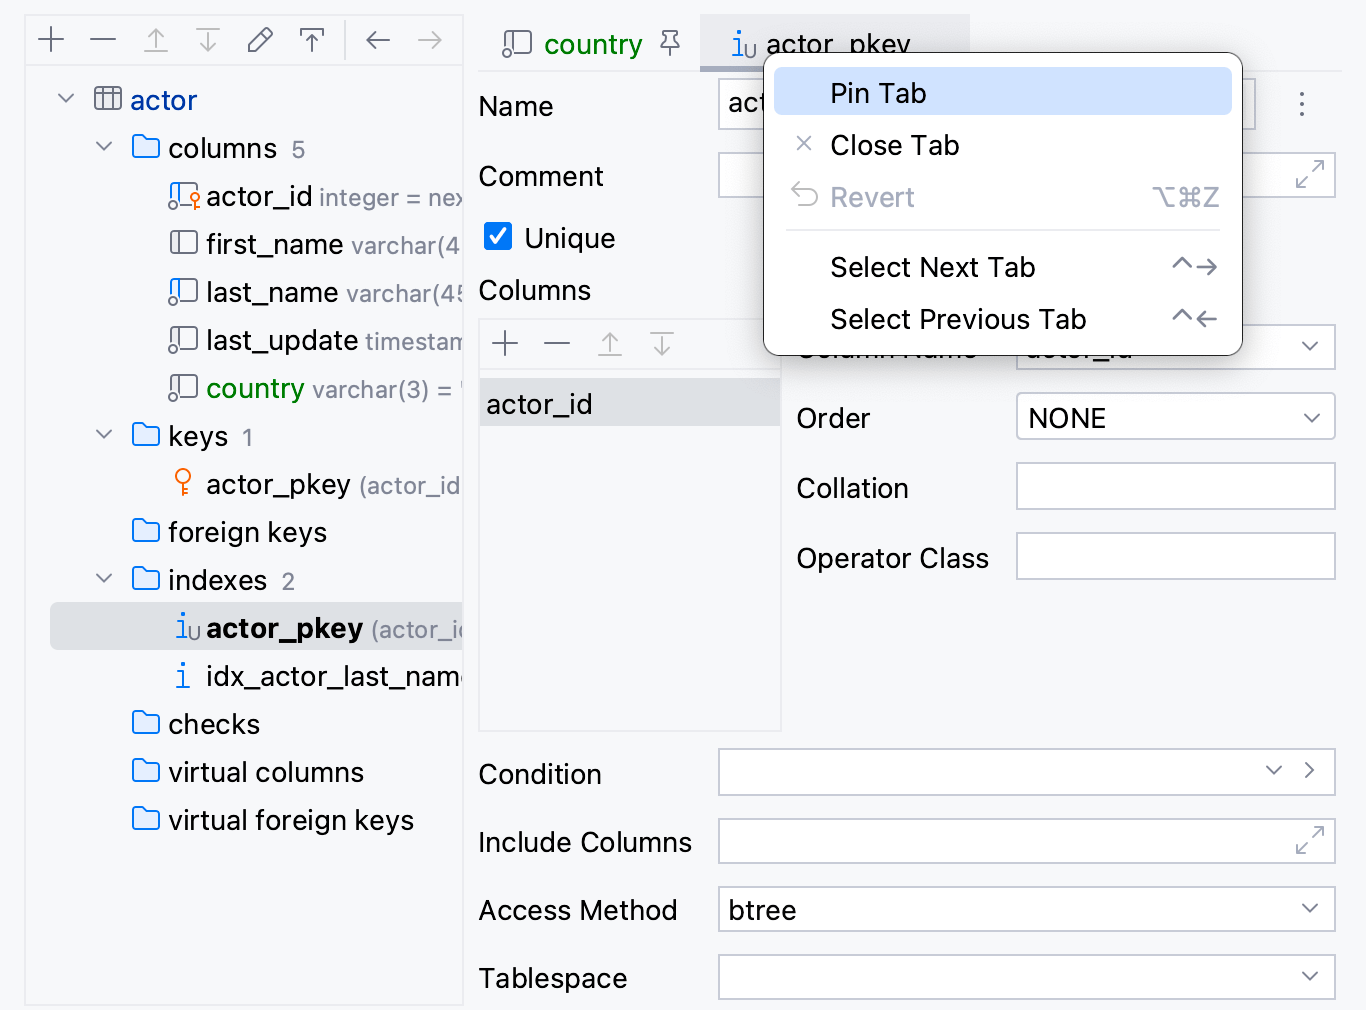
To pin the tab with the current object, hover over the tab name and click the Pin Tab icon (). Alternatively, right-click the tab name and select Pin Tab.

Preview
The pane under the Preview separator shows the statement or statements to be run to achieve the result you have specified using the GUI.
You can use this pane just as a preview. You can also edit the statement or statements right there.

Reference
Icon | Item | Shortcut | Description |
|---|---|---|---|
Table structure editor | |||
Add | Alt+Insert | Create a new object. | |
Remove | Alt+Delete | Delete the selected object. | |
Edit | F4 | Open selected object in the object editor. | |
Edit On Selection | Toggle between opening the object in object editor on selection and by double-clicking it. | ||
Back | Control+Alt+ArrowLeft | Previous object. | |
Forward | Control+Alt+ArrowRight | Next object. | |
Object editor | |||
Auto Generate | Toggle the object name automatic generation. | ||
Preview pane | |||
Settings | Select the settings to run the script with. | ||
Open query in console | Close the Modify dialog and open the script in a query console. | ||