Build constraints and vendoring
Build constraints and vendoring mode are tools that you can use for fine-tuning of your build process. With build constraints, you define rules under which files are included in the package. With the vendoring mode enabled, you build your application only with dependency packages that are stored inside your project. So, you can include only a specific set of files in your package and use the dependencies that you locally modified or patched.
Build constraints
A build constraint or a build tag is a line comment that lists the conditions under which a file is included in the package. These tags can describe an operating system, architecture, a Go version, a compiler, cgo support, or any other requirements for a target system. In the following example, we declare that this file is for the target system that has the following requirements: Linux, the AMD64 architecture, the 1.12 Go version, and no cgo support.

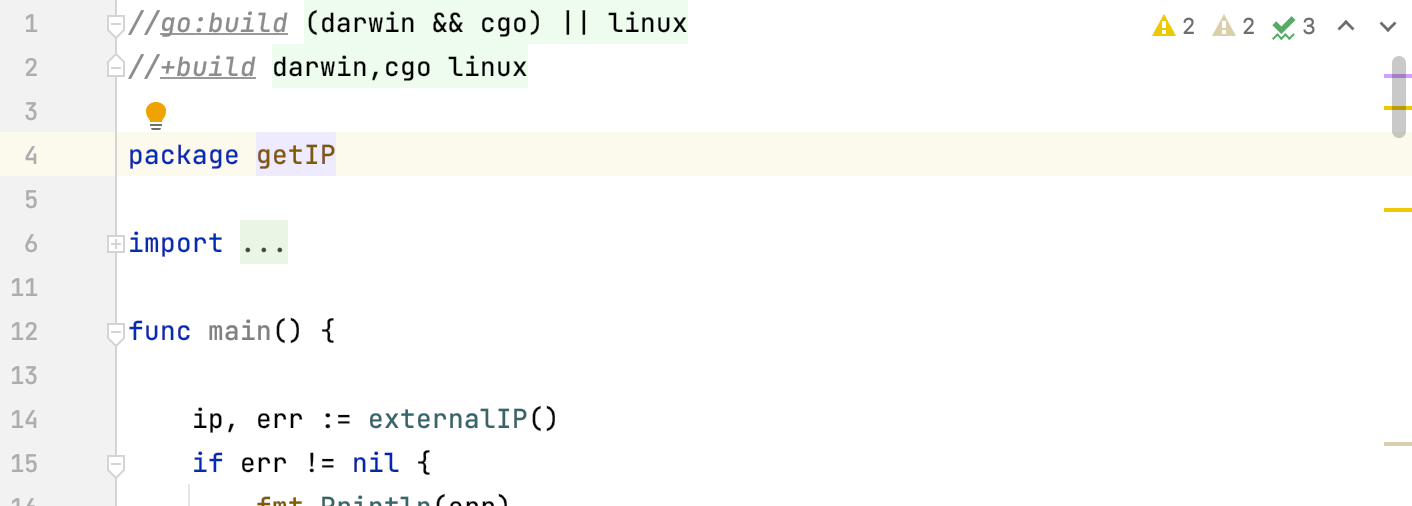
IntelliJ IDEA can use these constraints to decide what files must be ignored during validation, resolving, and symbol suggestions. If the file does not satisfy the requirements of the target system, IntelliJ IDEA displays a notification. For example, the following conditions on the screenshot will conflict with settings from the Configure build constraints for your project procedure.

Configure build constraints for your project
Options that you define in settings describe your target system for the project.
Open settings (Control+Alt+S) and navigate to .
From drop-down lists, select expected values for the target system. If you have any custom tags, specify them in the Custom tags field (use a space between tags as a separator).
Click OK.

Using multiple conditions for build constraints
Due to introduction of a new syntax for build constraints, consider the following table that lists the differences between two syntaxes when using multiple conditions.
|
|
|---|---|
//+build darwin,cgo linux A comma (as a logical And) and a whitespace (as a logical Or) | //go:build (darwin && cgo) || linux The && operator (logical And) and the || operator (logical Or) |
Vendoring
With the vendoring mode enabled, you build your application only with dependency packages that are stored inside your project under the vendor directory. In this mode, Go commands ignore dependency descriptions in go.mod and assume that the vendor directory holds the correct copies of dependencies. By default, when you use Go modules, the vendor directory is ignored during the build.
In Go 1.14 RC, automatic vendoring mode became a built-in Go feature. Starting from Go 1.14 RC, IntelliJ IDEA also enables automatic vendoring mode by default. You can disable vendoring per project, for example, when you have a monorepo containing the vendor folder used by another language.

You can control automatic vendoring by using the Enable vendoring support automatically checkbox. When the checkbox is selected, automatic vendoring is enabled. So, if you add the vendor directory to the module, the IDE uses it. If you remove the directory, IntelliJ IDEA uses the global Go Modules cache.

Toggle vendoring mode
Open settings by pressing Control+Alt+S and navigate to .
Clear or select the Enable vendoring support automatically checkbox and click OK.
