Create/open CMake projects
Create a CMake project from scratch
Click New Project on the Welcome screen or select from the main menu.
Select C++ Executable in the left-hand pane. Set the project name and the language standard.

Click Create.
CLion generates a stub project with a single source file main.cpp and root CMakeLists.txt containing the following commands:

Command
Description
cmake_minimum_required(VERSION 3.24)Specifies the minimum required version of CMake. It is set to the version of CMake bundled in CLion (always one of the newest versions available).
project(cmake_testapp)Defines the project name according to what we provided during project creation.
set(CMAKE_CXX_STANDARD 17)Sets the CMAKE_CXX_STANDARD variable to the value of 17, as we selected when creating the project.
add_executable(cmake_testapp main.cpp)Adds the cmake_testapp executable target which will be built from main.cpp.
CMake tool window shows the progress and status of project load. You can always access it from or switch to it in the navigation bar at the bottom.

Create a CMake project from sources
In CLion, you can open a non-CMake project and convert its structure into CMake.
Click Open on the Welcome screen or select from the main menu.
Select the project root folder and click Open:

Open any source file in the editor. You will see a yellow notification at the top:

Click Configure CMake project and select Create CMakeLists.txt:

In the dialog that opens, specify the following:
Select project files
Select the files to be imported as project files. Use the subdirectories checkboxes to import their entire contents or clear the checkboxes to import the contents selectively.
User include directories
Select the directories to be included in the project and specified in the CMake include_directories command.
Directories not selected in Select project files are not presented in the User include directories list - select them first, and then the available include directories will appear in the list.

After you click OK, CLion generates a CMakeLists.txt file according to your selections and loads the CMake project structure.

Open a CMake project
To open an existing CMake project in CLion, do one of the following:
Select File | Open and locate the project directory. This directory should contain a CMakeLists.txt file.
Select File | Open and point CLion to the top-level CMakeLists.txt file (or locate the CMakeCache.txt file).
Then click Open as Project:

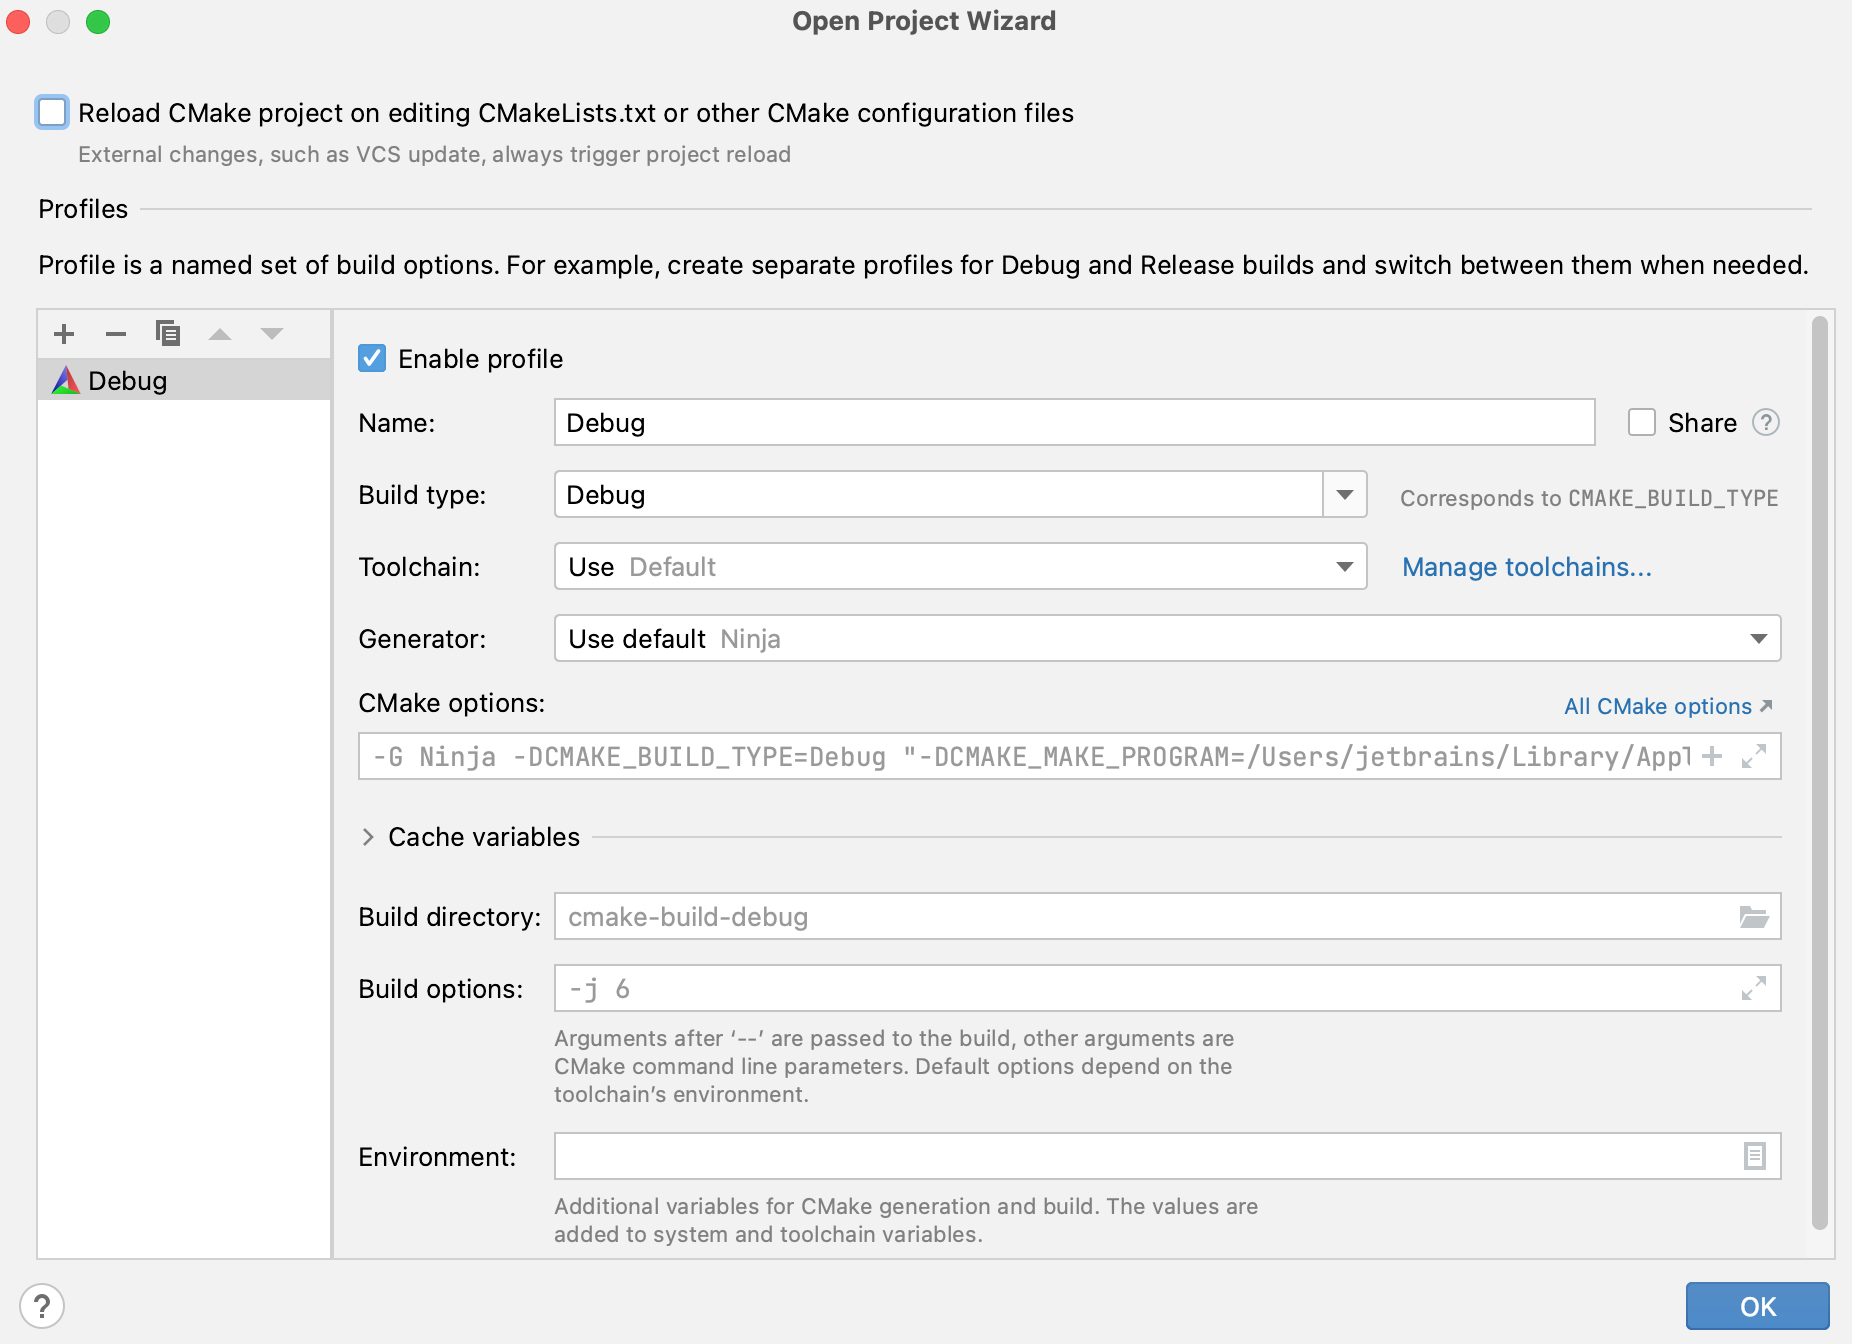
When you open a project for the first time, CLion displays the CMake Profiles dialog with the initial configuration. You can edit the profile or proceed with default settings.

To disable this initial profile configuration, go to and clear the corresponding checkbox:

Work with a monorepo
Monorepos are repositories that combine multiple projects, usually without a top-level CMake script. Instructions below describe how to work with a monorepo in CLion using LLVM Project as an example.
Call and point CLion to CMakeLists.txt in the required subdirectory. For the case of LLVM, select llvm-project/llvm/CMakeLists.txt.
In the dialog that opens, click Open as Project.
In the Open Project Wizard, add the subprojects that you want to build in the CMake options field.
For example, to add clang and clang-tools-extra, specify
-DLLVM_ENABLE_PROJECTS="clang;clang-tools-extra"
Project load should perform successfully at this point.
To be able to view the entire repository in the Project tree, change the project root: call from the main menu and select the top-level repository folder, llvm-project.
We also recommend that you build the project. This way, resolve will work on the entire codebase, including the parts generated at build time.