Tutorial: Configure CLion on macOS
This tutorial will guide you through the process of installing, updating, and initial configuration of CLion on macOS.
Installation procedures
Before you start CLionLion installation on macOS, make sure your machine meets the hardware requirements, and the version of your macOS is 10.9.4+.
Manual installation and patch updates
Download the latest release or EAP version of CLion for macOS (earlier versions are available on the Previous CLion Releases page).
Open the downloaded CLion-*.dmg package and drag CLion to the Applications folder.
Open the Applications folder and launch the CLion installer.
If the security warning appears, agree to open the application:

When you install CLion manually, the update checking is performed automatically by default (every time the IDE is ready to update, you will see a message in the status bar). To configure the update process, go to and select the update channel:

Click Check now to perform the checking right away. In case there are available updates according to the chosen channel, you will see a dialog like the following:

Installation and update via Toolbox
Toolbox is a control panel that allows you to manage all JetBrains developer tools, including CLion, as well as your projects, from a single point of access. It enables you to maintain different versions of CLion, install updates and roll them back if needed. Toolbox remembers your JetBrains Account and uses it to automatically log in when you install and register new tools.
Download Toolbox and launch the setup file.
When the installation is complete, accept the JetBrains privacy policy and sign in to your JetBrains Account.
Now you can choose which version of CLion to install:

Toolbox shows the list of the installed versions:

In the Settings dialog, configure the way of updating CLion:

Note that in case of using Toolbox, the update process cannot be configured from within the IDE. The dialog shows the following message:

After the installation or upgrade, you will be prompted to import, inherit, or create new settings for the IDE.
Required tools
CLion needs to be provided with C and C++ compilers. These tools may be pre-installed on your system: check it in - the compiler and make detection should perform successfully.
If your system does not have working installations of compilers, the simplest solution is to install Xcode command line developer tools.
Run the following command:
xcode-select --installWhen prompted to install command line developer tools, click the Install button:

You can also choose to install the full package of Xcode, though it is not necessary for CLion.
With Xcode command line tools, you get the Clang compiler installed by default. To check the compiler presence and its version, run clang --version.
Command line tools may not update automatically along with the system or Xcode update. This may cause error messages like invalid active developer path during project loading in CLion. To fix this, run the same xcode-select --install command, and the tools will be updated accordingly.
Note that you can use multiple compilers for the needs of your project, refer to Compilers.
Configure toolchains
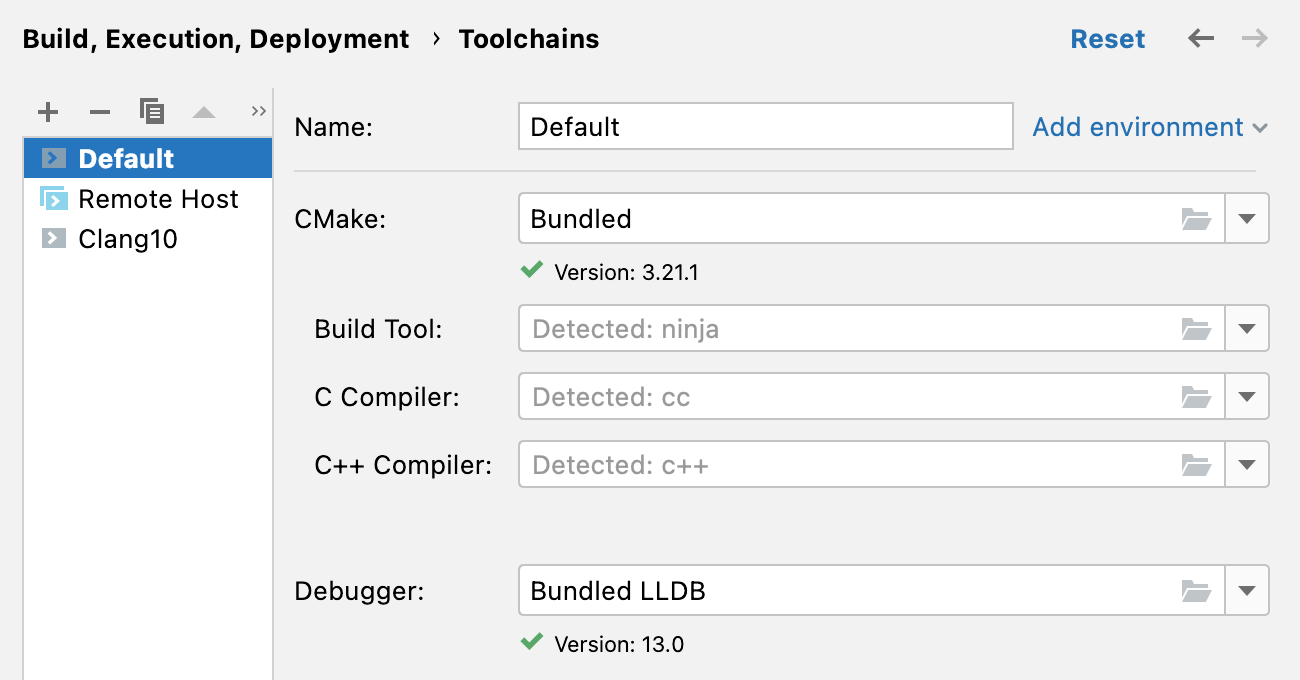
Now you need to configure the toolchain to work with, which means choosing the CMake executable, the build tool, the C/C++ compilers, and the debugger.
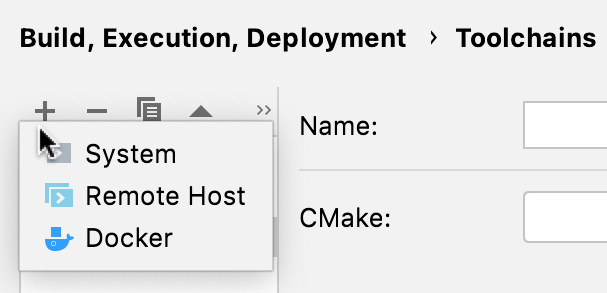
Navigate to and edit the default toolchain, or click to add a new one.

CMake, build tool, and compilers
In the CMake field, specify the CMake binary that you want to use. You may stick to the bundled CMake, or use your custom CMake executable (see the minimum supported version in Software requirements).
By default, CLion will use bundled Ninja as the Build Tool. You can specify another build tool of your choice, for example, make.
The chosen CMake attempts to detect the compilers considering the packages installed on your system. If detection succeeds, the C Compiler and C++ Compiler fields are filled automatically:

Debugger
CLion for macOS comes with the bundled LLDB v 15.0.5, which is the default debugger. You can also switch to a custom GDB (supported versions are 7.8.x-13.1).
Select the debugger in : 
Issues are possible when working with GDB on macOS. To improve the behavior, enable the cidr.debugger.gdb.workaround.macOS.startupWithShell option in Registry (select from the main menu and type Registry): 
Note that enabling this option is not equivalent to setting set startup-with-shell off in your .gdbinit script.
Further steps
Now that you have CLion installed and configured, you may find the following articles useful for further steps of the development: